Posts for: 3Dean
May 6, 2017 21:58:12 #
Feb 10, 2017 21:09:47 #
I decided to give this a try. The result is similar to yours, but a little different.
I first brought the image into Photoshop as if it were a raw file. This allowed me to play with the exposure and black level settings. Then, loading it into Photoshop "proper", rather than trying to repair any of the image by cloning or painting, I only used "Levels" layers and masks to control where the levels adjustments were applied. One layer was applied to the bright glare near the center, and another layer was applied to the lower right side. A third Levels layer was then applied to the entire image for best overall appearance.
I wasn't able to get rid of all of the artifacts, but I think it worked fairly well.
Mar 25, 2016 03:48:03 #
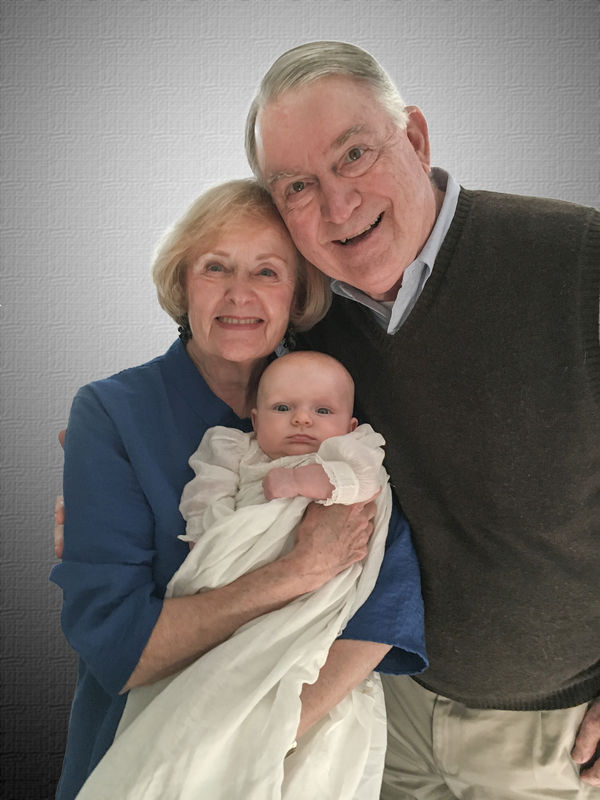
In Photoshop, after making some adjustments in the Camera Raw editor, I created a radial gray scale gradient to simulate an illuminated backdrop, then added a canvas texture to it. Then applied some blur.
I also used the dodge tool in an attempt to even out the lighting on the faces.
I also used the dodge tool in an attempt to even out the lighting on the faces.
Mar 12, 2016 04:41:00 #
This should be printable at 16 x 20.
If you don't look too closely, it may be acceptable.
Just used a lot of cloning.
If you don't look too closely, it may be acceptable.
Just used a lot of cloning.
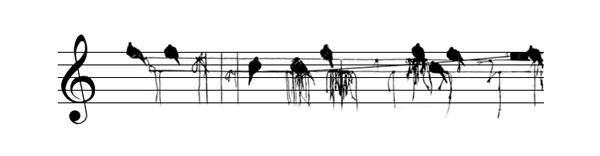
Mar 6, 2016 16:08:44 #
Looking at the image, I saw sheet music.
Dec 7, 2015 01:13:59 #
Here it is.
It just demonstrates the changes I was talking about. You could most likely do a better job of it.
It just demonstrates the changes I was talking about. You could most likely do a better job of it.
Dec 6, 2015 20:44:08 #
The Private Messaging system doesn't appear to allow images.
Dec 6, 2015 16:14:14 #
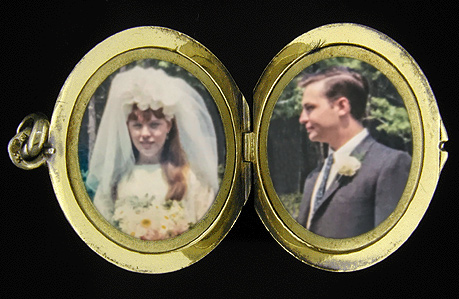
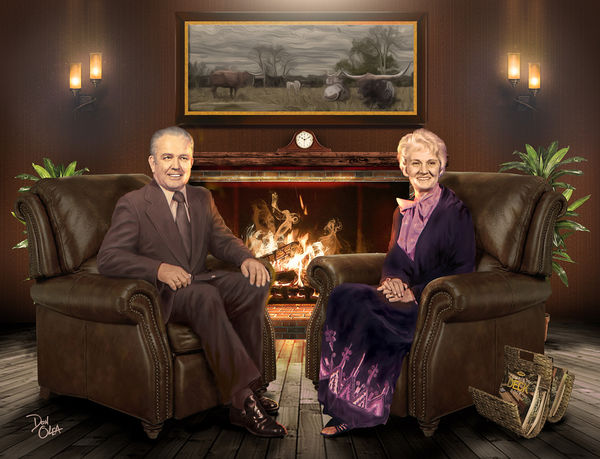
A very skillfully assembled composite. Excellent work.
However, there are a few additional things that I would do.
As mentioned, the faces seem a little too bright. And the sconces are also too bright. The Photoshop burn tool can tone both down appropriate amounts.
The skin tone of the grandmother has too much purple, especially on the hands. The grandfathers face tone looks good to me, but his hands also seem a little too purple. By sampling the grandfathers face color with the eyedropper tool, then painting over the areas that are too purple with the paintbrush tool in "color" mode, this can be corrected.
I also noticed that the grandfather's image was reversed (presumably to create symmetrical portraits to be hung side by side). With both images brought into the same composition however, it bothers me that they are looking away from each other. The grandfather's gaze can be corrected with some creative cutting and pasting. However, I realize that this can be a touchy subject.
I feel that the picture on the wall is competing for attention. It keeps drawing my eyes away from the actual subjects. If you tone it down by giving it a painterly treatment and desaturating it a little (color and brightness) it can blend better into the background.
While I was writing the above, I was also applying the adjustments to a copy of your image. Let me know if you would like to see the result, and I will post it.
Aug 10, 2015 22:01:44 #
Dan821 wrote:
Just as an FYI, you cannot post photos from your Ipad the the UHH site when using Safari. You have to use a different browser. I use ICabMobile.
I think that issue was fixed a while back.
I'll attempt to post an image from my iPad "camera roll" using Safari.
If it works, well then there you go. :)
Edit: Success!
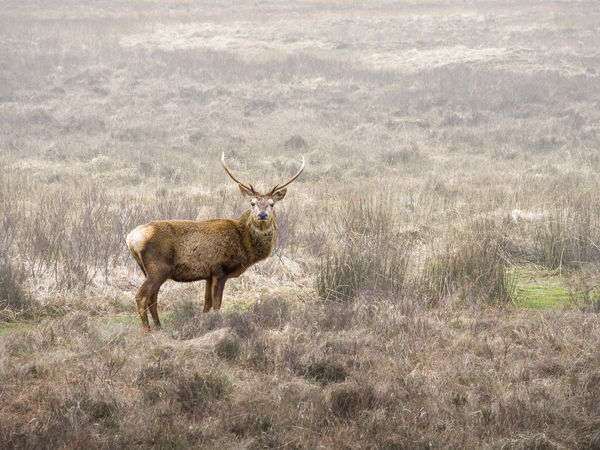
Aug 7, 2015 03:03:59 #
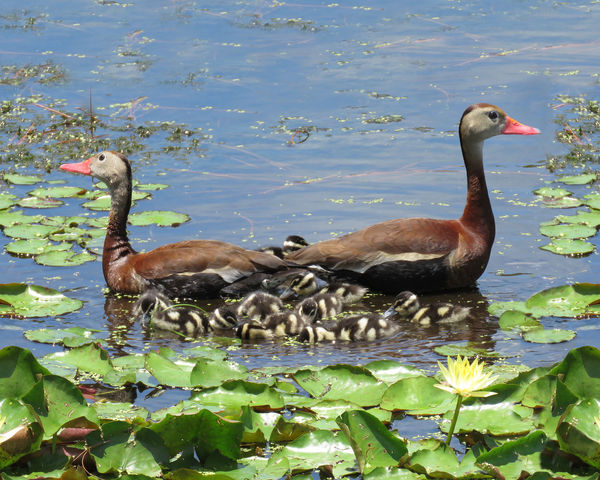
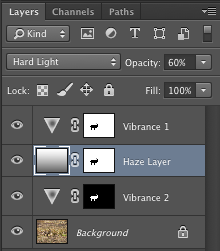
I felt that the background was too busy and caused the stag to blend in too much. So after making similar initial corrections, I also added some Photoshop layers to simulate a distance haze, and reduced the color vibrance of the background while slightly boosting the vibrance of the stag to produce a bolder image.
Aug 4, 2015 02:34:38 #
DJO wrote:
Thank you for doing that. Also, it looks cool; I like the blinking. Is it difficult to do?
Pretty easy. I used Photoshop CS6. It's a two frame, looping animated GIF, made up of the two posted images.
Aug 3, 2015 15:14:43 #
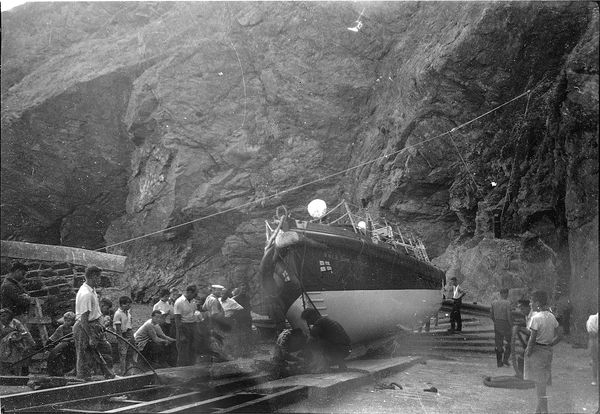
Both of the original images were loaded into Photoshop and overlaid with no resizing of either.
You can clearly see that the size of the buoy is the same in both images.
The apparent size difference was due to whatever software was being used to display the images on the screen. For example, this forum definitely resizes images differently depending on whether they are in portrait or landscape mode.

Jun 18, 2015 16:24:02 #
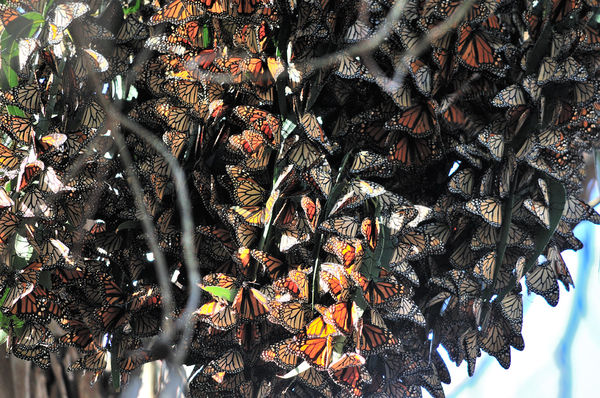
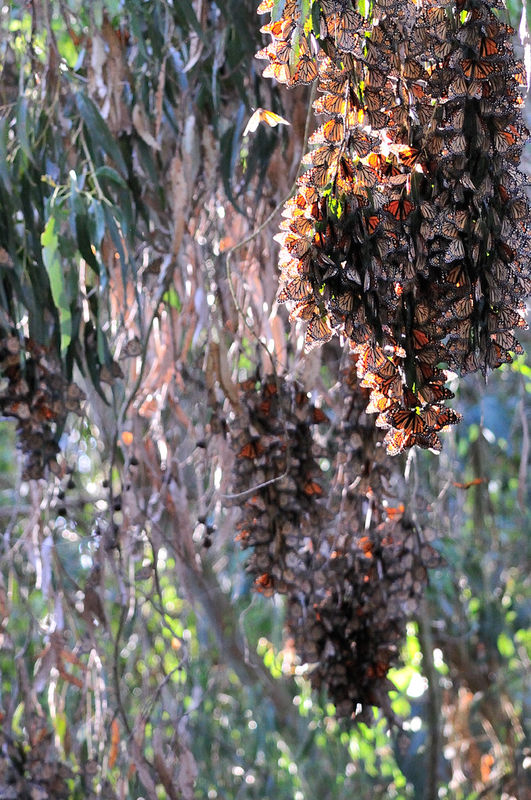
Taken during a Monarch migration.
Jun 7, 2015 21:34:11 #
merrytexan wrote:
i am so glad that stink bug didn't make me smell it's smelly fumes while i was pestering it with the camera! while i was googling it, my husband said don't bother...it's a stink bug!
Not sure if it's actually a stink bug.
Looks like a leaf-footed bug (Acanthocephala terminalis).
See:
http://www.uark.edu/ua/arthmuse/acater.html
http://bugguide.net/node/view/16391/bgimage
May 26, 2015 20:16:50 #
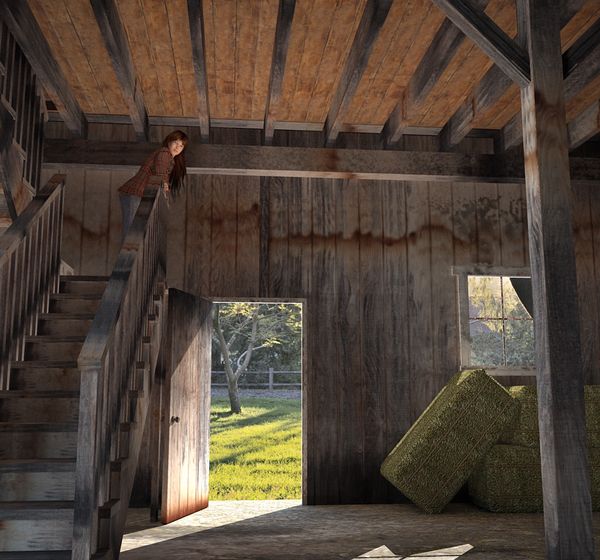
I hope that you dont mind seeing a vision of your photo different from the monochrome version.
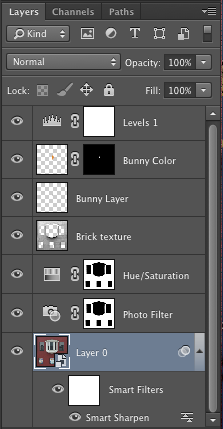
I couldn't bear to discard all of the wonderful color in the original shot. So I decided to celebrate the color and texture of the brick wall by enhancing both. I feel that the posters complement the image, but need no enhancement. So I used a layer mask to isolate just the wall.
In straightening the image, I was careful not to distort the aspect ratio. Your example appears to have gotten a little squashed as compared to the original.
I'm using Photoshop CS6.
I wish I had taken this picture, it's really nice.
