Posts for: no12mo
Sep 10, 2021 11:44:28 #
Both Foxit and Adobe PDF editing programs features a file size reduction feature. Really effective especially of you have a lot of images in your Pdf
my 2 cents.
my 2 cents.
Sep 10, 2021 11:21:13 #
Dave Flash wrote:
A recent startup of my windows 10 computer completely shutdown. Windows offered an attempt to repair itself but to no avail.
A windows boot disk was created to reboot windows and a clean version was installed. My data was spared, however all of the programs, specifically Lightroom 6, PS4, PS Elements now reside in a file named windows.old. Does anyone have a recommended procedure to recover my Lightroom organization or do I have to start all over?
A newbie to the forum so please be kind.
Look into CLONING your drive. It's a little more work if your machine is a laptop but I've done it.
A real simple method is drive duplication as opposed to using installed software. Do a search on Amazon "drive duplicator."
I got this result: Sabrent USB 3.0 to SATA I/II/III Dual Bay External Hard Drive Docking Station for 2.5 or 3.5in HDD, SSD with Hard Drive Duplicator/Cloner Function
The result is a drive that you can swap and you get everything you had at the time of duplication. Saves a lot of headaches.
Just a note from "SuperflyTNT" - never had that problem with drive duplication. A friend of mine steered me toward drive duplication after he had exactly the problem about losing product key / registration. No problems after switching to the duplication process
Sep 10, 2021 11:07:43 #
Haydon wrote:
The streaks are bugs from a long shutter. Seen this many times.

Sep 2, 2021 16:57:27 #
Curmudgeon wrote:
Absolutely true in my case
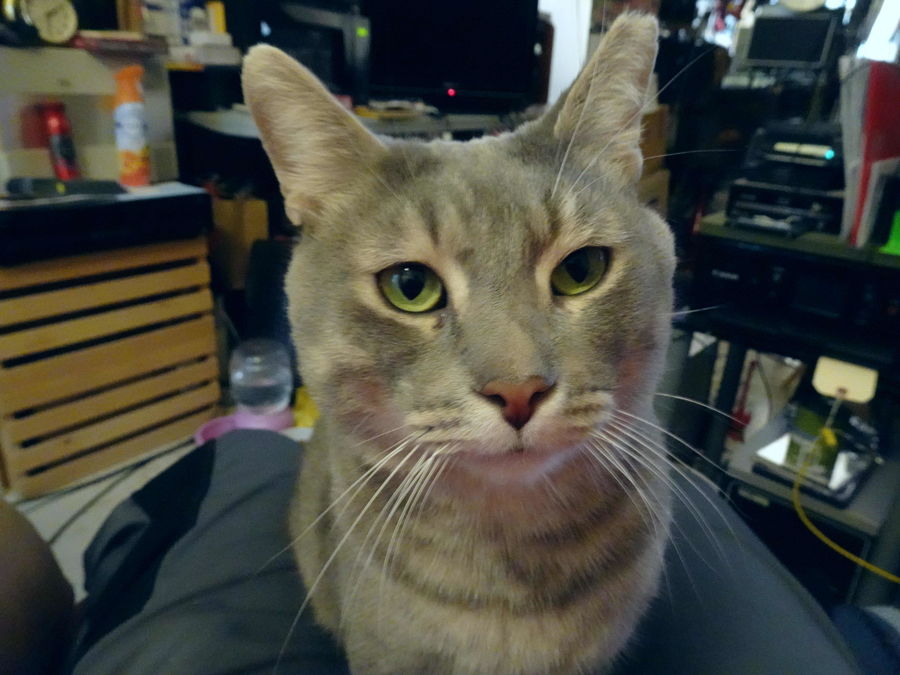
Absolutely true. I lost my female tabby, Rosie a year ago. I thought I never would have another companion but I just took possession of (I think a Russian Blue / tabby mix) this boy kitty and he's quite handsome and gentle. Yes, I agree these 4 footed persons have no owners, they have a staff.
Meet Jerry, he's a rescue from Florida
Jerry
Sep 2, 2021 16:50:18 #
Sep 2, 2021 16:47:08 #
Max Bottomtime wrote:
A few more.
What a nostalgic series of pictures. Thank you, thank you.
Regards, Alan
Sep 2, 2021 16:41:05 #
MattPhox wrote:
All good but #1 is especially good.
Sep 2, 2021 16:31:40 #
Architect1776 wrote:
All available at the same time.
TL introduced in 1968, F-1 and FTb in 1971 and EF in 1973.
Just an interesting bit of history.
Walk into a camera store (Not very common today) and you could handle and try any one of them or all before making a purchase.
All could use the FL and FD lenses as well as the R lenses which were all the same mount with enhanced features as technology progressed.
I can't quite make out the lens on the TL. I cannot believe what I think I'm seeing.
Thank you in advance
Aug 23, 2021 16:47:21 #
burkphoto wrote:
I have decades of experience photographing everyth... (show quote)
This is probably the most consummate approach to doing a good pro-grade job for the proposed work. I must say the gray card is a much overlooked tool in the photographer's tool box
Aug 23, 2021 16:40:11 #
robertjerl wrote:
Documents, maps etc are one thing, just the addres... (show quote)
I agree with using a macro lens plus a tripod and a shutter release or use a 2 second timer
Aug 23, 2021 16:31:56 #
Tomfl101 wrote:
Human drivers make thousands of times more mistakes than the Tesla computers do. The software is still being developed and maybe it’s out a bit too soon but once it becomes ubiquitous we will all be much safer. Keep going Elon!
Aug 23, 2021 16:29:48 #
jerryc41 wrote:
Unfortunately, when pilots aren't paying attention to what's going on, the plane crashes. I saw a crash investigation yesterday that involved a faulty altimeter. The plane thought it was about to land, so it cut power and flared the nose. The pilots were busy with their checklists and didn't notice the flashing warnings in front of them.
It's called "situational awareness." Bad things happen whether you are on the ground or in the air. Again, I don't see a problem with advances in one's driving experience. But you always have to be aware of your situation - on the road or in the air
Aug 22, 2021 12:00:22 #
chasgroh wrote:
...I'll take 'em over humans any day. Drunks, Drugs, not being able to see at night, racers and 16 year-olds. Odds are very, very good in comparison.
I'm gratified to see you didn't include the older experienced drivers in you list of dangerous drivers. Thank you!

Aug 22, 2021 11:54:49 #
Rick Garside wrote:
Well since you really want to just experiment, you can go on eBay and buy the highest rated Canon you can find for $500. Itch satisfied, price met, Best Buy for your money, yada yada. I have purchased a lot of lenses and some cameras on eBay and never had any problems.
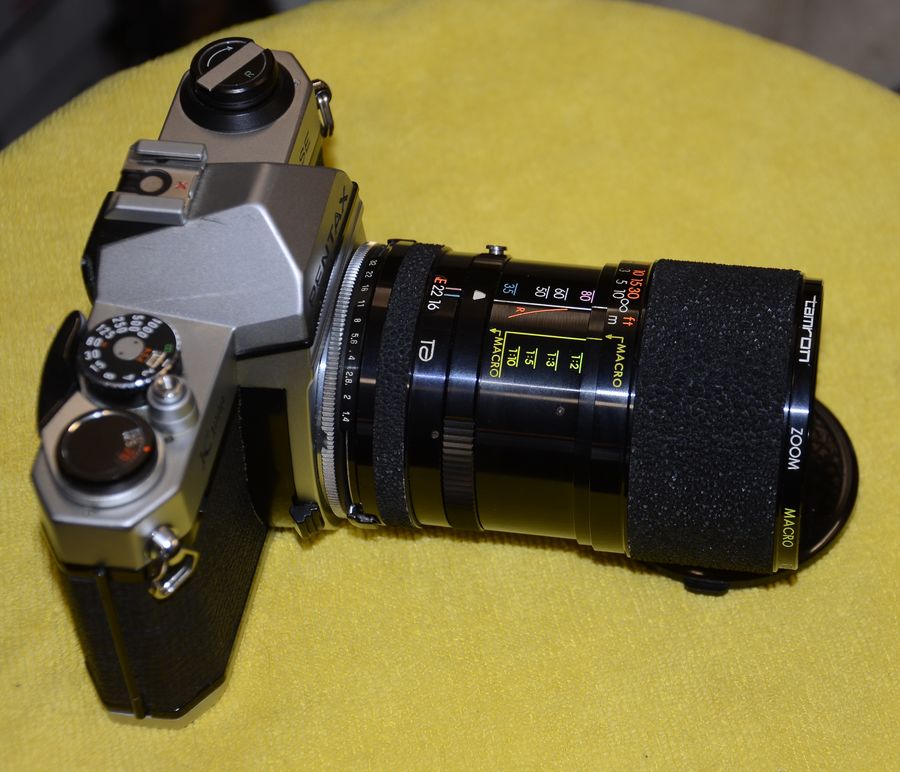
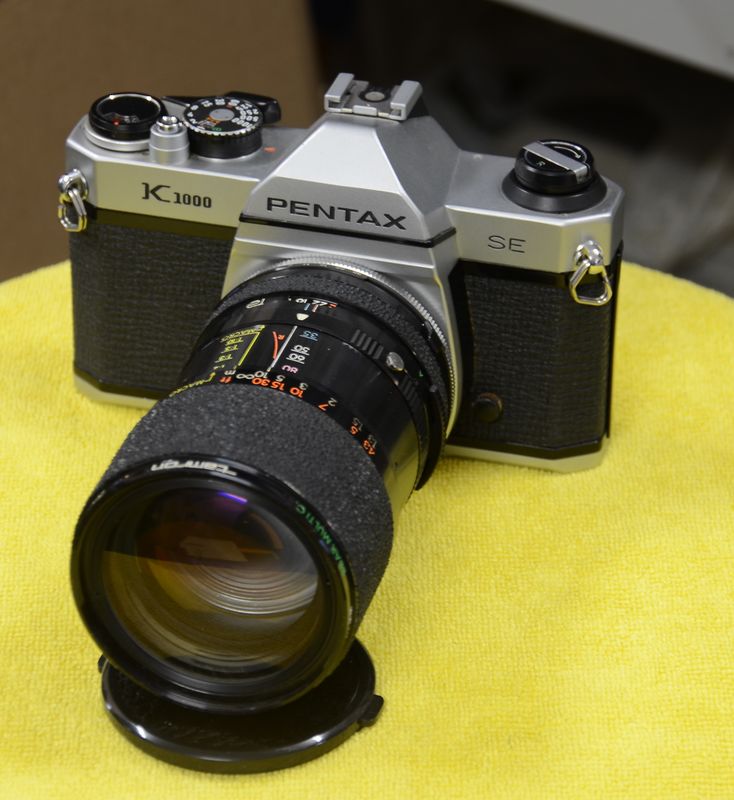
I had an odd (to me) experience where I bought a Pentax K1000 with what looked like an interesting zoom lens. The camera arrived DOA but I kept the combo anyway as the lens was really a good one. Fortunately, my second attempt at a working K1000 was successful and I have this beauty. Nice that you don't have to have a battery to take pictures with this camera. I have an external light meter for that purpose. Or I can use the match the needle that the K1000 has. I just have to have a good battery to use that feature.
Aug 22, 2021 11:27:48 #
Groye wrote:
My lenses will fit all canon Dslr cameras. I have a Nikon D 810 I want nothing in that price range , just something to experiment with
It's not that simple. Canon made a drastic change by dropping the FD series lens and adopted the autofocus EOS system. Again: which lens do you have?