Raw files looks dark
Sep 19, 2023 15:46:14 #
BobHartung wrote:
The you are ignorant of the basics of photography!
I will match my photos with yours one for one and then we can see who is ignorant of the basics of photography!


Not to mention the basics of grammar!
Shooting RAW has nothing to do with the basics of photography. It has everything to do with the basics of computer graphics!

Sep 19, 2023 15:58:29 #
I aim the viewfinder at a darker area, then recompose picture. However, it sounds like that may not hold the exposure. If that is the case, how best to focus and picture AND meter the exposure? Where to aim at a scene with high dynamic range?
Sep 19, 2023 16:11:34 #

Dynamics5 wrote:
I aim the viewfinder at a darker area, then recompose picture. However, it sounds like that may not hold the exposure. If that is the case, how best to focus and picture AND meter the exposure? Where to aim at a scene with high dynamic range?
Why make it so complicated? And miss the scene that caused you to pause? Especially if shooting in RAW?
As noted in the earlier replies, Evaluative metering considers the enter frame. The camera seeks to balance not over-exposing the highlights, while seeking to expose for the darker sections. You just compose, focus and shoot. Then, process the results.
Sep 19, 2023 16:32:42 #

Dynamics5 wrote:
I aim the viewfinder at a darker area, then recompose picture. However, it sounds like that may not hold the exposure. If that is the case, how best to focus and picture AND meter the exposure? Where to aim at a scene with high dynamic range?
In some cameras the AEL option might default to on or off or you might not have an option to switch. See your earlier thread on Focusing, then, re-composing. You mentioned that the default is different for the Canon 6D Mark II vs. the older Canon 6D. But both cameras have a "*" button which might be Canon's version for switching the exposure lock on and off.
But neither option is going to help you to get the proper exposure even if you set the metering mode to Spot rather than Pattern.
Separate the concept of focusing from exposure. Focusing is simple and you can lock it by depressing the shutter and recomposing.
But proper raw exposure means that you have not blown the raw highlights. You can recover shadow information but not blown highlights.
To get this right, watch for highlight warnings or learn about the histogram.
Sep 19, 2023 17:29:29 #

CHG_CANON wrote:
Thanks for the file! Here's a few things: br br 1... (show quote)
A stellar transformation ⭐⭐⭐⭐⭐
Sep 19, 2023 21:03:51 #

Dynamics5 wrote:
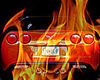
The dark part of my raw files look exceptionally dark. Is there a way to correct for that?
1) Raw files are not a cure for underexposure or bad white balance.
2) Raw files contain roughly 12 to 15 stops of dynamic range, so SOME underexposure can be corrected on a computer if the scene dynamic range is much less than that.
3) You should plan on using software to adjust raw files, on a computer with a properly calibrated and ICC-profiled monitor made for graphic arts and photography.
There really isn't a way to shortcut the procedure if you demand quality and precision.
A *sometimes* acceptable alternative is to record JPEGs after making good choices regarding exposure. Cameras have MANY controls that affect the look of JPEGs made in the camera. It takes quite a while to master them and to know when and how to adjust what. Most perfectionists would rather record raw files and refine results in post. But if the lighting is relatively well controlled and unchanging, and the scene dynamic range is under six stops, JPEGs can yield excellent results.
Sep 19, 2023 22:04:02 #
burkphoto wrote:
1) Raw files are not a cure for underexposure or b... (show quote)
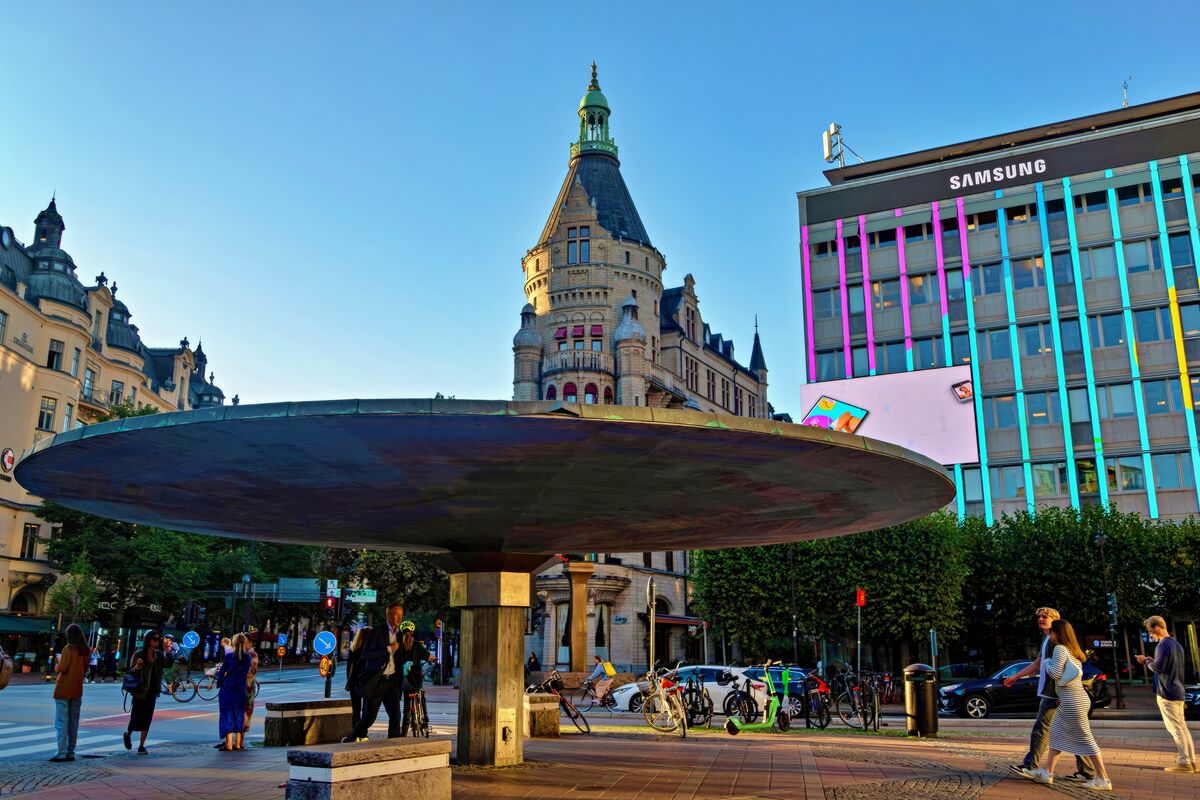
And yet, when we step away from theory and ground the discussion in an actual image, what did we see?
ANS: Nothing overexposed, minor dark clipping in the unimportant shadows in a high-DR situation. The image reports no EV in Aperture Priority using Evaluative Metering. Seems maybe, given the involvement of a full-frame Canon EOS DLSR, the OP could have pushed the exposure to the right a bit more, say +1/3 or +2.3 EC, giving still brighter shadows with minor risk to highlights. But otherwise, the results of this pudding are the processing, given the fine image-capture ingredients.
(and a minor reminder: WB is not baked into a RAW, being fully editable / changeable in the digital editor. There's no such thing as a 'bad' nor 'good' WB in RAW.)
Sep 19, 2023 22:43:02 #

burkphoto wrote:
Hear hear! 1) Raw files are not a cure for underexposure or b... (show quote)
Especially #1.
Sep 20, 2023 00:23:15 #
CHG_CANON wrote:
And yet, when we step away from theory and ground ... (show quote)
Paul, baking white balance into the EXIF data in a raw file will prime most post-processing software with those values, getting you close to what you want, IF you used a proper white balance target at the camera to set custom white balance for the JPEG. I do it all the time, and have done so since the Canon 20D I had 18 years ago.
The secret is that ALL the menu settings for the in-camera JPEG processor are recorded in the EXIF, which is part of the JPEG preview image stuffed into the raw file wrapper along with the raw data. You can essentially start out with the same look you would get from the in-camera JPEG, and tweak from there... It saves a lot of time and guesswork — provided you nailed reference quality exposure and white balance. It isn't always practical to do that, but in controlled, stable lighting situations, it is.
When I do that in Lightroom Classic, I change from the "Adobe Color" default setting to the "Camera Natural" profile I use when making in-camera JPEGs.
Sep 20, 2023 04:59:39 #
burkphoto wrote:
The secret is that ALL the menu settings for the in-camera JPEG processor are recorded in the EXIF, which is part of the JPEG preview image stuffed into the raw file wrapper along with the raw data. You can essentially start out with the same look you would get from the in-camera JPEG, and tweak from there...
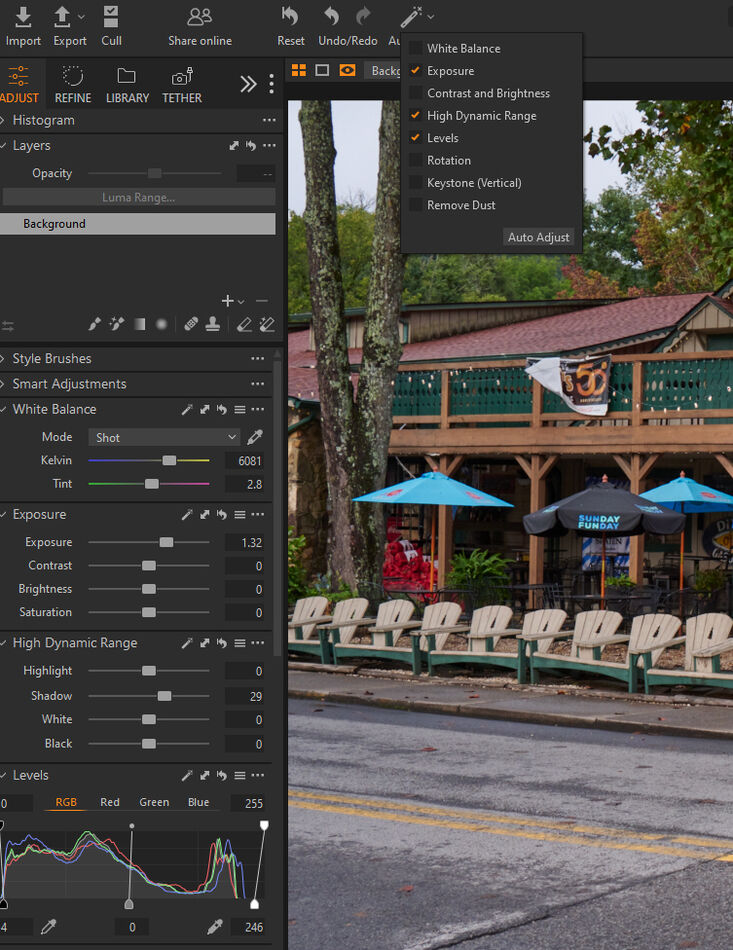
Capture One simply calls the camera's WB setting as "Shot" rather than trying to identify which WB setting the camera used. The image below was captured in cloudy conditions so I had the WB set to Auto.
The screenshot also shows something that the camera cannot do on its own. Capture One (I assume Lightroom has the same option) has an Auto Adjust feature that can be set to optionally do a number of routine adjustments at the start of the raw development process.
One of the features of newer Nikon and Sony cameras (others should follow) is a refinement of Matrix or Evaluative metering modes to place special weight on protecting the highlights. In this case the camera was set to Highlight Weighted Metering to prevent the highlights (only 20 raw pixels out of 45.7MP were blown). The extra protection was a bit aggressive. The result was some underexposure but the shadow information could still be easily be recovered. Any of the resulting settings can be further modified.
Sep 20, 2023 07:21:12 #
Methinks that you all are taking a fun hoppy way too seriously. Lighten up, and enjoy your photography experiences
Sep 20, 2023 07:48:01 #
burkphoto wrote:
Paul, baking white balance into the EXIF data in a... (show quote)
We're talking RAW, not JPEG. You said WB can be 'bad' in RAW. Where, no, White Balance is not baked into the data in RAW, not for any editing software, especially not for the OP's Adobe Lightroom.
Sep 20, 2023 08:36:36 #
CHG_CANON wrote:
We're talking RAW, not JPEG. You said WB can be 'bad' in RAW. Where, no, White Balance is not baked into the data in RAW, not for any editing software, especially not for the OP's Adobe Lightroom.
He’s right, of course. It just depends on how you interpret “baked in”.
It’s in the embedded JPEG and it can be applied to the initial rendering displayed in the raw editor.
Whether it’s a good or bad WB is another issue.
Sep 20, 2023 08:41:26 #
How are you metering? Spot, center or matrix? If you’re on spot, this could explain.
Also, you can adjust in processing, however, if you lighten darks too much, you will bring out noise that could have been avoided in the first place. Yes, you can eliminate noise in post, but if you meter correctly in the fist place, you can avoid a lot of that unnecessary noise.
Check EC as well. You may have turned that down accidentally. Check to see if you are in shutter priority with a selected shutter speed that is too fast. Could be a portion of the problem.
Let’s us know what you find.
Sep 20, 2023 09:32:49 #
CHG_CANON wrote:
Regarding HDR and bracketing. This is September 20... (show quote)
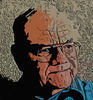
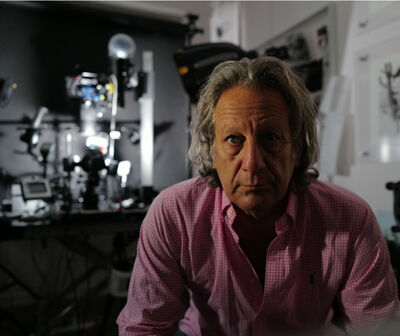
Topaz Photo AI result.
Too contrasty & the colors are all wrong, but??? . . . .
Best Wishes,
JimmyT Sends

If you want to reply, then register here. Registration is free and your account is created instantly, so you can post right away.