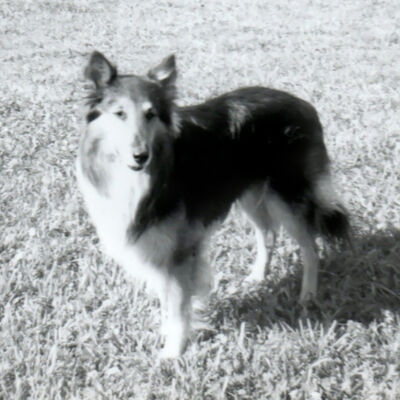
Photo Boost Needed
Apr 23, 2014 22:39:29 #
gypsy02
Loc: Indiana
MMC wrote:
This is my attempt.
Nice, MMC. Very natural but flattering at the same time. Thanks.
Apr 24, 2014 09:45:51 #
gypsy02 wrote:
Thank you so much for the detailed instructions! ... (show quote)
You should be in expert mode, with the layers window open. At the top of the layers window, the second icon is the "create new adjustment layer" icon. Click on that and a pop up menu will give you choices of what type of ajustment layer to create. Look for brightness/contrast and click on that. This will create a new layer above the original picture named brightness/contrast. To the left of the name is a white square, that is the mask, and to the left of the mask should be an icon that looks like the sun. Also, a menu for brightness/contrast will open on your screen. Move the brightness slider all the way to the right, making your whole picture too bright, then close the brightness menu by clicking on the x in the top right of it. You can always go back to that menu by clicking on the sun icon next to the white mask in the layers menu.
Next, click on the white mask in your layers window, making that active, then with your foreground color set to black, press ALT+Backspace, this will turn your white mask black, and hide all the brightness you just added to your picture. Note, make sure you click on the mask, if you do this with your cursor in the picture, your picture will be replaced with black. If that happens, press Ctrl+Z to undo that, and try again:-) You just want the mask to turn black.
Next press B for brush, and X to switch foreground/background colors, and paint on the picture with a white brush, not on the mask, but the white will show up on the black mask.
Anywhere you paint white, say the face, will let the brightness you added show through. You can paint on everything except the sweater, or just paint on the face.
You can go back by clicking on the sun icon in the adjustment layer which will re-open the brightness menu, and move the sliders around all you want. You can adjust the opacity of the white brush to reduce the effects, you can reduce the transparency of the adjustment layer to reduce the brightness as well.
Also, I suggest you always make a copy of the original layer by pressing ctrl+J, then turn off the original (background) layer by clicking on the eye next to it. Make the background copy layer active before creating the adjustment layer. The reason for this is to preserve the original layer, and also because lots of editing functions don't work on the original background layer unless you rename it. Easy just to hit cntrl+J, just remember to turn off the original background layer before starting to edit
Apr 24, 2014 12:25:26 #
gypsy02
Loc: Indiana
BigDaddy wrote:
You should be in expert mode, with the layers wind... (show quote)
Thank you, thank you! I've still been practicing on many other photos and I do believe I'm getting it. I've had some good success!! Thanks again!
May 23, 2014 22:42:17 #
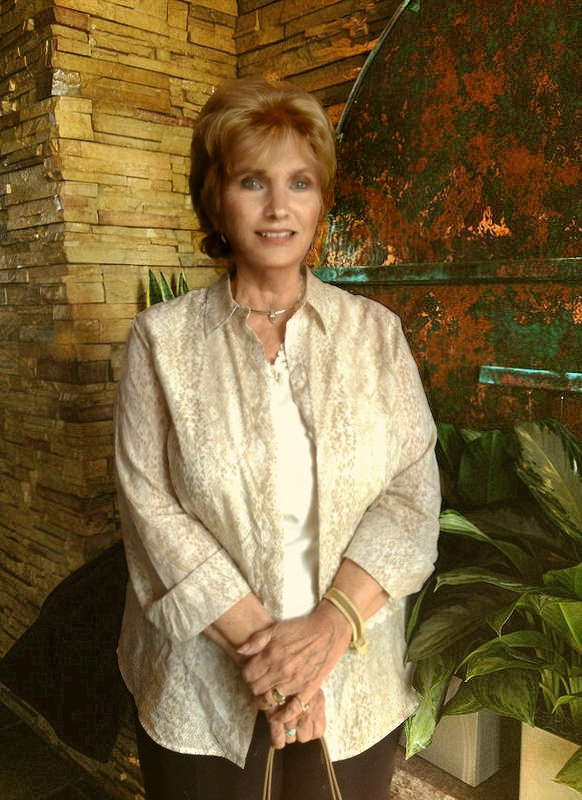
gypsy02 wrote:
I've been trying to boost this photo out of the shadows without blowing out the highlights and design in the blouse. The first is the original and the second is my attempt with also some touch up on facial lines. Still appears a little flat. Any help or suggestions will be appreciated.
I used smart photo editor to change background settings and subject independently and then used portrait pro
Hope it's not overkill
May 23, 2014 22:44:46 #
May 23, 2014 22:45:28 #
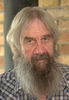
Old Grey Beard wrote:
I used some pse12 also, but it didn't give the download.

May 23, 2014 22:45:45 #
If you want to reply, then register here. Registration is free and your account is created instantly, so you can post right away.