Posts for: MyPharo
Sep 7, 2015 10:49:22 #
Copper Hill Images
P.O. Box 182
Copper Hill, Virginia 24079
United States
P.O. Box 182
Copper Hill, Virginia 24079
United States
kavner58 wrote:
Can someone help to locate the copperhillimages.com website? Was it relocated?
I need to clean my sensor and need their web guide.
Thank you for any lead!
-AK
I need to clean my sensor and need their web guide.
Thank you for any lead!
-AK
Aug 13, 2015 18:21:56 #
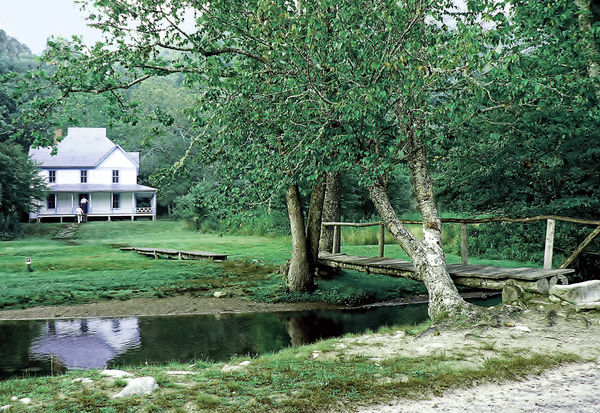
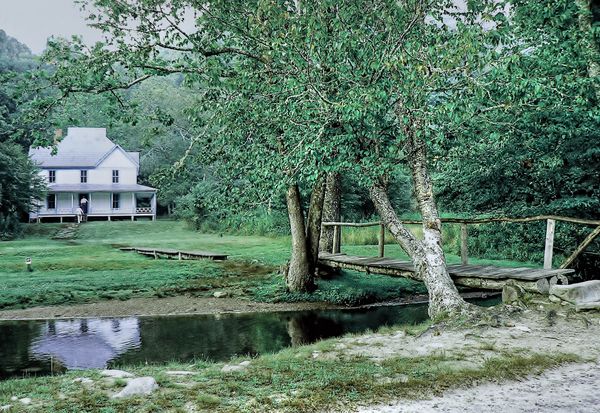
Here is my try . One is Photoshop #2 is tone mapped.
Jul 15, 2015 21:47:53 #
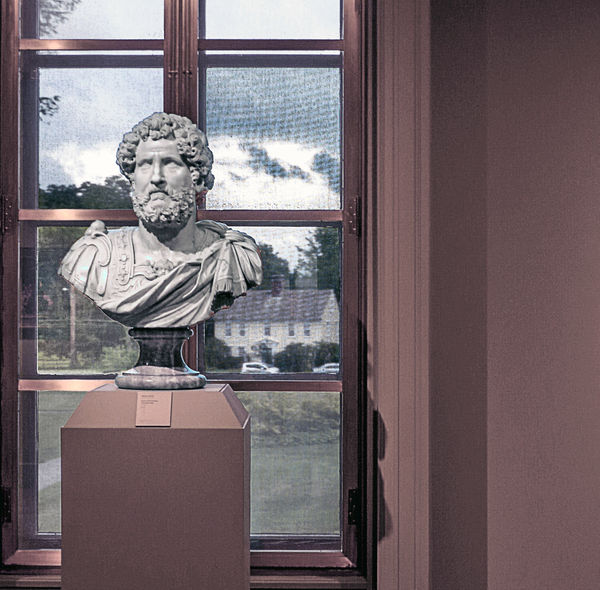
I magic select tool . selected the quick select tool and selected the bust only . use the remove color cast . that made the must look more natural white marble .. Then a slight hue adjustment.
Then I did a cntrl J .. then Filters - Other - High Pass
Then i make an adjustment on the photo until I see color, then back off .5 or so .. then I select each Over Lay, Soft light, etc to see how the photos looks sharpness wise . When I am happy I Select layer then flatten ..
Then I select View - Grid then CTRL T Then grab the corner of the photo and adjust to the right or left as needed .. so it aligns with the grids. when you are happy . click the green arrow . then I use Crop tool to remove the outer edges that are created when you adjust the photo .
Hope that helps .
ediesaul wrote:
Thanks for all your work, MyPharo. I tried "remove color cast" but will try again. Do you have a "high pass filter" in Elements? If so, please tell me where it is. Also, I know how to adjust for horizontal lines. Please tell me how you adjusted for vertical lines. I appreciate these tips very much.
Jul 12, 2015 07:04:12 #
I quick selected the bust, then using Element 11 did a remove color cast . this made the statue more white marble. Then I adjusted the color hue just a little .. then I inversed the selection and did a small level and contrast adjustment . then I did a auto color adjustment . then I did a high pass filter to sharpen the photo just a bit . then I used the grid lines as a guide to straighten the statue / picture a very little to the left, then cropped it to be clean of the shift move white lines. With out knowing the wall color I have to guess this is correct or close .
Jul 4, 2015 07:43:52 #
I use Elements 11 .
First I added a grid to see is the photo was off or was it the building or perspective from where it was shot.
I used Filter / correct camera distortion
Then I made slight adjustments while looking at the grid lines to keep it all in perspective to be straight.
I then added a High Pass filter to sharpen the photo just a touch .
then a very light adj to the Level and contrast ..
then a auto color adjustment . I think the photo is better balanced and pops just a little more .
Nice shot and it was a good photo even before the adjustments ..
Jun 24, 2015 07:15:16 #
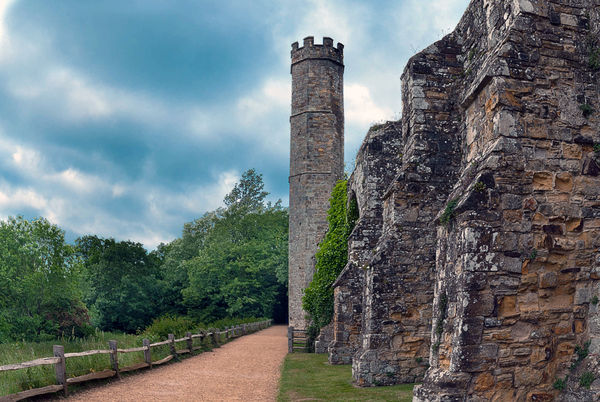
Just a quick play with Photomatix Pro
Jun 13, 2015 07:22:23 #
Jun 9, 2015 06:35:09 #
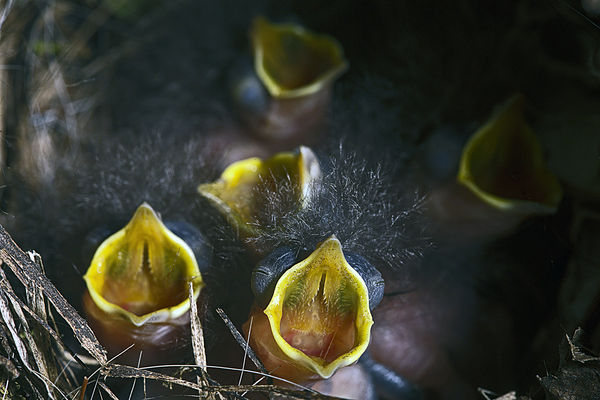
I like the photo, great shot. I removed a few strands if the nest as I feel they were distraction from the main subjects. I adjusted the levels and contrast and did a minor color correction. I then adjusted the hue just a touch. Then I did a high pass filter and I think that sharpened it up. I then adjusted the lighting- shadows and highlights just a bit.
Jun 8, 2015 23:41:57 #
Ok no offence meant. I am the type of person who likes to show the results, as well as help others learn.. I am a visual person . Well I guess this is not the room for me to help others in.
Thank you
Thank you
Country's Mama wrote:
I am sorry. The rules in the critique section do not allow for edits.
Jun 7, 2015 09:42:11 #
I have to say that the photo is very good. In photo one all I did was to adjust the levels and contrast slightly in Photoshop elements and the photo then pops.. you can change the back ground or blur it out totally along with some minor cropping to even enhance the photo more.. In photo 2 I used a simple program called Portrait Professional that once I made the first adjustment in Photoshop elements, then used this program and it cleans the photo up and you can adjust sections like the eyes, as you can now see they pop even more.
Apr 27, 2015 06:59:45 #
Do you wonder how many times some one has shot them-self while using it ?
Apr 10, 2015 07:12:03 #
WALKING WITH WALKER .. LOL
Mar 27, 2015 07:13:37 #
Here is your original photo that I tone mapped [ using Photomatrix Pro ] to show you one of many possibilities that you can do with a photo. Many people look for the "effect" and over look the realness and live look a photo should have. Most people like the over processed look, almost like a photo / paining combo. I like when it looks like I am there with a little fixing .. you can use YouTube for many free tutorials on the basics and more . Practice and time will improve your skills .. good luck
sab2101 wrote:
Another try at HDR would like some opinions please...........Mike
Mar 25, 2015 18:19:02 #
First photo is touched up with some adjustments in Photoshop Elements . The second is tone mapped in Photomatrix Pro
Mar 25, 2015 18:16:08 #
