Posts for: wteffey
Jun 25, 2012 07:03:41 #
I used the InFocus trial and compared the results to sharpening from Elements and could not see enough difference to justify the expense. Like most Topaz products, InFocus might be quicker and more simple than Elements, but with practice you can achieve essentially the same results. Many people don't know that there are several sharpening methods within Elements, unsharp mask, high pass, emboss and local contrast, for example. I try one or two options then pick whichever works best.
Jun 24, 2012 09:49:14 #
Ask your camera for advice! Set it on AUTO and take a test photo. Inspect the review and settings the camera on auto selected and use this as a base for further enhancements. If, for example, the camera used ISO 400, F5.6 and 1/125 but you need to stop movement better you could ask the camera to use 1/250, and raise the ISO to 800. If the results are too "grainy" at ISO 800 you could try ISO 400, F3.5 and 1/250. Chances are the camera will get pretty close on auto and give you a good starting point.
May 27, 2012 18:54:25 #
Processing of RAW images in Elements Camera RAW applies changes to the entire image. (I don't know about other RAW editors) This is fine if that is what you want, but the JPEG image editor allows layers and masks while the raw processor does not. This means that you can apply exposure changes to a portion of the image. In this way you could darken only the sky in "Kirkwood". and lighten only the tree in "Tree W" without impacting the already good looking sky.
May 27, 2012 09:11:59 #
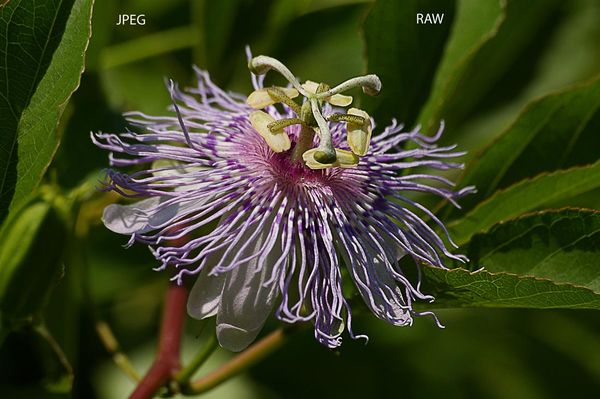
I posted the following image on the Pentax forum and it created a bit of a stir. Some RAW shooters actually became a little abusive. The left side of the flower is the JPEG image, the right side is the RAW. While I'm not selling anything to anyone, this does show that under normal conditions you do not have to shoot RAW to get a good image. I personally use RAW when conditions are not perfect, and a little insurance might be worthwhile.
If you have a recent Elements you can open a JPEG image in Camera Raw. You will not have all the benefits of working with a RAW image, but you can practice the RAW processing workflow. I begin editing all JPEG images by opening them in camera RAW.
If anyone would like to know how I prepared this composite image I'll be happy to explain
May 21, 2012 09:01:45 #
After posting my reply, and while feeding the horses, I realized that I may not have answered your question. First, any photo "saved for web" (Elements speak} is probably too small for printing at any size. Web photos are sized for quick upload and viewing, not printing. I usually end up with 3 or 4 versions of my best shots. I first rename and save a basically unedited, out of camera version. If I shot raw I may hedge due to the size of the file and save an unedited JPEG. I then crop the photo for composition, preserving the maximum detail. When doing this I double the size of what I think the print is worth. For example, if it looks like an 8x10, I'll crop to 16x20. I then apply my editing. After editing, I'll save a full size version for printing, I'll save a version for web, and perhaps a version for our digital frames. I will always download the full size edited version for printing, even if I will only want a 4x6. I do final cropping/resizing on the printer's website. Some websites will let me change the name of the downsized version, and essentially save both the large and small version. That way I don't have to re-upload if I want a larger print. When emailing a web only version I always note that the emailed version is too small to print, and indicate that I will resend a full size version if a print is desired.
May 21, 2012 07:23:33 #
Elements 9 has a recompose feature that might be perfect for this photo. You would be able to remove the center portion with recompose, eliminate the post and effectively bring the two birds closer.
May 21, 2012 07:19:42 #
All images have a maximum practical print size, even those, from a high quality, high MP camera. Such an image will have a very large practical print size, but will still have a maximum practical print size. Crop out half of this image and the balance will make a similar quality photo of about half the original size. For example, a good 6 mp camera/lens combination will make nice uncropped prints up to say 16x20. Crop out half the image and your maximum will drop to 8x10, or less. No way around it with today's technology.
May 16, 2012 07:02:33 #
When you are ready to print you might want to change your thinking to PPI (pixels per inch), or DPI (Dots per inch) When I crop with Elements the new PPI is shown. I like to see as much as 300 PPI, but have found that images as low as 225 PPI look just fine. If I crop to a 8x10 print and the PPI falls to less than 225 PPI I try a 5x7 crop, or even a 4x6. Also, most printing sites will notify you if the resolution is not adequate for the print size selected. If this happens I will try for a smaller print.
May 11, 2012 09:50:13 #
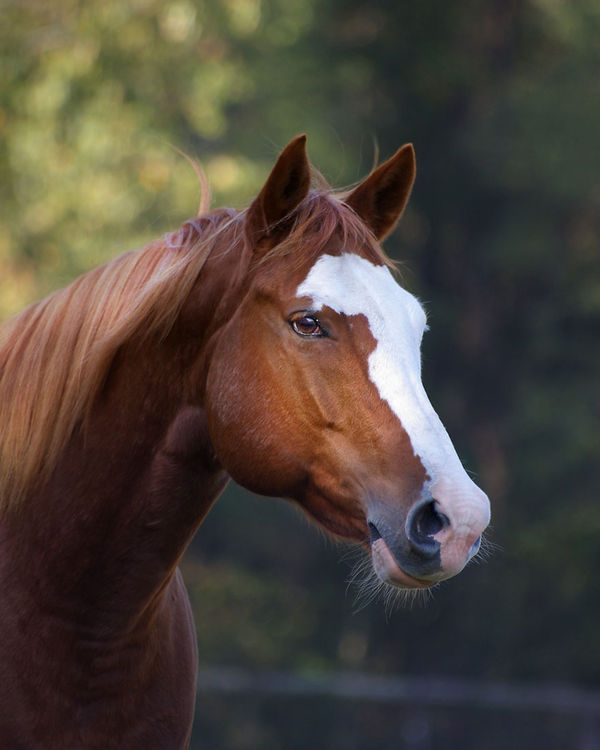
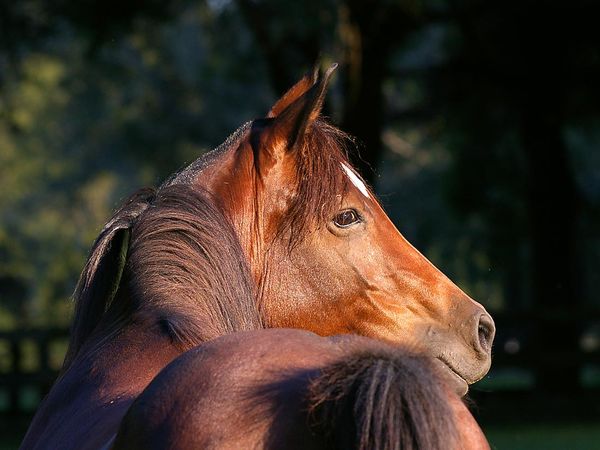
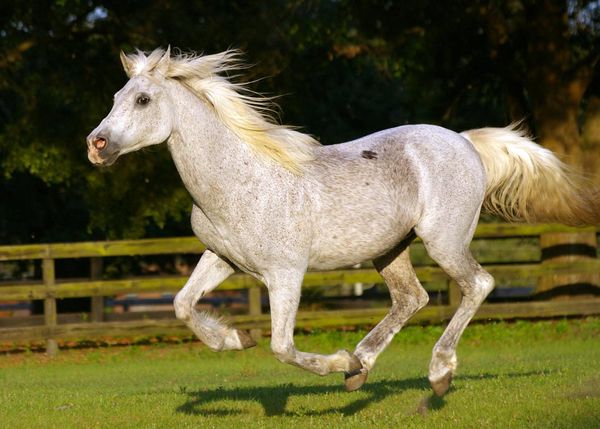
I have had two Sigma 70-300 APO DG lenses (dropped the first one). By the time I had to replace the first lens I had saved enough to afford up to $600, but the results from the Sigma were excellent, and I saved almost $400. In typical Republican style, many people think because they can afford an $800 lens everyone can. The final choice is yours, but I would rather have a good lens now than a fine lens later. I hate to miss once in a lifetime photos.
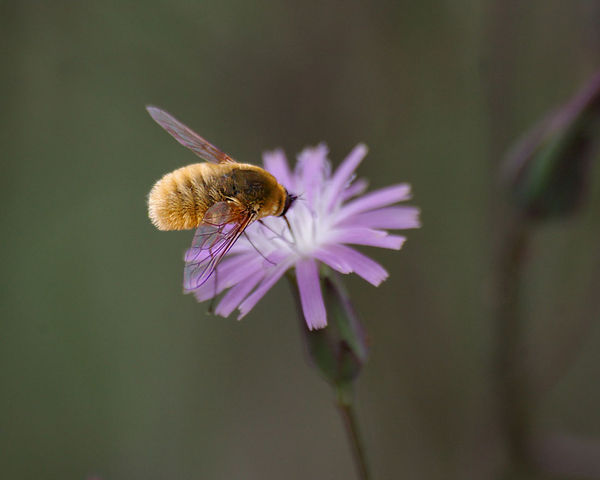
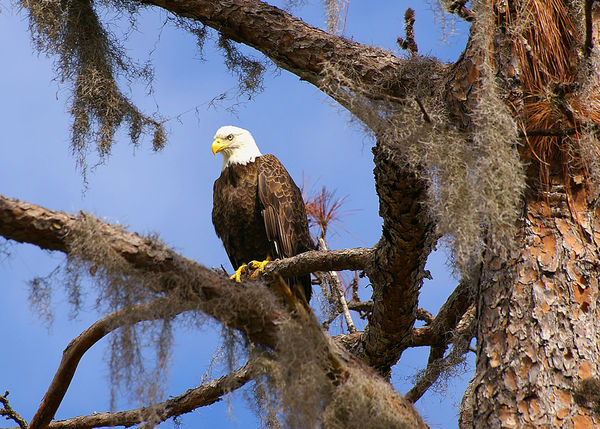
Here are some samples from the Sigma. I believe a Tamron would be as good
Here are some samples from the Sigma. I believe a Tamron would be as good
Apr 17, 2012 08:57:52 #
Back in my film days, my photography instructor always advised us to get some insurance "in the can" before you try to get creative. (Today it would be "on the card") I always try first to get some acceptable to shots using whatever automation is available. Once I have the "insurance" I then try to improve the image using manual settings. If the manual settings make things worse, and they sometimes do, I still have the "insurance" to fall back on.
Apr 14, 2012 08:15:34 #
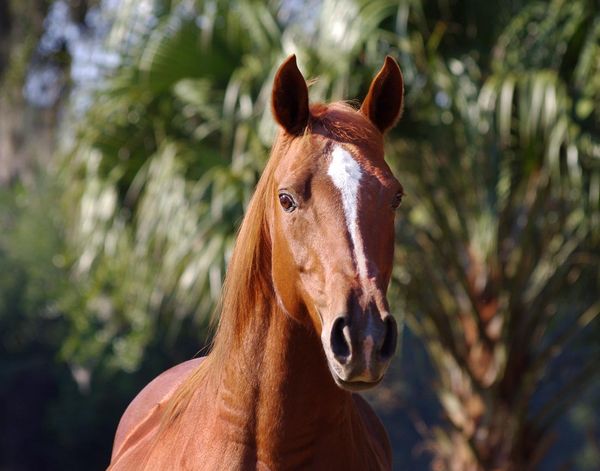
WOW! It must nice to be able to pick between a $900 or a $1,500 lens. My specialty is horse photography, and I get by very nicely with a Sigma APO DG 70-300 for about $230 US. In fact, I liked my first one so much, when it fell out of by bag and broke I immediately ordered a new one, even though by that time I could have afforded a more expensive lens.
Feb 24, 2012 07:41:00 #
I would have avoided the backlight if I could, but if it was unavoidable, and I really did not want to use flash, I would have changed to "spot" metering and metered on either child, or on a dark surface nearby, held the setting with av hold or the shutter release, and recomposed. Might have helped, but the background would have been blown out. With this photo, in pp, you could duplicate the layer, reset the levels to properly expose the children, create a layer mask, then erase it where it didn't help. Saved a number of photos for me
Jan 29, 2012 09:32:31 #
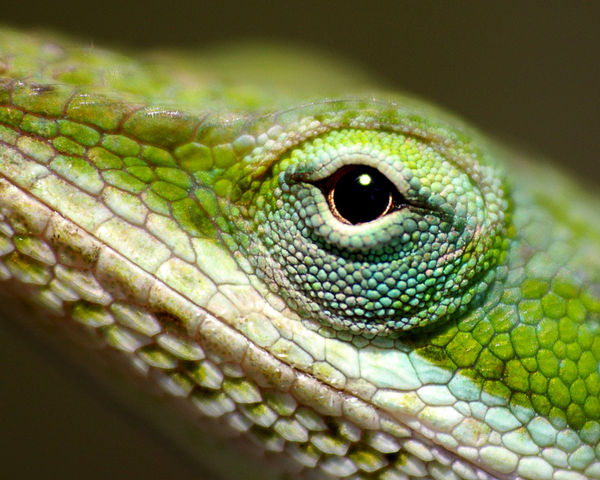
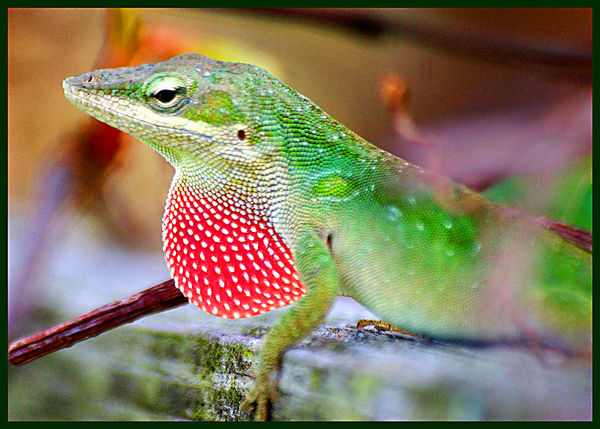
Are you really sure you want a true "macro", or would a good close focus serve well enough? The following were photographed with a close focus Sigma 70-300. I may not be able to photograph the eye of a fly, but my lizards came out well enough for me. For those times when I want go get even closer I slip on one of my Raynox macro add on lenses. I have both the 250 and the 150, but find the 250 a little too hard to use outdoors on live subjects

Jan 1, 2012 08:28:07 #
I also have elements 9.0 and the book by Kelby. The Kelby book is excellent, but if you are new to elements you might find he passes over many basic techniques he covered in previous books. His books are also very expensive. There is a website called elementsvillage.com, that offers lots of FREE tutorials. I found two, how to replace sky's, and how to use high pass sharpening that are explained as well as the Kelby book, and are FREE. You might want to run through their list of tutorials and see if there is anything you can use, most are pretty basic, but they are FREE. You can tell, I like FREE!
Dec 27, 2011 07:03:29 #
Beginners often receive two pieces of ??? advice: "Shoot Raw" and "Shoot Manual". Most people do not ever need to do either, and this advice often discourages people from pursuing photography as a hobby. People should research the pros and cons of raw and manual and decide for themselves if and when they need to take this route, and not blindly follow someone's advice. I occasionally shoot both raw and manual, but I have found that: 1. My camera usually gives me excellent results (90% or more) in an automated mode, and manual adjustments rarely help, and 2. When I have taken both raw and jpeg photos of the same scene I can use the jpeg to create almost identical final results to the raw. Saving the original jpeg untouched gives me the option to go back and use new PP techniques as I learn and grow. Choose wisely