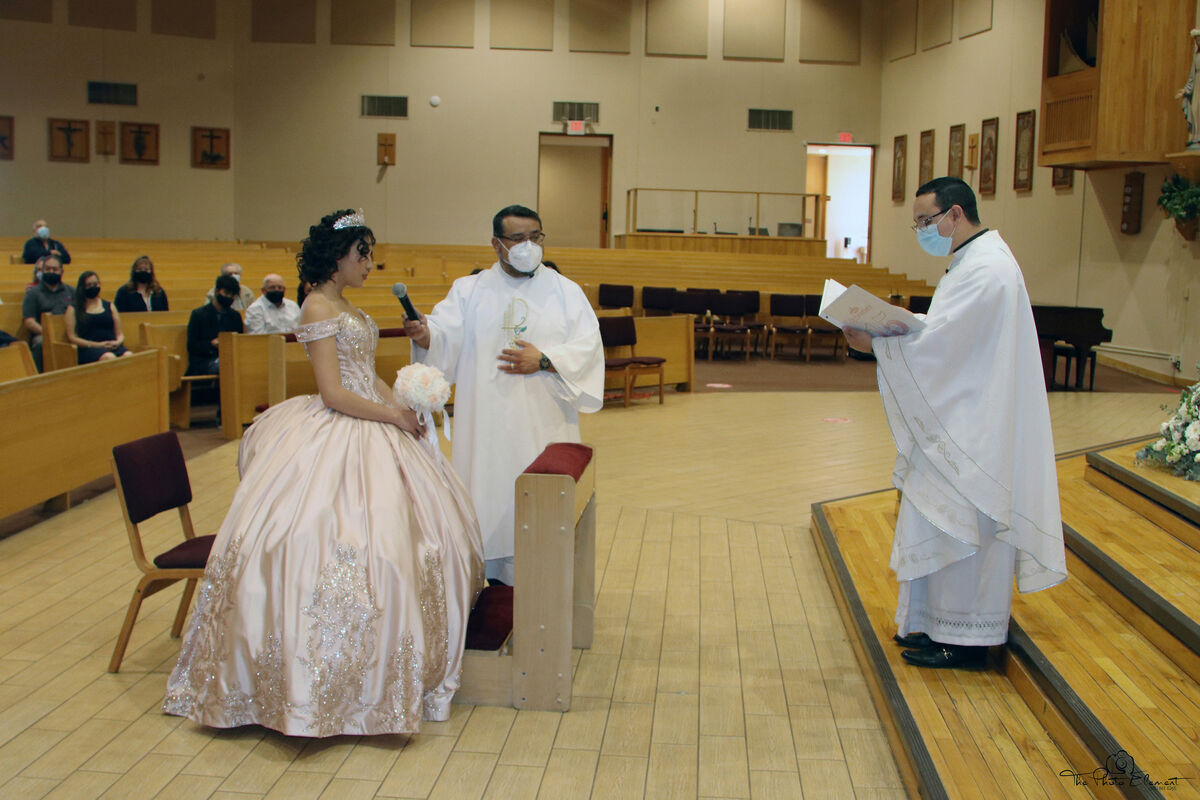
Ugly Orange Tones =white balance on automatic=
Aug 19, 2022 16:26:56 #
Depending on your use, may I suggest keeping it simple. You used auto white balance when shooting that would be a good start. The suggestion to try incandescent is worth a try . If you use Photoshop , try the auto color function to see the difference in the color balance. You might lighten the image a bit after using auto color.It is not perfect, but it may be acceptable for your needs, especially if you have several files shot under the same conditions which could require a lot of time processing to get perfect.
Aug 19, 2022 17:12:24 #

Seabastes wrote:
Depending on your use, may I suggest keeping it si... (show quote)
A simple click balance with the eyedropper tool, aimed at the white flowers in the bouquet, will kill most of the green cast and reveal a more realistic skin tone.
Churches with mixed lighting are a pain in the test target. I like to do a "site survey" ahead of an event, to take some meter readings and perform some custom (manual) white balances and store those values in my camera (and note them for later reference).
I use a One Shot Digital Target or similar tool. https://www.bhphotovideo.com/c/product/429983-REG/Photovision_DT24011_24_One_Shot_Digital.html?fromDisList=y
If you're doing raw capture, use the target anyway, and make an exposure of it under each lighting situation, so you can "eye-dropper it" later in post. But if you insist on making JPEGs at events, the custom/manual/preset white balance in reference to a perfect exposure of the One Shot Target is hard to beat.
All bets are off if you're mixing strobe with ambient lighting. If the venue is lit with sodium vapor or mercury vapor, about the only way to get good color is to override the ambient light by more than five f/stops. That may not be allowable.
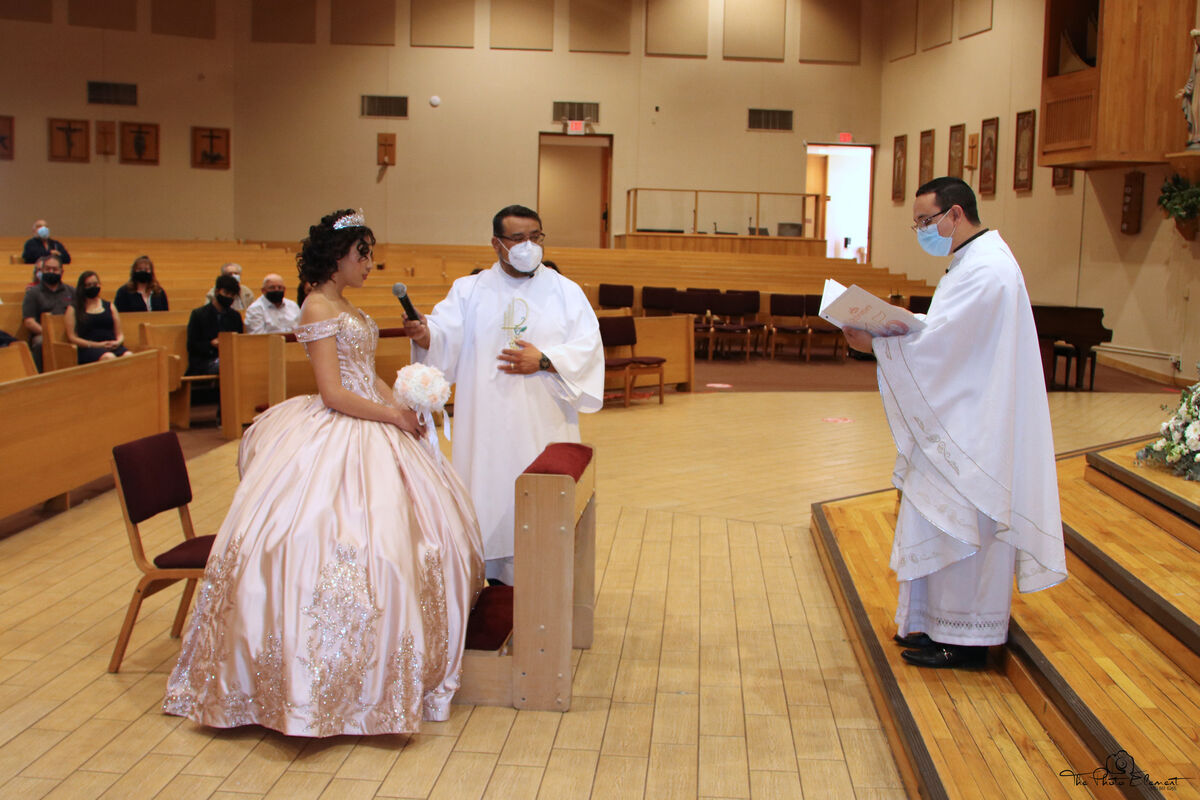
This image was edited in Apple Preview with one click of the eyedropper tool on the white flowers, and a couple of ticks of exposure increase. That's all. I used the white flowers because they don't contain optical brighteners such as many detergents leave in fabrics, or that fabrics have added to them.
Aug 25, 2022 17:08:57 #
I didn't notice anyone mention it, but the bright doorway on the right is brighter than anything else in the image, and unimportant. I'd spot darken that, along with the tops of the white robes, and also lighten her hair and some of the on-looker clothing. I don't have photoshop, but Nikon's NX Studio has 'Protect Shadows' and 'Protect Highlights' sliders that can be applied to the whole frame, or select spots.
If you want to reply, then register here. Registration is free and your account is created instantly, so you can post right away.