Can't figure out how to get what I want! This isn't it.
Jan 11, 2018 18:29:28 #

When I was in Chiapas, we did a lot of posed people shots. I am NOT a portrait photographer. Several of the others were. I watched, mostly and shot other stuff. I wasn't too pleased with how and even where they were posing people, but I figured they knew more than I did. Anyway, I decided to take some in order to convert them to B&W line drawings. But I can't seem to get what I want. I'm posting two that I've worked on. First there's the original image, then my conversion attempts. I have watched about 30 UTube videos and can't make head or tails of them. I actually printed out some instructions, but they didn't work. The one that came the closest to what I wanted (actual drawn lines) was extremely tedious and required a lot less spasticity of hand than I have.
Anyway, if you have suggestions on how to achieve more closely what I actually want, please let me know. I have LR, CS5 and Nik. If you can suggest what more to do to what I currently have, please do so (remembering I'm a PP dummy).
So, basically, HELP!
Anyway, if you have suggestions on how to achieve more closely what I actually want, please let me know. I have LR, CS5 and Nik. If you can suggest what more to do to what I currently have, please do so (remembering I'm a PP dummy).
So, basically, HELP!
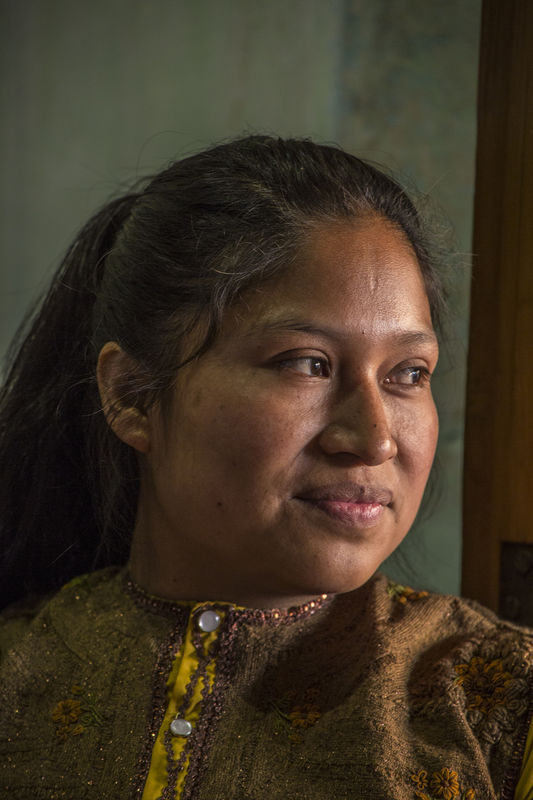
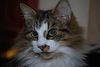
This is my original image of this shot. I didn't like the brown stripe down the side.
(Download)
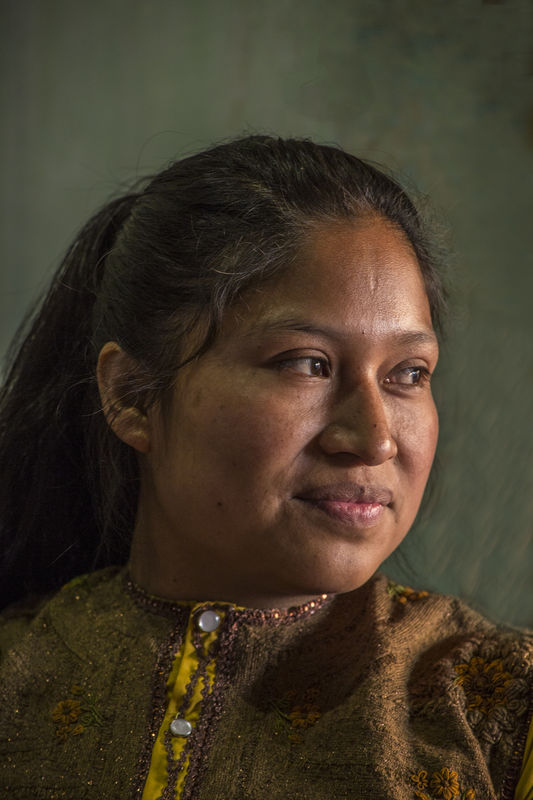
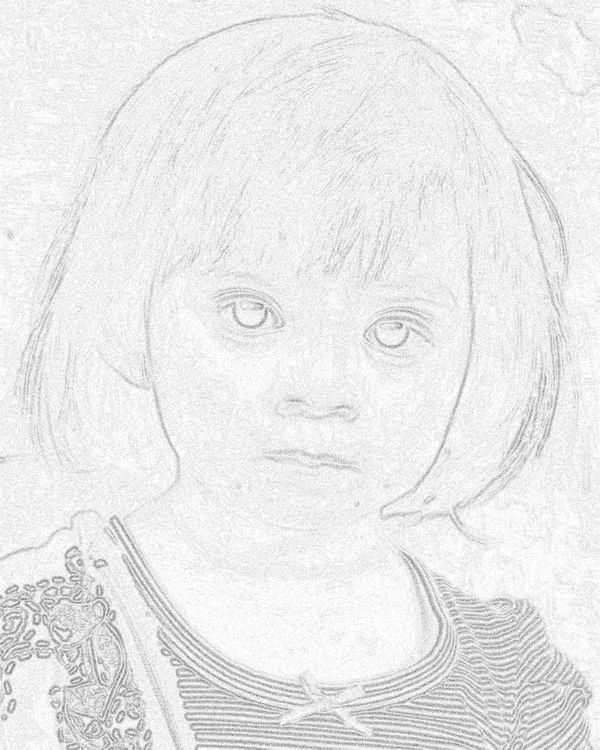
This is my attempt to make the background better.
(Download)
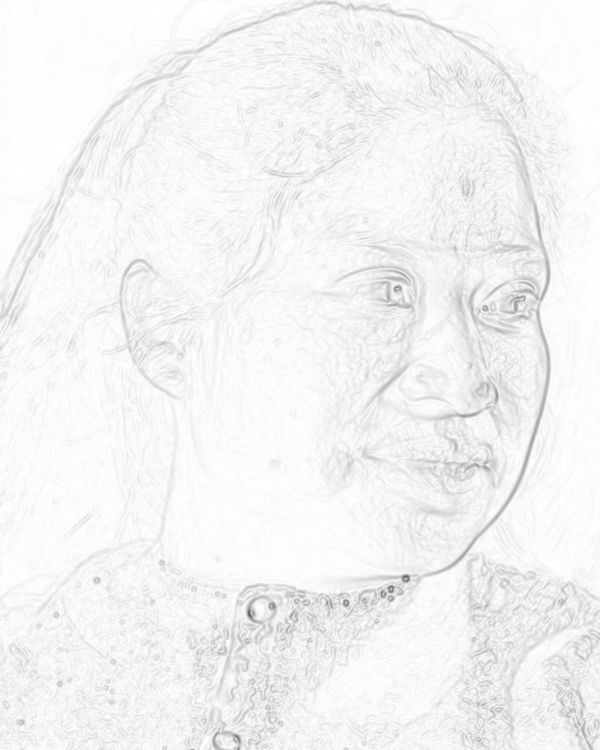
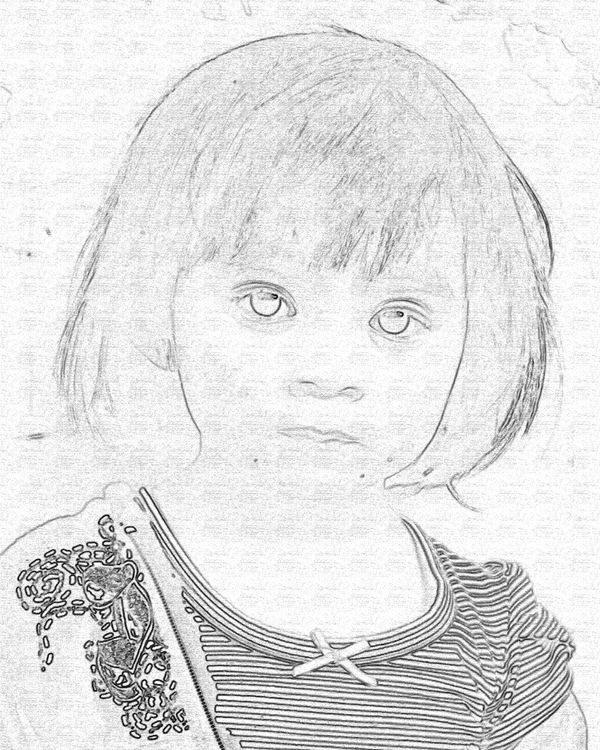
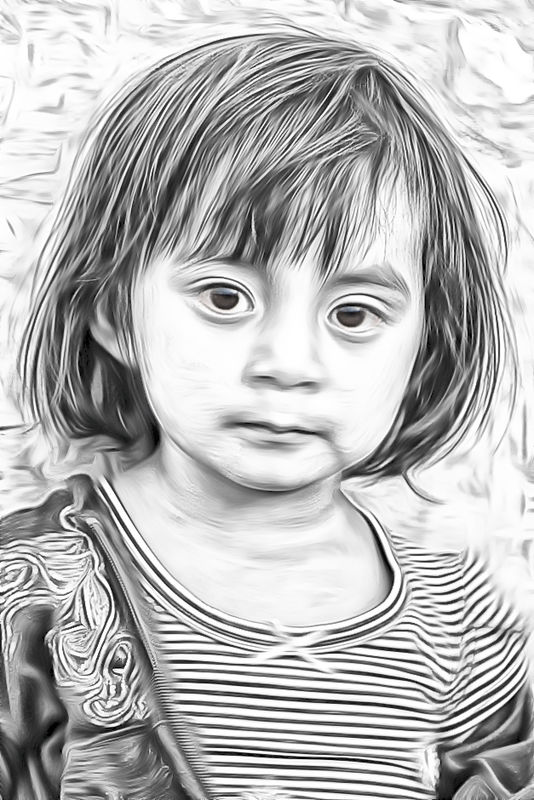
This was desaturated, then "find edges," then brightness and contrast, then sharpen several times. Not what I want, but sort of close.
(Download)
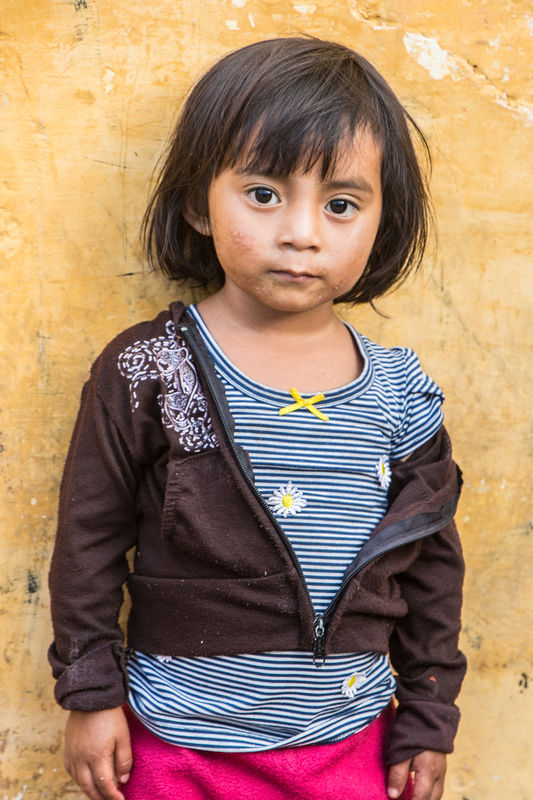
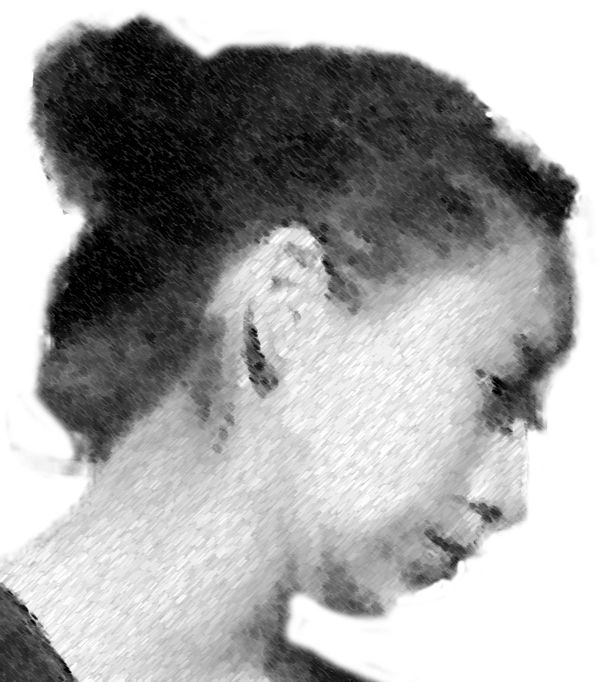
Isn't she just precious? This is my original image (one of many).
(Download)
This is conte crayon. Her blouse comes out way too dark, but when I crop it out, her chin really gets lost. And she's lost that little dirty-faced pixey look.
(Download)
This is charcoal with lots of playing around with contrast. it's too light, but when I darken it, it gets a bit muddy.
(Download)
Jan 11, 2018 19:07:44 #
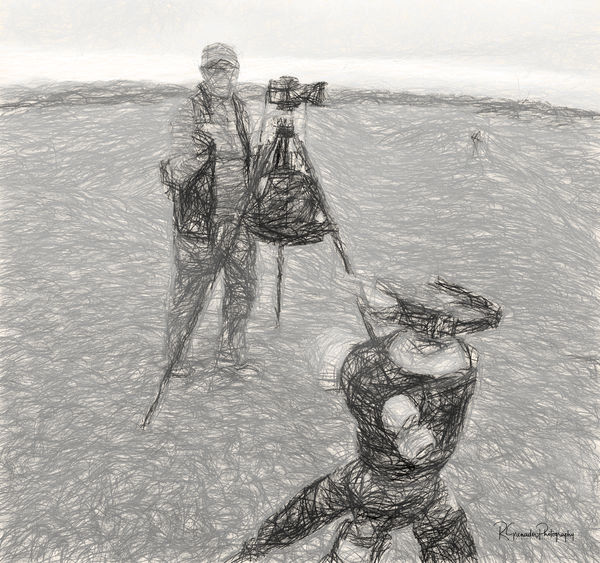
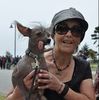
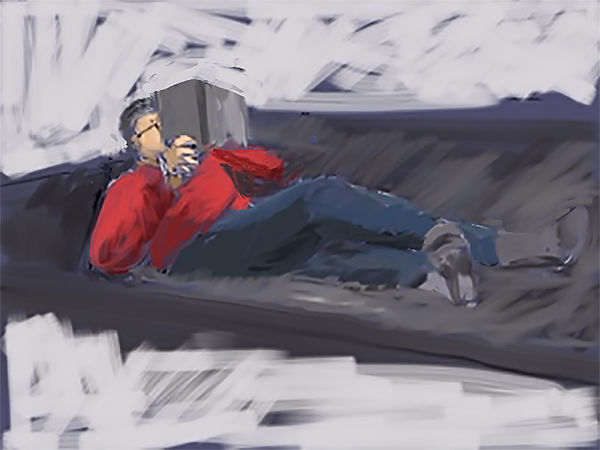
Be easy on yourself, download Topaz Labs Impression and run as a plug in with Lightroom and Photoshop. I don't normally do portraits, but had this one shot from the sand dunes in Oceano, CA of one member of the group and my tripod head. Impression's Pencil Sketch filter turned this around in a hurry. Normally, I my workflow would combine this with a texture overlay from Topaz Textures, but I wanted to make it quick.
Jan 11, 2018 19:12:10 #
rgrenaderphoto wrote:
Be easy on yourself, download Topaz Labs Impression and run as a plug in with Lightroom and Photoshop. I don't normally do portraits, but had this one shot from the sand dunes in Oceano, CA of one member of the group and my tripod head. Impression's Pencil Sketch filter turned this around in a hurry. Normally, I my workflow would combine this with a texture overlay from Topaz Textures, but I wanted to make it quick.
Thanks! I'll look for that. I see it mentioned a lot, but have never actually looked at it.
Jan 11, 2018 20:30:27 #
AzPicLady wrote:
Thanks! I'll look for that. I see it mentioned a lot, but have never actually looked at it.
After posting, I realized I could just download your image and convert. Hope you don't mind.
Jan 11, 2018 22:10:52 #
rgrenaderphoto wrote:
After posting, I realized I could just download your image and convert. Hope you don't mind.
Thanks. That is an interesting look. And it is closer perhaps to what I'm looking for.
Jan 12, 2018 11:19:10 #
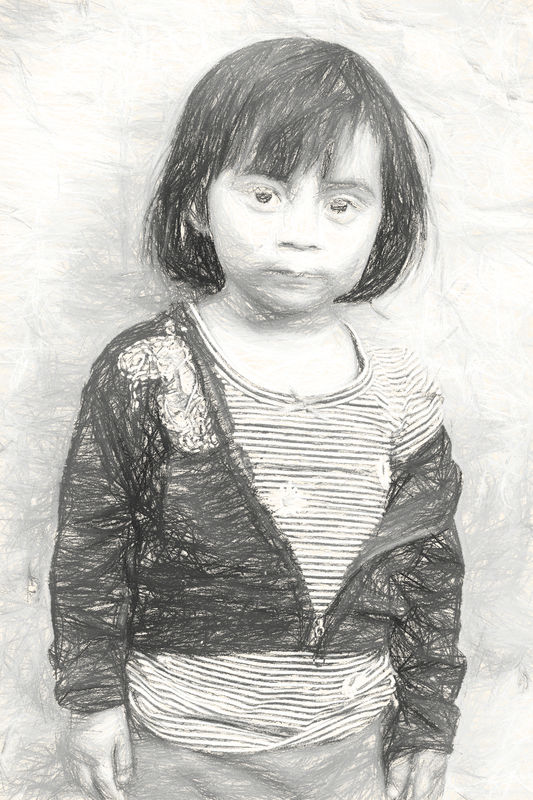
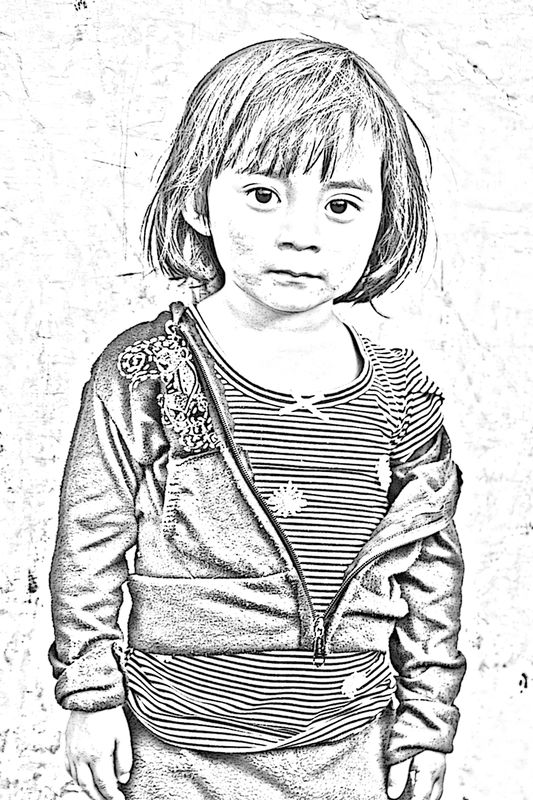
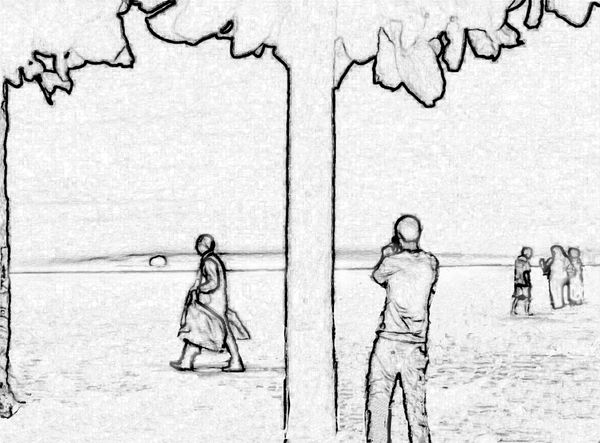
Don't know if this is the sort of thing you're looking for but if it helps here's what I done.
First, make a duplicate of the Background layer by pressing Command-J(PC: Ctrl-J). Press D to set your Foreground and Background colors to their defaults of black and white then convert the image to black and white using the Gradient Map adjustment (by going under the Image menu, under Adjustments, and choosing Gradient Map. Just click OK in the Gradient Map dialog).
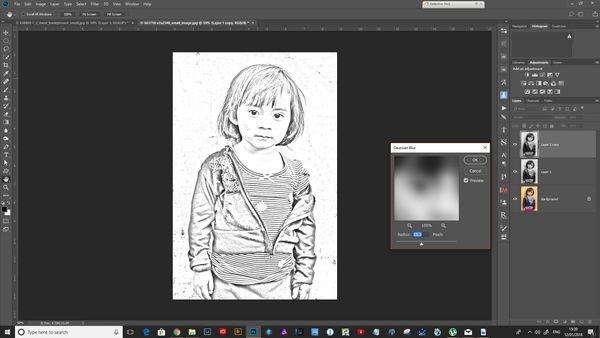
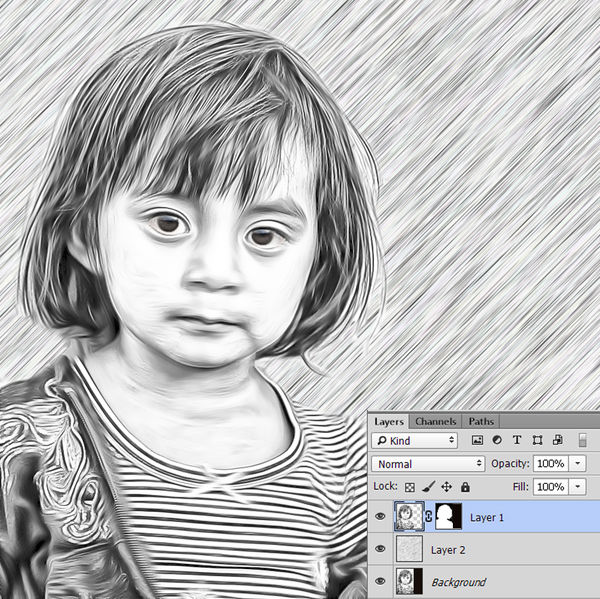
Now, make a duplicate of this black and white layer and change the duplicate layer and change the blend mode to Divide. This will turn the entire image window white. To bring back detail, go under the Filter menu, under Blur, and choose Gaussian Blur. The Radius setting will vary on different images, but in this case, set it to 15 pixels and click OK. As you can see, the image now has a very stylish, almost illustrated look(see screen shot).
Press Command-E (PC: Ctrl-E) to merge the two duplicate layers together into one layer. Then, go under the Filter menu again, this time under Artistic, and choose Poster Edges. Again, these settings may vary with different images, but here, I set the Edge Thickness to 0, the Edge Intensity to 1, and the Posterization to 6. This will intensify the effect a bit more. Click OK.
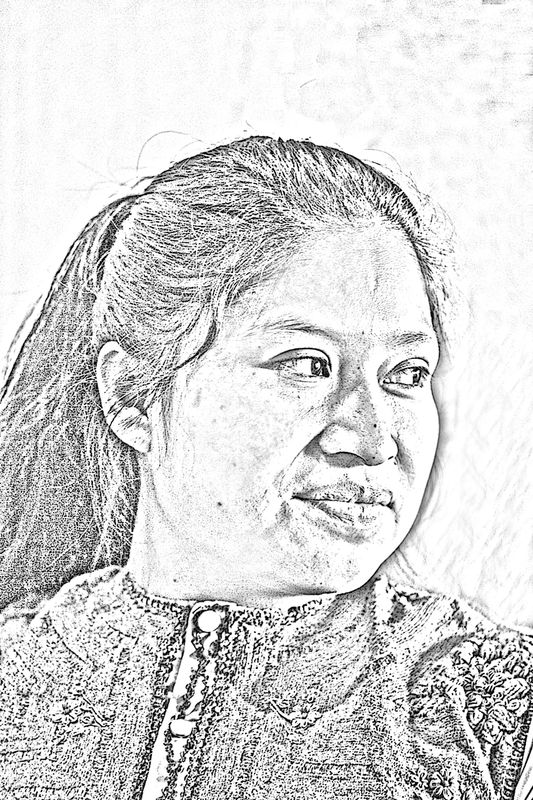
That was it for the young girl. For the lady portrait I added a layer mask and using a soft brush, took out some of the shading on her face.
Try playing about with the settings to suit your liking. This is the way I convert a lot of my photo's to drawings, usually adding textures after this stage and experiment with blending modes.
First, make a duplicate of the Background layer by pressing Command-J(PC: Ctrl-J). Press D to set your Foreground and Background colors to their defaults of black and white then convert the image to black and white using the Gradient Map adjustment (by going under the Image menu, under Adjustments, and choosing Gradient Map. Just click OK in the Gradient Map dialog).
Now, make a duplicate of this black and white layer and change the duplicate layer and change the blend mode to Divide. This will turn the entire image window white. To bring back detail, go under the Filter menu, under Blur, and choose Gaussian Blur. The Radius setting will vary on different images, but in this case, set it to 15 pixels and click OK. As you can see, the image now has a very stylish, almost illustrated look(see screen shot).
Press Command-E (PC: Ctrl-E) to merge the two duplicate layers together into one layer. Then, go under the Filter menu again, this time under Artistic, and choose Poster Edges. Again, these settings may vary with different images, but here, I set the Edge Thickness to 0, the Edge Intensity to 1, and the Posterization to 6. This will intensify the effect a bit more. Click OK.
That was it for the young girl. For the lady portrait I added a layer mask and using a soft brush, took out some of the shading on her face.
Try playing about with the settings to suit your liking. This is the way I convert a lot of my photo's to drawings, usually adding textures after this stage and experiment with blending modes.
Jan 12, 2018 11:32:33 #

.... and another with similar techniques as presented by others.
Jan 12, 2018 12:35:33 #
AlMac wrote:
Don't know if this is the sort of thing you're loo... (show quote)
I'm trying this. It looks a lot more like I want it to. THANKS!
Jan 12, 2018 12:36:22 #
dannac wrote:
.... and another with similar techniques as presented by others.
Thanks, Dannac. How did you get that smoother look? And is there a way of getting rid of the background?
Jan 12, 2018 12:59:06 #
AzPicLady wrote:
Thanks, Dannac. How did you get that smoother look? And is there a way of getting rid of the background?
Used a PS plugin called GREYCstation ... though you can get similar if your version of PS has the "oil paint" filter.
You could mask out the background as with any other composite.
Jan 12, 2018 13:17:42 #
dannac wrote:
Used a PS plugin called GREYCstation ... though you can get similar if your version of PS has the "oil paint" filter.
You could mask out the background as with any other composite.
You could mask out the background as with any other composite.
I've never known how to "mask" things. Sorry to be such a dummy! But can you explain how to do that? Thanks!
Jan 12, 2018 13:43:04 #
AzPicLady wrote:
I've never known how to "mask" things. Sorry to be such a dummy! But can you explain how to do that? Thanks!
Duplicated background or original image.
Placed a layer resembling pencil lines between the two image layers.
Layer 2 in layers palette.
This could also be any image you choose, or solid color, etc.
Clicked on top Layer 1 and added layer mask.
With the mask selected ... painted with a black brush around girls hair.
This will let the pencil lines of Layer 2 show through.
If you go too far into the hair, simply change your paint color to white ( x is shortcut ) and paint back in the hair.
I also changed my brush settings.
Alt-right click left/right changes size.
Alt-right click up/down changes hardness.
Those shortcuts may not work if you are using a tablet.
Jan 12, 2018 13:58:10 #
Jan 12, 2018 14:37:09 #
Mile wrote:
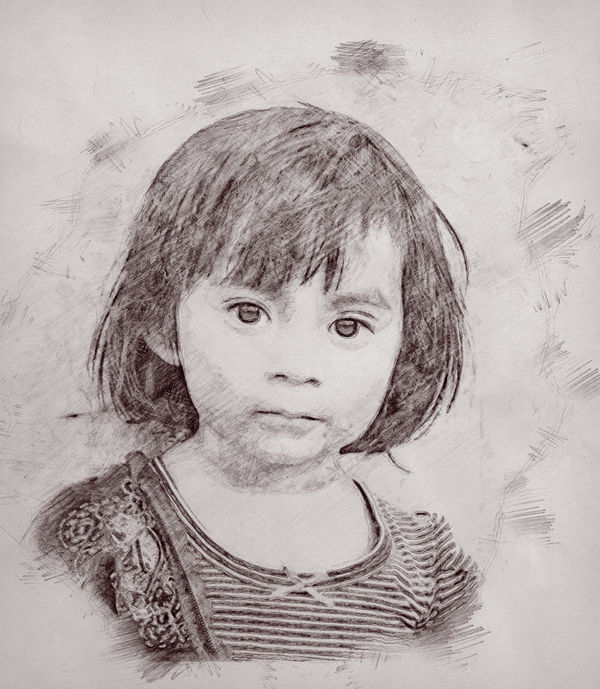
My go at it was a lot of fun thanks for letting us work on your photo
That's pretty cool. Can you tell me how you did it?
Jan 12, 2018 15:13:13 #

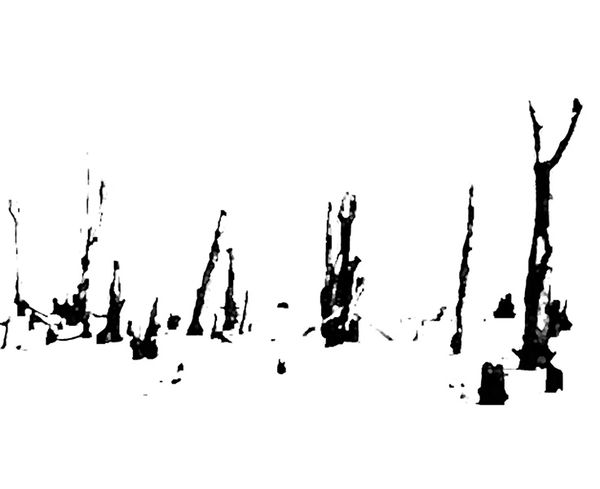
Mile's is the best for resembling a real drawing media. The others are pretty easily identifiable as photos that have been filtered. I suggest working as hard on the converts drawing as on a real drawing, filtering, saving, re-filtering, erasing..until you get something unique. Attached are some where I did that.

If you want to reply, then register here. Registration is free and your account is created instantly, so you can post right away.