Posts for: SalvageDiver
Nov 8, 2023 10:50:06 #
SuperflyTNT wrote:
That takes a pretty long burst. If I’m shooting at 30fps @1/30 sec and I shoot for 2 secs I only have a 2 sec total exposure. Now my OM-1 is great for that stuff. It has up to 6 stops with LiveND, a virtual ND filter or I can use LiveComposite to essentially stack in camera. I set exposure to the scene and start it and it exposes the scene and continues shooting, but only collecting new light. I can watch it build on the back screen or viewfinder and stop it when get what I want.
Here is the basic process using PS that's implemented in camera. This is a tutorial by Serge Ramelii from about 10 years ago demonstrating the process. He demonstrates this technique starting at 4:25 minutes into the video. You don't need 30fps, but you do need a large number of images. In this tutorial, he used about 10 images but I will usually use between 30 and 60 shots. It's not like digital images are expensive. Once you have the images stacked into a smart object, you can delete the individual files. A couple of advantages of this method over using an ND filter is that 1) you can control how much blur you want in post by altering the number of images you use in the stack and 2) you use normally exposed images metered by your camera, so you shouldn't under/over expose your image.
https://www.youtube.com/watch?v=LNzBNLxLPQY
I originally learned about this method from an old article demonstrating how to increase the optical resolution (not number of pixels) of the image using a very similar technique. The method used the concept of dithering, the same concept used to increase the resolution of the old oscilloscopes which used 8-bit circuitry to get 12-bits of resolution. Reading the article and trying it made me realize that movement would blur the area of the image containing movement. It worked.
There are a number of cellphone apps that use this same concept. I've used an app called 'Hydra" for about 10 years to do this very process in-camera. But there are many more, such as 'Slow Shutter Cam' and 'Shutter Stop'. In the iPhone, you can even use live mode to get the same effect. They all use this same basic method.
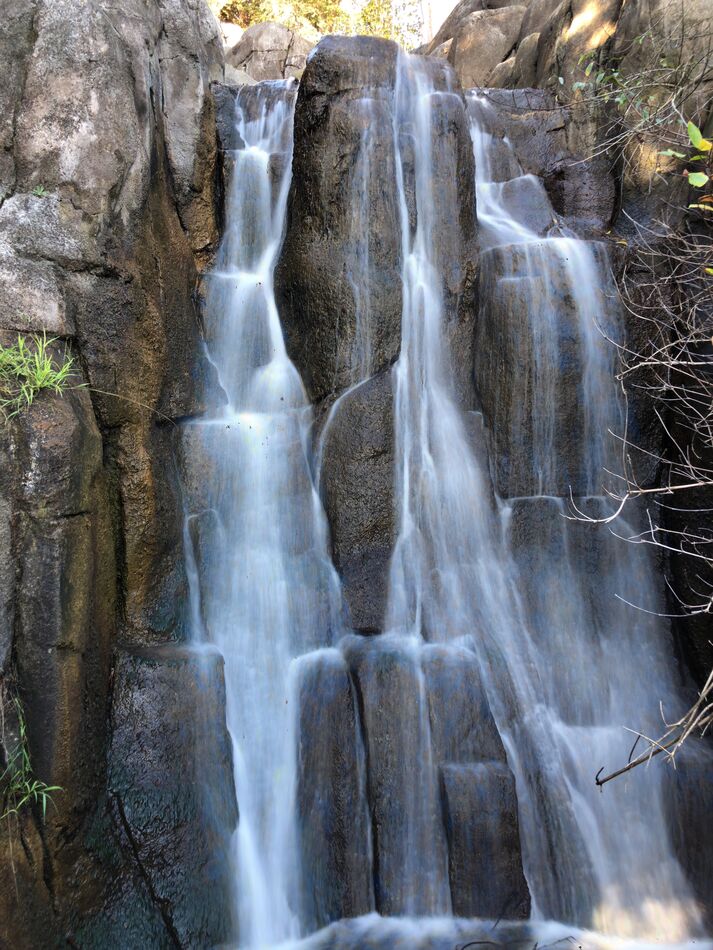
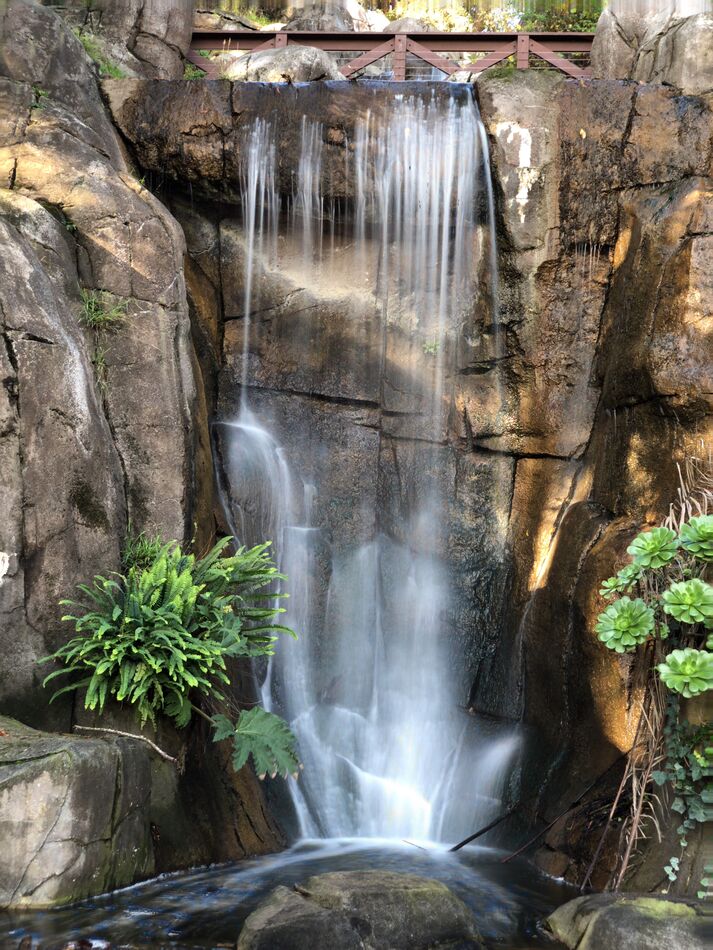
Here are a couple of images using an app called Hyrda. Hydra used about 50 images to create the final image. Each image was handheld and used normal daylight exposure with a shutter speed of 1/30s.
Nov 7, 2023 13:59:38 #
Use it. Shutter count becomes meaningless. Burst mode of 120 fps vs the current 10-30 fps is insane. Without needing a mechanical shutter, the camera should last a very long time.
What's interesting is that as I watched the Sony video, a lot of the new features are already in average smartphones today.
What's interesting is that as I watched the Sony video, a lot of the new features are already in average smartphones today.
Nov 7, 2023 13:42:04 #
CHG_CANON wrote:
I still use ND filters for really long exposures and (very occasionally) to let me use wide / widest apertures in very bright light. Two situations controlled at the camera level, not in post.
If you don't have an ND filter handy, you can take a series if images and PP to duplicate the effect of the ND. You can even hand hold during the burst and align in PS. It works.
Nov 7, 2023 13:35:02 #
Linda From Maine wrote:
By golly, you might be right, Mike! Thanks so much.
I keep cringing over the mustard yellow UHH page, though. Some b&w just don't look right
I keep cringing over the mustard yellow UHH page, though. Some b&w just don't look right
much better!!
Nov 7, 2023 13:27:15 #
Stan Fayer wrote:
Shooting with my lumix 4/3 in monochrome is it best , or not , to shoot with a red filter, polorizing filter, to increase contrast or just do it post production
For anything other than a polarizer or ND filter, all others can be done in post with much better control of the final image. Even the ND filter can be effectively replicated without the filter. The CPL is only required if your using a DSLR. If your using a mirrorless, the polarizer doesn't need to be Circular polarized, a simple linear polarizer will be just as effective without the added quarter waveplate.
Nov 7, 2023 13:07:43 #
Pat F 4119 wrote:
I'm primarily a real estate and headshot photograp... (show quote)
In general, this lens has a reputation for being very sharp.
Without the actual image (not the thumbnail), it’s impossible to troubleshoot your image. See CHG_CANON’s response for ‘Store Original’ when posting. Without that, everybody is just speculating with no real data to help you with. The RAW file would be best, not a SOOC jpg. If you have Dropbox or Google Drive (or other online drives), post your raw file there and provide a download link to UHH if you want the best advice.
With telephoto lenses, there is a lot of technique and finess involved in getting a sharp image. Another way of saying it, “It’s easy to create an out of focus image with a telephoto lens”. Here is a link to a YouTube video that describes some techniques for improving focus using the Sony 200-600 lens. However, it can apply to any tele.
https://www.youtube.com/watch?v=Ngaic2KPpyc
In addition, there can be mechanical/electrical problems with the lens. But you want to rule out all the other possibilities before going down this route. Some hardware problems can occur if, for example;
1) the focusing motors are slow
2) your bumped or dropped the lens. The impact could have caused the lens to tilt or decenter. Both can cause soft focus problems.
Here’s a link to a method to check for lens decentering you might try before sending it in, unnecessarily, for an expensive repair.
https://photographylife.com/good-bad-copy-of-lens
Hope this help, just a little, but without the image file, we’re all just speculating.
Mike
Nov 6, 2023 13:46:28 #
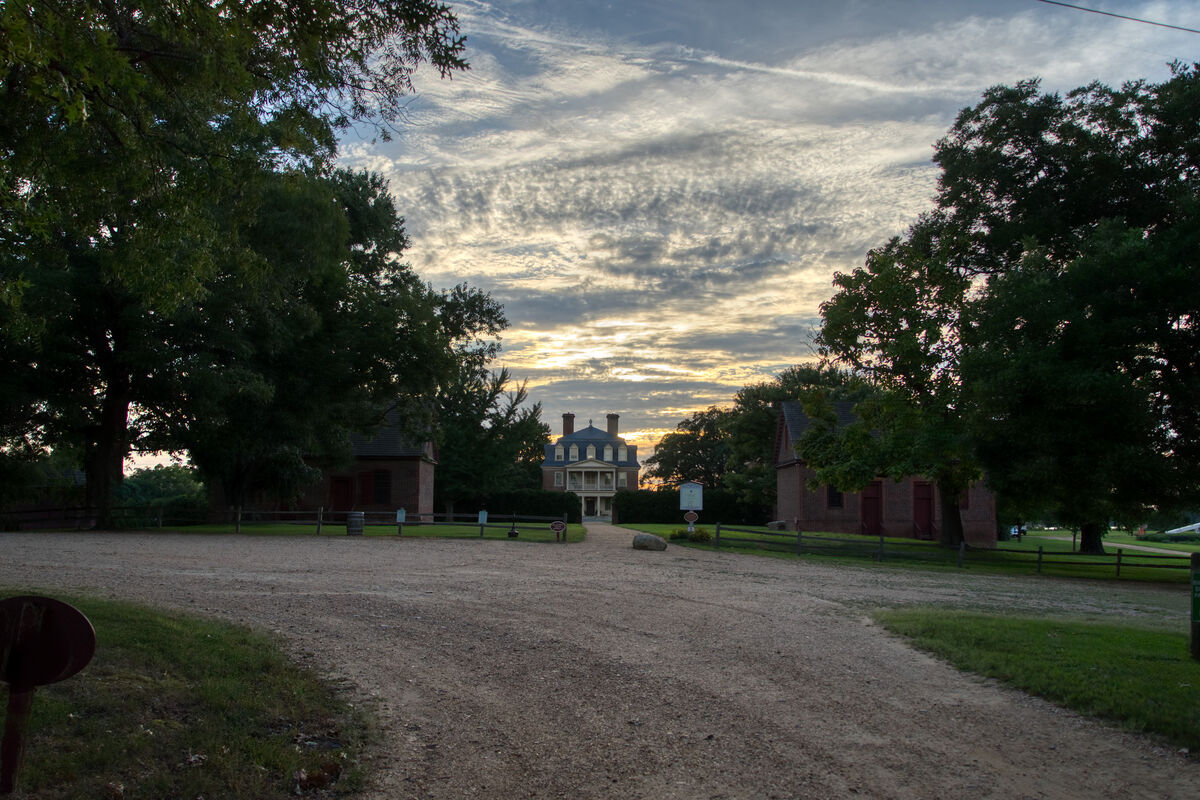
Here is the old colonial Shirley Plantation. It is located on the James River between Richmond and Williamsburg. It is the oldest continuously operating business in America, started operating in 1648. It is currently operating as a vineyard and winery. It was taken in the evening and as you can see needs some TLC. Hope you have fun with the image.
Feel free to download this image to your computer. Then you can edit it any way that you think is an improvement. Composites, black and white conversions, textures, sky swaps, inverted images, solarization, or whatever else you think will improve the photo are acceptable techniques for your edit. When you are finished, post your edit in this thread. Edits will be accepted until 9pm Eastern time on Thursday. No edits will be accepted after that time because we will begin voting then. Thank you for your efforts and your participation.
Feel free to download this image to your computer. Then you can edit it any way that you think is an improvement. Composites, black and white conversions, textures, sky swaps, inverted images, solarization, or whatever else you think will improve the photo are acceptable techniques for your edit. When you are finished, post your edit in this thread. Edits will be accepted until 9pm Eastern time on Thursday. No edits will be accepted after that time because we will begin voting then. Thank you for your efforts and your participation.
Nov 6, 2023 10:04:09 #
jkm757 wrote:
It was a party. There was alcohol. Everybody was having a good time until Steve had to much to drink and called Bobs wife a tramp. Some words were exchanged. And that's when the fight started.
These two Coots were going at each other last Monday at Santee Lakes. Normally when they have a confrontation it only lasts about 20-30 seconds before they break off and go about their way. I was surprised how long this one lasted. 1 min. 19 sec. elapsed between my first and last shot.
These two Coots were going at each other last Monday at Santee Lakes. Normally when they have a confrontation it only lasts about 20-30 seconds before they break off and go about their way. I was surprised how long this one lasted. 1 min. 19 sec. elapsed between my first and last shot.
Coots fight like crazy, especially when there's women around. Sound familiar?
Nov 6, 2023 09:57:38 #
Photolady2014 wrote:
So, yes I am not good at deciding what is the best composition. I suppose it will vary from person to person. I could never be a pro that sells photos as I could not decide which is the best.
So thanks for your patience when I post a few of the same subject. It is hard when I find something very beautiful.
So thanks for your patience when I post a few of the same subject. It is hard when I find something very beautiful.
Of the first three images, I prefer image 1, the “Centered best”. It provides a symmetrical composition which feels pleasing. Consider cropping the bottom just a bit, bring the horizon to vertical center. Also, consider cropping the right side to bring the intersection (the "V") of the foreground mountains to the horizontal center.
I especially like image 5, the peek-a-boo view of the mountain through the wooden structure. Nice job of framing the background mountain while still presenting foreground details of the old mining structure. It gives you a sense of place, not just framing the mountain. While you’ve framed the distant mountain, the subject is really the structural remnants of the old mine.
Image 7 is another nice effort framing the mountain. However, unlike image 5, there is not much foreground providing a sense of place as in image 5. This framing brings immediate attention to the mountain while the foreground frame defines the time of year. This is another good presentation of framing your subject.
The balance of the images aren’t of real interest to me as they appear like ordinary travel photos that were only use to preserve memories for the photographer.
Mike
Nov 2, 2023 13:13:53 #
Linda From Maine wrote:
The backlighting was yummy. Primary edit is Topaz Studio 2 filter, "Swirly strokes" at 30 percent opacity. Feedback welcomed!
btw, those durned ducks wouldn't lift their heads; they were too busy skimming the water for breakfast
btw, those durned ducks wouldn't lift their heads; they were too busy skimming the water for breakfast
Love it. Very nice moody and dramatic image.
Nov 1, 2023 11:29:52 #
The first image is absolutely beautiful!
Nov 1, 2023 11:27:27 #
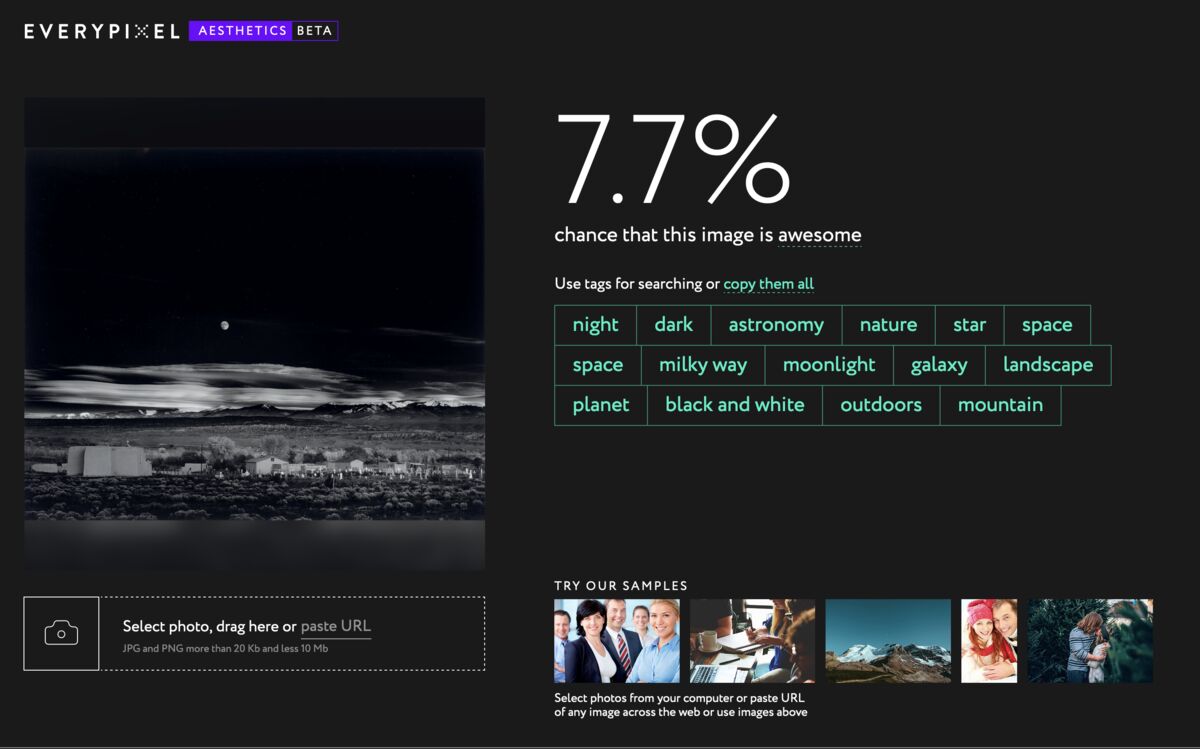
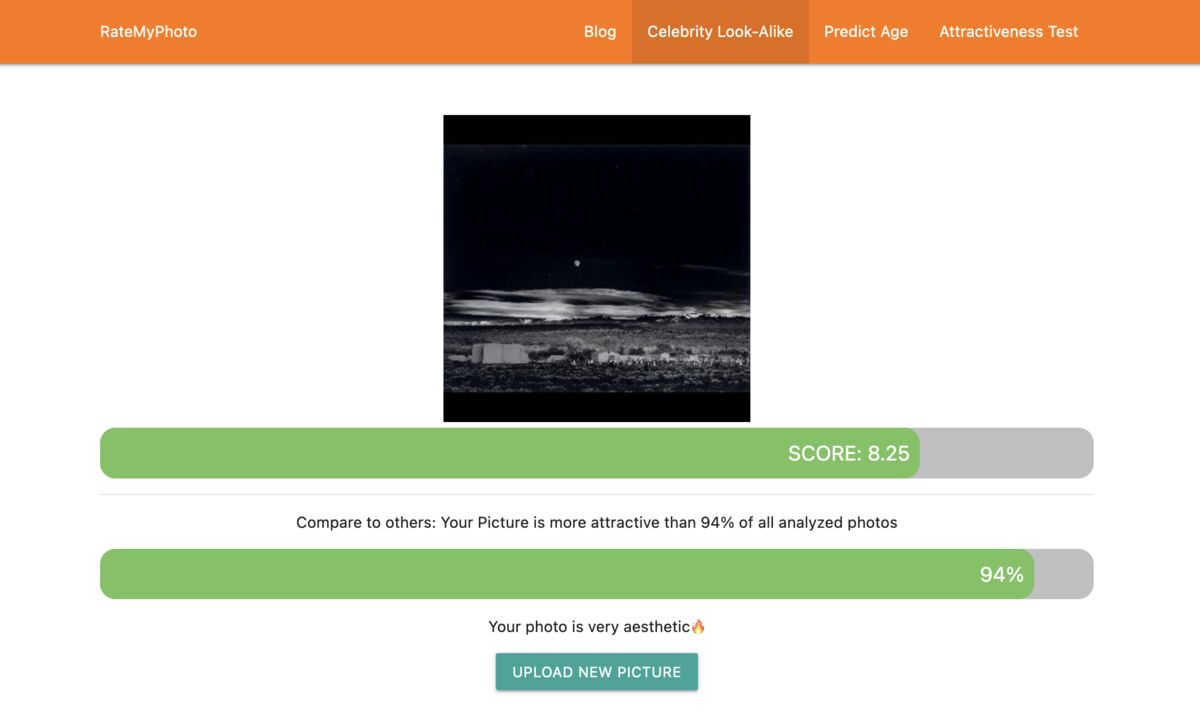
Interesting, I just tried evaluating a famous image using both programs and got very different results. Reading about the Everypixel Aesthetics, it appears that they're primarily evaluating the quality of stock images, so they may be evaluating much more than just the aesthetics of an image. Just shows that the results from AI is based primarily on the data use to teach the neural net.
Opinions from AI, like real people, depend upon who you ask.
Opinions from AI, like real people, depend upon who you ask.
Results from Aesthetics.Everypixel.com
Results from Rate-My-Photo.com
Oct 31, 2023 21:11:32 #
NJFrank wrote:
The steps you took on my shot are way above my pay grade. Kodos to you.
Just sharing a technique that I tried for (partially) solving the pixelation problem. This is PS specific. Topaz Photo AI can be replaced with almost any other sharpening method. There are probably many other solutions, but I let Adobe's AI to do the heavy lifting. Just sharing to help someone else if they come across this problem in the future.
Oct 31, 2023 18:25:41 #
Jim-Pops wrote:
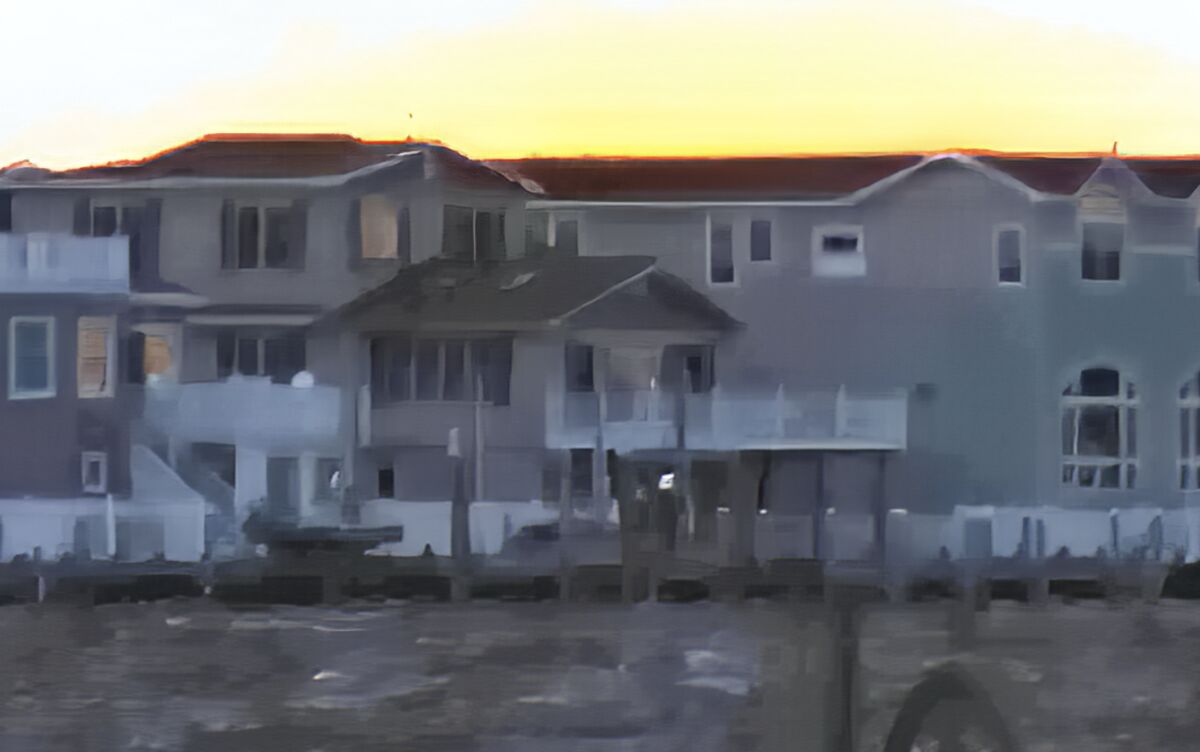
This was interesting. I opened the image in Photoshop and started worked on it. The picture, as you can see, is very dark. When I brightened it, it bitmapped a bunch, thought I wasn't going to be able to improve it at all. I remembered I have a version of DXO. Tried it with DXO and was surprised to see a major improvement. Saved the improved image then reopened in Photoshop to make the rest of my changes.
Wow. I didn’t even concentrate on the blocking that was occurring in the image. I did know that everything but the sky was in very deep shadow. Other than the sky, most of the image is within the 20 darkest bits out of a possible 256. So the shadows are definitely blocked up, resulting in heavy pixelation as you brighten the image. So I went back and tried to see if the pixelation could be eliminated or significantly reduced.
The first thing I did was to convert the image from 8-bit to 16 bits, but I’m not sure if that actually made a difference.
Then I tried a two step process of blurring the image with a gaussian blur, then re-sharpening (Topaz Lens Blur model). That didn’t work, pixelation was too great for the blur. To eliminate the pixelation, the blur needed was way too much for the sharpening model to have any real effect.
Then I tried PS’s neural filters. Here are the steps I used to get the results below. While not perfect, It did significantly reduce the pixelation and keep much of the image details as shown below (viewed at 200%).
1) brightened the image to the desired level
2) Ran the JPEG Artifacts Removal filter. This took about two minutes to process on my machine (MBP M2 Max, 64GB) so it would take a while on an older machine. This removed some of the blocking but resulted in a slightly blurry image when viewed at 200%.
3) Ran the deJPEG’d image through the Photo Restoration filter, reducing all NR to 0, but setting 'Color Noise Reduction' and 'Half-toning artifacts reduction' to 50. This removed a lot of the blocking that I was trying to get rid of with blurring but without loosing a lot of detail.
4) Final step was to run the image back thru Topaz Sharpening using the lens blur model,

Oct 31, 2023 00:10:09 #