How To Take A Long Exposure Waterfall Photo And A Natural Looking Waterfall Photo...In One Photo..With An iPhone
Mar 6, 2019 08:47:39 #

I did a post a few weeks ago about this and decided to do another. I discovered this process by watching a YouTube video by Emil Pakarklis.
The photo was taken at a roadside waterfall in South Carolina, this past Saturday, with an iPhone 7.
These are the steps involved:
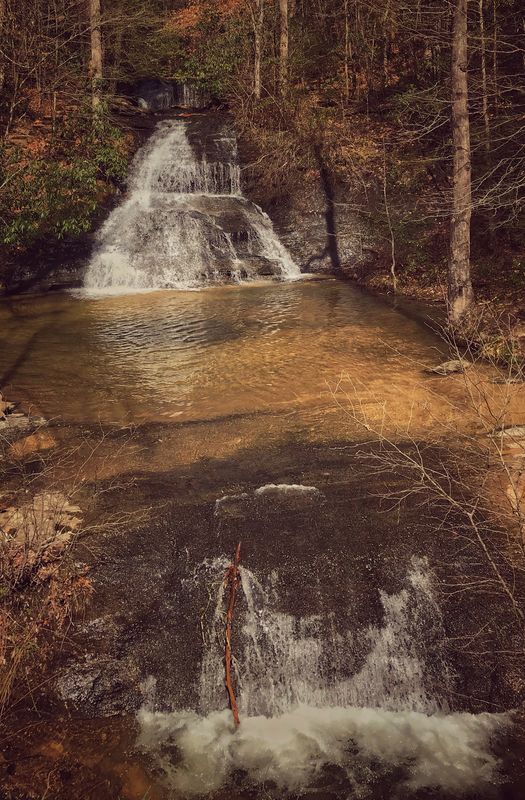
1. I took the photo, handheld, using the Live Photo setting on the iPhone.
2. I opened the photo taken in the iCloud photo
3. Swipe the photo upwards
4. 4 effects will appear below the photo
5. Choose Live for natural, “real” looking water
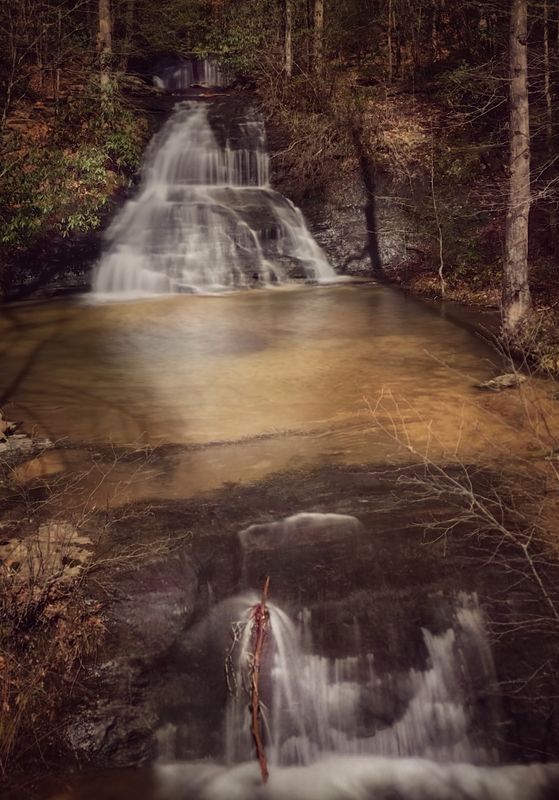
6. Choose Long Exposure for silky looking water
7. Post process as desired. I used Snapseed.
The Long Exposure photo will be slightly cropped, so make sure you allow for this when you take the photo.
This will work with iPhone 6s or newer.
The photo was taken at a roadside waterfall in South Carolina, this past Saturday, with an iPhone 7.
These are the steps involved:
1. I took the photo, handheld, using the Live Photo setting on the iPhone.
2. I opened the photo taken in the iCloud photo
3. Swipe the photo upwards
4. 4 effects will appear below the photo
5. Choose Live for natural, “real” looking water
6. Choose Long Exposure for silky looking water
7. Post process as desired. I used Snapseed.
The Long Exposure photo will be slightly cropped, so make sure you allow for this when you take the photo.
This will work with iPhone 6s or newer.
Mar 6, 2019 10:12:29 #

deanfl wrote:
I did a post a few weeks ago about this and decide... (show quote)
I like the natural looking water.
Mar 6, 2019 10:13:23 #

Mar 6, 2019 13:31:33 #

Mar 6, 2019 21:52:46 #
If you want to reply, then register here. Registration is free and your account is created instantly, so you can post right away.