Smokey Alien Crazy Tutorial
Jul 9, 2018 22:01:42 #
Smokey Alien Crazy Tutorial by Mr Pickles (12-15-2007) from PhotoCamel.com
1. Open a NEW file in Photoshop. I made mine 800x800, but choose whatever (smaller is faster while playing).
2. Make the background of your new image BLACK (Edit-Fill)
3. Select WHITE as your foreground color ("D" key for Default and/or "X" key to switch black and white colors)
4. Using the Paint Brush at about a size 20 or so, paint some squiggly lines, dashes, dots, etc in your image. Don't go really crazy.
5. Now do a Radial Zoom Blur effect (Filter-Blur-Radial Blur). Make sure you check the ZOOM option, and set the Amount to 100. The rest can stay as defaults.
6. Now Find Edges (Filter - Stylize - Find Edges).
7. Image should be white with black stuff, so Invert it (Ctrl-I or use Image-Adjustments-Invert).
8. Now do the same Radial Zoom Blur again (Filter-Blur-Radial Blur).
9. Now decrease or cut your Brush size in half and paint some more squigglies, etc like before but near the center this time.
10. Now do the Radial Zoom Blur effect again (Filter-Blur-Radial Blur).
11. Now Find Edges again (Filter-Stylize-Find Edges).
12. Invert the image again (Ctrl-I or use Image-Adjustments-Invert).
13. Now do the same Radial Zoom Blur again (Filter-Blur-Radial Blur).
14. Now apply a Wave filter to the image (Filter-Distort-Wave) and just accept the defaults.
15. Duplicate the layer (Ctrl-J or use "Layer-Duplicate Layer") and make it active (should be anyway).
16. Flip this layer horizontally (Edit-Transform-Flip Horizontal).
17. Change the new layers Blend Mode to Lighten.
18. Merge the Layers down (Ctrl-E) or Flatten the Image (Layer-Flatten Image)
Now you can add some color however you wish. Simple way is to add a Hue/Saturation Adjustment layer, check the Colorize box and drag the Hue and Saturation sliders around.
Or you could add a Color Balance Adjustment Layer and slide the sliders in combination with selecting the Shadow, Midtone, and Highlight radio buttons.
Now you can experiment more. Change the Wave options, or other things. You got nothing but time to kill, right?
Enjoy, and post your results, if you care to.
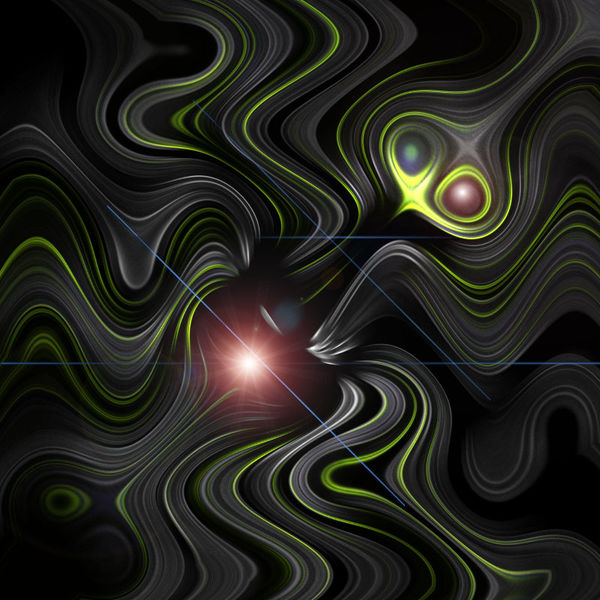
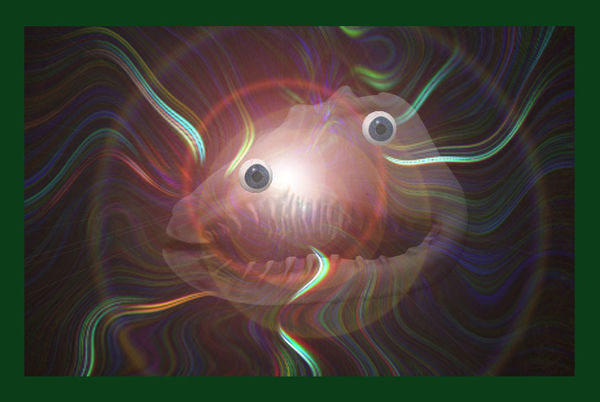
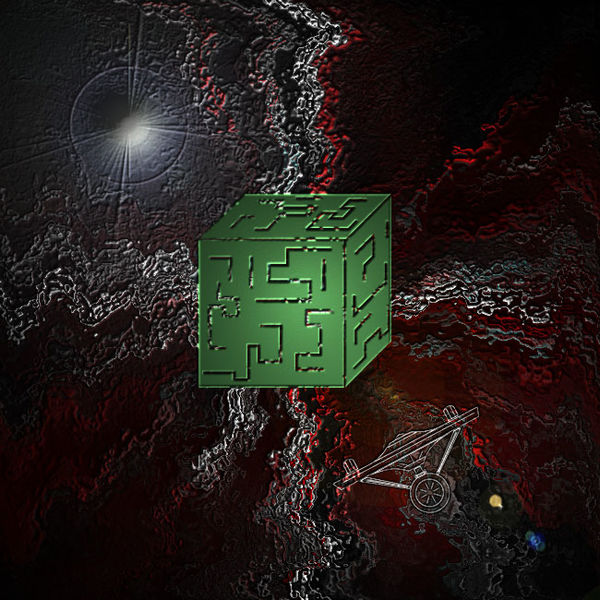
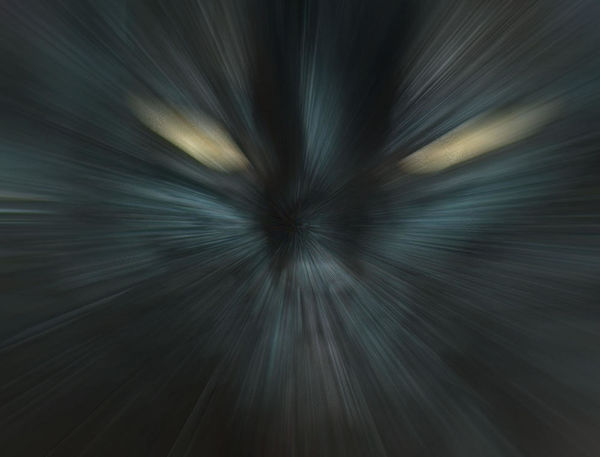
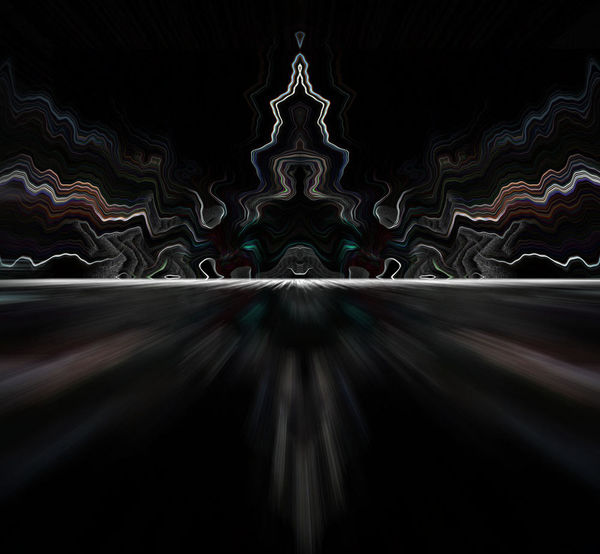
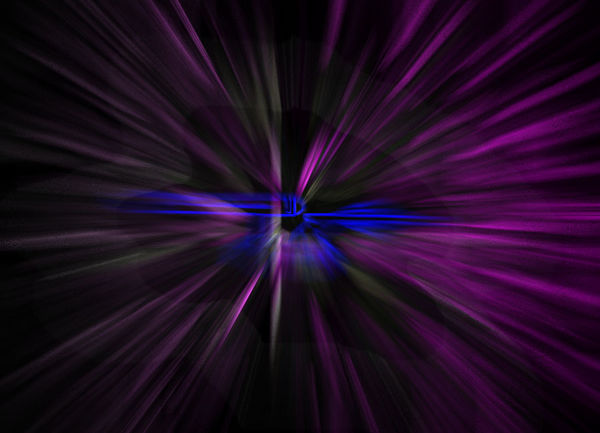
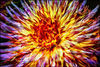
Here is a few examples of what I came up with. C&C welcome.
1. Open a NEW file in Photoshop. I made mine 800x800, but choose whatever (smaller is faster while playing).
2. Make the background of your new image BLACK (Edit-Fill)
3. Select WHITE as your foreground color ("D" key for Default and/or "X" key to switch black and white colors)
4. Using the Paint Brush at about a size 20 or so, paint some squiggly lines, dashes, dots, etc in your image. Don't go really crazy.
5. Now do a Radial Zoom Blur effect (Filter-Blur-Radial Blur). Make sure you check the ZOOM option, and set the Amount to 100. The rest can stay as defaults.
6. Now Find Edges (Filter - Stylize - Find Edges).
7. Image should be white with black stuff, so Invert it (Ctrl-I or use Image-Adjustments-Invert).
8. Now do the same Radial Zoom Blur again (Filter-Blur-Radial Blur).
9. Now decrease or cut your Brush size in half and paint some more squigglies, etc like before but near the center this time.
10. Now do the Radial Zoom Blur effect again (Filter-Blur-Radial Blur).
11. Now Find Edges again (Filter-Stylize-Find Edges).
12. Invert the image again (Ctrl-I or use Image-Adjustments-Invert).
13. Now do the same Radial Zoom Blur again (Filter-Blur-Radial Blur).
14. Now apply a Wave filter to the image (Filter-Distort-Wave) and just accept the defaults.
15. Duplicate the layer (Ctrl-J or use "Layer-Duplicate Layer") and make it active (should be anyway).
16. Flip this layer horizontally (Edit-Transform-Flip Horizontal).
17. Change the new layers Blend Mode to Lighten.
18. Merge the Layers down (Ctrl-E) or Flatten the Image (Layer-Flatten Image)
Now you can add some color however you wish. Simple way is to add a Hue/Saturation Adjustment layer, check the Colorize box and drag the Hue and Saturation sliders around.
Or you could add a Color Balance Adjustment Layer and slide the sliders in combination with selecting the Shadow, Midtone, and Highlight radio buttons.
Now you can experiment more. Change the Wave options, or other things. You got nothing but time to kill, right?
Enjoy, and post your results, if you care to.
Here is a few examples of what I came up with. C&C welcome.


Jul 9, 2018 22:03:49 #

Jul 9, 2018 22:06:01 #
This is just for fun and your own amusement. Something to do when you have spare to play around.
Jul 9, 2018 22:09:37 #
Dan Downie
Loc: Rochester, NY
Very cool and creative! Thanks for sharing your artwork along with detailed instructions!
Jul 9, 2018 22:13:03 #
Jul 9, 2018 22:25:11 #
Jul 9, 2018 22:33:15 #


Jul 9, 2018 23:42:23 #
Jul 10, 2018 00:14:28 #
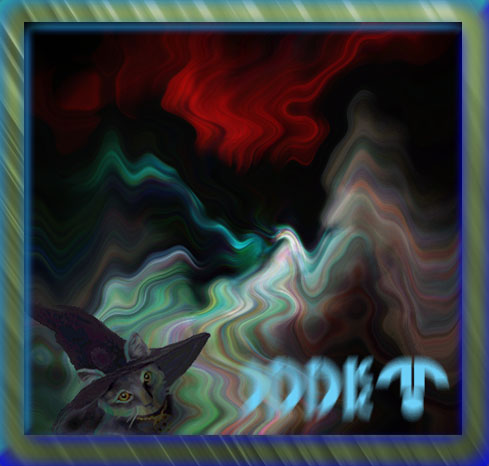
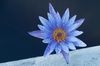
No they are not, though I used photographs in some of them. For instance the spooky cat, which is my cat Stealth.
Jul 10, 2018 03:01:55 #
Does not belong here as it has nothing to do with photography - belongs in General Chit-Chat
Jul 10, 2018 05:52:26 #
rjaywallace wrote:
Does not belong here as it has nothing to do with photography - belongs in General Chit-Chat
It sure does. He used a photo to start out with.
Jul 10, 2018 06:34:49 #
tdekany wrote:
It sure does. He used a photo to start out with.
I can't see in his description of steps where a photograph was used.
Jul 10, 2018 06:36:10 #
JohnSwanda wrote:
I can't see in his description of steps where a photograph was used.
In one of his replies, he mentioned that he used a photo of his cat.
Jul 10, 2018 07:21:56 #

Jul 10, 2018 08:16:55 #
tdekany wrote:
In one of his replies, he mentioned that he used a photo of his cat.
And that was after I said they weren't photographs.
If you want to reply, then register here. Registration is free and your account is created instantly, so you can post right away.