Just discovered this in lightroom
Mar 18, 2015 12:13:30 #

I had shot a bunch of photos using continuous shooting. While editing I found that after editing the first one I could move on to the next photo and then right click on the photo in develop module and select "settings" from the box that opens up and in the next box select "use settings from the previous photo". This photo is then edited exactly the same way. Saves me a lot of time when all the photos are essentially the same. Warning it also uses the same crop and even spot removals which may or may not work if the camera moves slightly while being hand held, but these can be changed in the new photo.
If you really like the edit settings you just created, save the settings as a preset and give it a name you like in the presets area.
I also like to make different versions of a photo, color and say black and white or whatever. I save each version by clicking on snapshot and giving it a name. The snapshot saves all the settings so I can go back anytime to see that snapshot/version. You can see a preview of the snapshot in the preview pane top left just by dragging your mouse over the snapshot name in the list of snapshots for a photo. If you open and then modify a snapshot you can save the new modification by right clicking the snapshot name and over writing it.
Maybe everyone knows this already.
Mar 18, 2015 12:17:54 #
Paaflyer wrote:
I had shot a bunch of photos using continuous shoo... (show quote)
Yes, if you don't read about it, or watch tut's, you have to discover those things for yourself!
Mar 18, 2015 12:25:52 #

Paaflyer wrote:
I had shot a bunch of photos using continuous shoo... (show quote)
This is good to know.
I just checked it out on my LR 5.7. When I right-click and choose settings it says: "Copy settings."
Then, when I open the next image and go to settings it offers BOTH Copy AND Paste Settings. Cool!
Thanks.
Mar 18, 2015 12:31:55 #

In the develop module you will also see a button called "previous" which saves you all the other steps you mention. So do what ever to 1 photo, click the next photo and hit previous, voila. As an added note, if you click on a photo that you edited hours, days, weeks ago and then click another, the previous button will still work. It applies all editing from the previous photo (regardless of when the editing was done) to the current photo. :D :-D
Mar 18, 2015 12:41:18 #

Paaflyer wrote:
I had shot a bunch of photos using continuous shoo... (show quote)
The same editing can be done by simply clicking the "Previous" button at the bottom right of the develop module. It copies all the settings from the previously edited image.
Virtual copies are a better way of having different versions of the same photo. Snapshots are best when you have edited a photo and want to save that version while you try a few more tweaks. If you don't like the tweaks, simply go back to the snap shot. You can even do this multiple times with the same photo. The snapshots don't exist independently from the original. In other words, you couldn't do a "Compare View" of two snapshots.
Virtual copies exist as metadata copies of the original and can be stacked with the original in the grid view if desired. You can compare two or more using the "Compare" or "Survey" view functions.
Both are powerful things that LR can do. It is helpful to know how they differ.
Mar 18, 2015 12:44:52 #
birdpix wrote:
The same editing can be done by simply clicking th... (show quote)
I will try the previous button.
Mar 18, 2015 12:46:29 #

Regardless if we 'knew that or not' it is a good reminder that learning is not only about discovering new stuff but also remembering the 'already seen'.
Thanks for the reminder...
Thanks for the reminder...
Mar 18, 2015 13:04:58 #
birdpix wrote:
The same editing can be done by simply clicking th... (show quote)
Yup! That works, too!
:thumbup: :thumbup: :thumbup:
Mar 18, 2015 13:09:51 #
sbesaw
Loc: Boston
Paaflyer wrote:
I had shot a bunch of photos using continuous shoo... (show quote)
Another way to skin this this cat if you have multiple photos. Apply your changes to Photo 1. In the film strip bar at the bottom select all the photo's you want to apply changes to. MAC use Command + left click. when all photos are selected click the "SYNC" button under the develop controls. This button is originally labeled "Previous" but when you select two or more images it changes to "SYNC". now you can apply changes to multiple images with one or two clicks.
Mar 18, 2015 13:16:25 #

When you do your first "copy settings", there is a dialog that lets you check and uncheck which settings to copy from the current photo. I always deselect Crop, that way I can copy all of my exposure, sharpening, etc., but then individually crop the photos. As the OP said, this is good for continuous shots, but it's also good for pictures taken on the same day, about the same time and under about the same lighting conditions. Tony Northrup's new book on Lightroom 5 discusses this in depth. The Kindle edition has hours and hours of video tutorials as well. Highly recommended.
Mar 18, 2015 14:04:19 #

I contend that there are likely dozens more tricks that haven't manifested themselves to you yet. One of the reasons I always recommend Lightroom Classroom in a Book. It will reveal ALL of these little treasures, and more.
Mar 18, 2015 15:00:23 #
birdpix wrote:
The same editing can be done by simply clicking th... (show quote)
If you delete a photo then "previous" memory is erased. You have to go back some previous photo to gain new memory for " previous" to use. Hmm. That sounds weird.
Mar 18, 2015 15:03:25 #
brucewells wrote:
I contend that there are likely dozens more tricks that haven't manifested themselves to you yet. One of the reasons I always recommend Lightroom Classroom in a Book. It will reveal ALL of these little treasures, and more.
I have one large book, which amounts to a bible for lightroom. So much to learn. Plus I have a series of ebooks which are excellent. My brain is slow to let new stuff in. I am re-reading the ebooks now. It is meaning more yo me now.
Mar 18, 2015 19:40:20 #
Paaflyer wrote:
I have one large book, which amounts to a bible for lightroom. So much to learn. Plus I have a series of ebooks which are excellent. My brain is slow to let new stuff in. I am re-reading the ebooks now. It is meaning more yo me now.
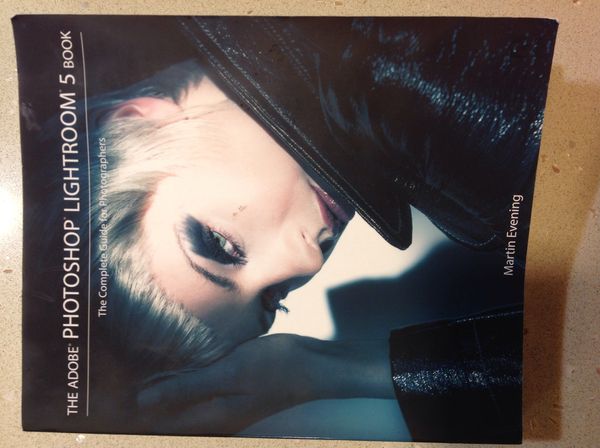
Ok this is the only way to add this that I can figure out. The book I mentioned above is "The Adobe Photoshop Lightroom 5 Book", by Martin Evening. I got it at Amazon. Don't remember what I paid. Photo of the cover is below. It is a big book. I think it is available as an ebook also. 713 pages including the index. It covers all the modules with great detail.
Book front cover
Mar 18, 2015 20:09:24 #
Paaflyer wrote:
Ok this is the only way to add this that I can figure out. The book I mentioned above is "The Adobe Photoshop Lightroom 5 Book", by Martin Evening. I got it at Amazon. Don't remember what I paid. Photo of the cover is below. It is a big book. I think it is available as an ebook also. 713 pages including the index. It covers all the modules with great detail.
I own that book also and I too recommend it.
If you want to reply, then register here. Registration is free and your account is created instantly, so you can post right away.