White egrets problem
Jun 11, 2014 13:04:52 #
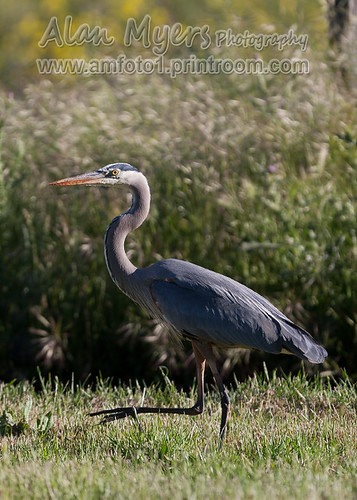
If a white bird is small in the frame like this one, I close down 1.5 or 2 stops and proceed from there. (Use the histogram) If the white bird is large in the frame you will have to open up 1.5 or 2 stops. The above advice does not apply if you are using a spot meter on the bird alone. In this case open up 1.5 to 2 stops from the meter reading, and again check your histogram.
Jun 11, 2014 14:59:18 #
amfoto1 wrote:
There are two problems with that image... one has ... (show quote)
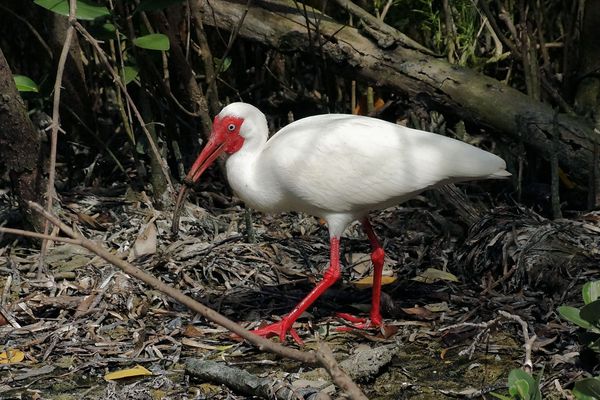
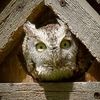
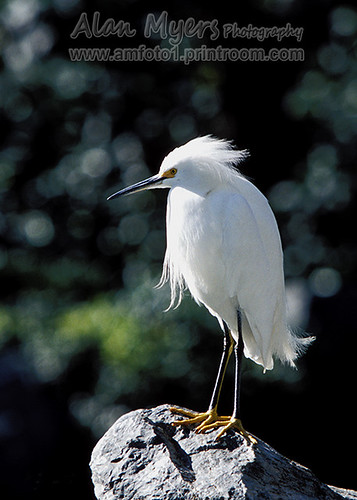 "Bad Hair Day"
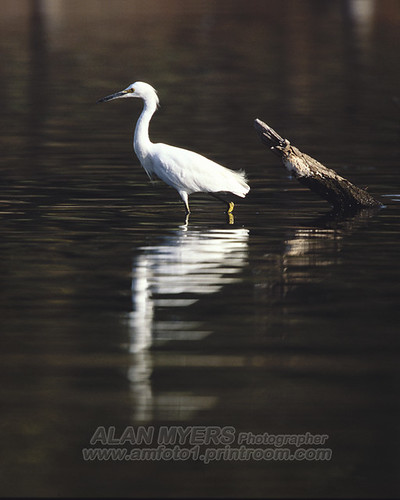
 "Five O'clock Charlie" (He shows up the same place every day about 5 pm, to hunt for frogs and lizards.)
I have always thought that every camera should have an 18% grey card in manual, maybe as the back page. It would cost nothing and would be a good idea.
Jun 11, 2014 21:19:43 #
TomV
Loc: Annapolis, Maryland
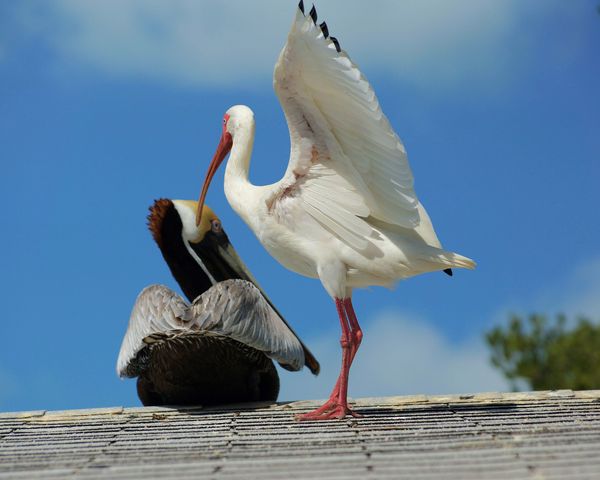
These shots were with my Sony a65 and 18-135 lens. One thing I noticed in the exif was that the shutter speed was rather high, helping with reducing the light delivered to the sensor since my iso was low (getting away from iso noise).
I use the camera OLED view finder to adjust my shutter speed, iso and aperture. The photos are taken in the afternoon in Florida. Plenty of sun to wipe out details if you are not careful. Since the viewfinder shows me what the sensor sees in near-real time, I adjust the parameters before pressing the shutter. When it comes to still photos I rarely have to readjust the settings after the shot, thus I never have to check my LCD screen.
I am not going to go into the details about the Sony alpha cameras here, but do check out the SLT mirror technology and the reviews on Amazon.com, Adorama.com and other user reviews. The viewfinder technology is impressive, allowing you to see what your photo will look like before pressing the shutter.
Jun 12, 2014 20:15:47 #
TomV
Loc: Annapolis, Maryland
I left out a part of the settings : The aperture was high to reduce the depth of field, thus the reason behind the high shutter speed.
Pic 1 f /5.6 Iso 800 shutter 1/4000 metering Center wght avg
Pic 2 f/5.6 Iso 100 shutter 1/2500
The higher iso for Pic 1 was to get some of the darker background detail.
Pic 1 f /5.6 Iso 800 shutter 1/4000 metering Center wght avg
Pic 2 f/5.6 Iso 100 shutter 1/2500
The higher iso for Pic 1 was to get some of the darker background detail.
Jun 13, 2014 14:57:45 #
When I was working with a one on one tutor on the "White bird" problem he gave me some great advice, which I think sums up all the advice here.
He told me: Some people will tell you the f/16 rule or some other technical algorithm. Some will say over expose some will say underexpose.
What you really need to do is all of them, and see what works most consistently for you, and gets you the result your looking for.
Alan, AMAZING work! And lots of good tips.
What I would suggest as a staple for birds and nature in general is a CPL and a good Neutral density filter, I usually use a 4.
Jun 18, 2014 12:58:02 #
abc1234 wrote:
Terrible advice. It has no better chance of working than flipping a coin. It was not meant for photographing something with an unusual range of brightness such as in this picture. And it was meant for use before light meters became wide-spread. Better to learn how to use your camera's meter.
It seems like I am the only one who agrees with you. I don't see how sunny 16 would work when nearly the entire image is different than the white bird. I could see adjusting the sunny 16 with a mental adjustment. But if you need to do this, you probably would not have a working meter due to a dead battery - and you couldn't get the image anyway.
I guess that there is a time and place for just about everything- the rule was valid at one time - but has limited use in the digital age.
Jul 9, 2014 19:28:11 #
I shoot birds often, mostly with a camera. Little joke. But when taking photos of birds or anything that will be relatively small in the frame, expose for the bird. If it's a light colored bird underexpose. If it's a dark colored bird overexpose. Forget about the rest of it and shoot in raw, so that you can adjust the over/under exposed areas.
Jul 12, 2014 04:07:23 #

lightchime wrote:
It seems like I am the only one who agrees with you. I don't see how sunny 16 would work when nearly the entire image is different than the white bird.
It works because light is light and the light falling on the bird is the same light falling on the tree trunk, and is the same light falling on the plants and things.
Just because the bird is white colored and the background is dark doesn't change anything.
That would be the whole point of the sunny 16 rule vs metering...it's not influenced by how much light is reflected by each object in the frame.
yes, it works great and is reliable and accurate.
Does that mean that a person doesn't have to use their head and adjust some if necessary?
Of course not...but it's good advice.
Jul 15, 2014 19:10:48 #

I'd try a little lower ISO sometimes that does the trick for me t Roy 1600 then 800 see if that works .
I usually shoot these birds on Manual (not sure what Nikon is )
Sometimes manual at 250-1000 speed depending if they're moving slow or flying off . if you have low light of course you'd have to have a f4-5 or even 2.8and I hate to say it sometimes it can be the lens . And if all else fails put it i auto and see what it does for you I use the sigma 150-500 hand held and just love it my bet is it's the lens .
I hope some of these suggestions will help fix your problem .
Jul 26, 2014 07:56:14 #
Those purple outlines are called. Chromatic abortion sometimes they are green always use your lens hood in high contrast situations. Take some pics in auto then look at the data on your photo editing software then use these settings in manual to replicate. IMHO a good way to learn.
dieseldave wrote:
I have had an opportunity to photograph white egre... (show quote)
Jul 29, 2014 18:56:26 #
Jul 31, 2014 04:17:37 #
TomV wrote:
These shots were with my Sony a65 and 18-135 lens.... (show quote)
What you see is what you get!! TRULY. :thumbup:
I LOVE my SLT....
Jul 31, 2014 11:21:18 #
2 Dog Don wrote:
Those purple outlines are called. Chromatic abortion sometimes they are green always use your lens hood in high contrast situations. Take some pics in auto then look at the data on your photo editing software then use these settings in manual to replicate. IMHO a good way to learn.
Here is what I see
The purple fringing is called chromatic aberration. Try to use the sweet spot of lens f/8 to f/11 on most lenses, use hood, remove clear or uv filter. Cheap lenses have more of this especially in high contrast situations. This can be fixed in PP.
Over exposed do to auto-mode metering. Look at histogram and adjust EV-+
ISO too high for full sun. Try 400 or even 200 if you can.
The shutter speed is too slow. 1/500 might have given better focus.
If shooting from a tripod, make sure VR is turned off.
Get a sharper lens.
Shoot RAW
Aug 9, 2014 17:57:37 #
dieseldave wrote:
I have had an opportunity to photograph white egre... (show quote)
Dave:
Here is a link to a short tutorial that I wrote for the Birds in Flight/Birds on the Water section here on UHH.
http://www.uglyhedgehog.com/t-140381-1.html
Hope this will help you understand what's going on!
Aug 18, 2014 14:34:26 #
I would bring the ISO down to 400 or even try 100, I might even try and speed up the shutter a bit
If you want to reply, then register here. Registration is free and your account is created instantly, so you can post right away.