Exposure Comp ????
Jan 20, 2024 15:03:45 #
JimBart wrote:
Need a little help… seems like I’ve forgotten some... (show quote)
Don't try to memorize rules, Practice so that you understand how exposure works in various metering modes and why you might choose one over the other, as well as what is my subject and how might the metering mode be confused by various situations.
If you think of EC as telling the camera nothing more that "A little more or a little less exposure than is currently set" you will have it. It is sort of the same as being in Manual mode and adding or subtracting exposure.
I know of no professional photographer who does not use EC in some situations (as well as FEC when using flash) because it is often the most convenient way to quickly get an exposure bias.
If you shoot in Manual mode as a test, using the camera exposure system you will see what is going on.
EC was invented BECAUSE modern cameras have lots of automatic & semi automatic modes & EC makes it easy to create a quick Plus or minus.
Good Luck
Jan 20, 2024 16:15:28 #
JimBart wrote:
Need a little help… seems like I’ve forgotten some... (show quote)
Rather than trying to remember all the different scenarios for exposure comp I rely on just two. I discovered the first while as a high schooler on a ski trip back in 1953 all of my Kodachromes were underexposed. Thus, rule #1, dark subject light background needs overexposure. Rule #2, white swan on dark water must be underexposed to prevent the swan from being washed out. Then I just go from there.
Jan 20, 2024 16:40:31 #
larryepage
Loc: North Texas area
druthven wrote:
Rather than trying to remember all the different scenarios for exposure comp I rely on just two. I discovered the first while as a high schooler on a ski trip back in 1953 all of my Kodachromes were underexposed. Thus, rule #1, dark subject light background needs overexposure. Rule #2, white swan on dark water must be underexposed to prevent the swan from being washed out. Then I just go from there.
Keep in mind that in 1953, light meters were much different from metering systems in common use today. Averaging meters were the norm, and there was poor agreement between the field of measurement of the meters and the field of view of the lens. Even so, the effects described do match what would occur with matrix metering.
Jan 20, 2024 17:48:48 #

Linda From Maine wrote:
What it b i really /i /b depends on is photogr... (show quote)


Very nice indeed Linda!
Jan 20, 2024 17:51:54 #

Jan 20, 2024 18:31:03 #

JimBart wrote:
Need a little help… seems like I’ve forgotten some... (show quote)
-----
Take a shot and look at it. Ig it is too dark use some +exposure compensation if it is too light use some -exposure compensation. You can't make a generic rule and count on it working correctly in all situations.
Jan 20, 2024 19:13:27 #
R.G. wrote:
True. The problems start when we allow ourselves to be concerned about the quality of the outcome.
Yup. Quality will take care of itself really well if half baked "experts" could just cease meddling for the sake of meddling.
Thaz why so many Hawgsters do much better with their phones than with their big cameras.
Jan 20, 2024 19:30:02 #

JimBart wrote:
Need a little help… seems like I’ve forgotten some... (show quote)
1. true
2. true - for zero
3. not true - should be zero
4.not true - should be plus EC
5.NOT true - subject inside in front of any outside window will be + plus EC
All this is a generalization assuming you want a "properly" exposed subject and have a relatively wide area exposure mode ....
.
Jan 20, 2024 19:36:40 #
JimBart
Loc: Western Michigan
Thanks everyone as I really appreciate your input
I did go out today to shoot some wildlife with my d7100 and sigma 150-600 5.0-6.? and tried your recommendations. Some shots were greatly overexposed while others were extremely dark Seems like when I shot manual plus auto iso things worked out better.
The histogram curve was more in the center rather than to the left or right. So like each of you said.. practice makes perfect. Thanks again.
Jan 20, 2024 23:05:52 #

Linda From Maine wrote:
What it b i really /i /b depends on is photogr... (show quote)
Yes! Photographer’s vision is always key. Nice work, really love that last one.
Jan 20, 2024 23:27:17 #
Tote1940
Loc: Dallas
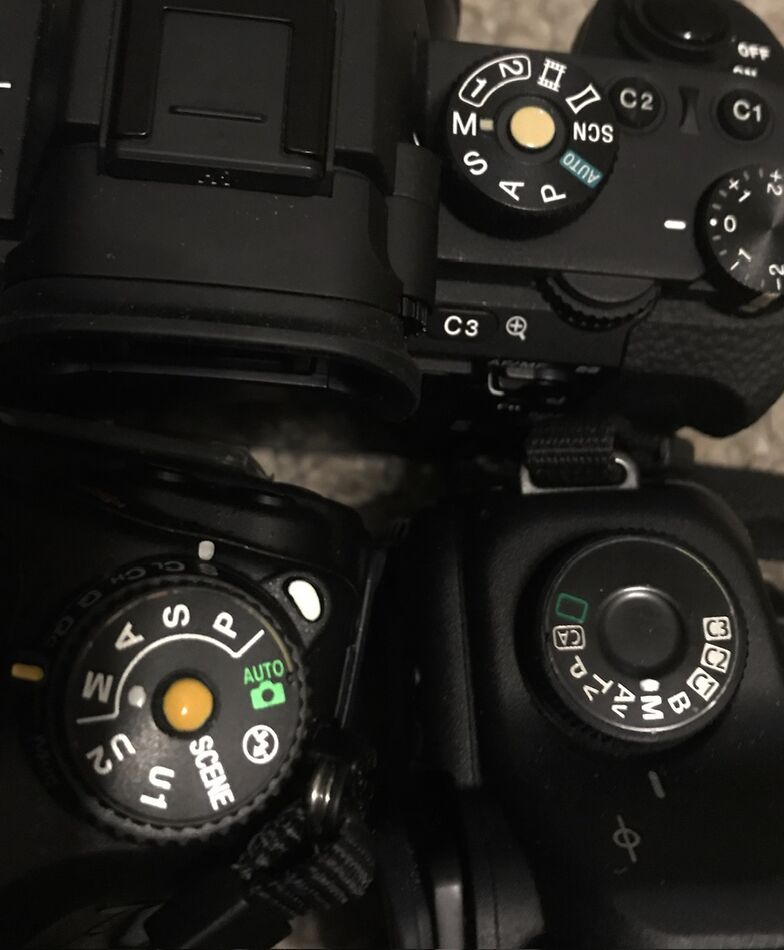
In defense of top mounted EC wheel
Very handy when doing video on Nikon fc grandkid’s school play.
Wide variation in lighting, set focusing and spot meter to follow eyes but it is amazing to be able to adjust exposure, as long as I remember which way to turn.
Videos work like jpg
On stills agree that is better to shoot raw then adjust
Jan 20, 2024 23:38:50 #
Tote1940 wrote:
In defense of top mounted EC wheel
Very handy when doing video on Nikon fc grandkid’s school play.
Wide variation in lighting, set focusing and spot meter to follow eyes but it is amazing to be able to adjust exposure, as long as I remember which way to turn.
Videos work like jpg
On stills agree that is better to shoot raw then adjust
Very handy when doing video on Nikon fc grandkid’s school play.
Wide variation in lighting, set focusing and spot meter to follow eyes but it is amazing to be able to adjust exposure, as long as I remember which way to turn.
Videos work like jpg
On stills agree that is better to shoot raw then adjust
My problem with the top mounted EC dial is that besides taking up real estate I also find it too easy to bump it and change it inadvertently.
Jan 21, 2024 00:42:56 #
BebuLamar wrote:
That's a way of doing thing. I just say that's the most popular mean of controlling exposure today. Nothing wrong about it of course. Just that I never used it, it's more time consuming for me than simply switching to full manual.
Over many decades Ive NEVER once had to switch to full manual. Never, not even once.
Jan 21, 2024 03:53:09 #
JimBart wrote:
Need a little help… seems like I’ve forgotten some... (show quote)
Your light meter assumes all subjects are of an average brightness. It doesn’t know that they are black or white, light or dark.
An 18% reflectance target (gray card) is used as a standard reference.
With all the scenes you mention the exposure would be the same if your lighting was identical. Changing subject and background color has a small effect, though.
Many people use an incident light meter to measure the light falling on their scene. When they use that, darker objects record darker ( as they should), and lighter object record lighter ( as they should). If you are using a camera’s built in meter, rather than an incident light meter, you can get your exposure by metering a gray card placed near the subject.
Failing that: you have to figure your corrections in your head.
1) light against dark background. If most of the area is dark then the camera will want to slow the shutter or open the aperture to let in more light. It assumes that black mass is a gray mass with little light falling on it. That leads to over exposure, so your light subject would loos highlight details.
The correction would be typically under exposing (based on the camera’s suggested exposure) by 2 to 3 f/stops.
Number 4, dark against light back ground is exactly the opposite. Over expose 2 to 3 stops more than the meter suggests.
The reason: the light background is interpreted by the camera as an overly lit gray area. It wants to record that as a gray. But if your highlights are grey ( not white) then your shadows will be so underexposed that there will be no details captured. With film you are stuck. With digital you can boost the image somewhat in post processing, but you’ll see increased degradation in the shadow areas.
2 and 3 light against light and the opposite, dark against dark. Again opposites. The meter thinks they are overlit gray subjects, or underlit gray subjects, and opens or closes the aperture accordingly.
To avoid underexposing light subjects, open the lens 2 to 3 stops. Give the film or digital sensor more light to play with. With dark scenes the camera is already getting too much light coming in—enough to make black look gray. Close the lens 2-3 stops to keep put the excess.
5 if your subject is a person, just move in close enough to meter off their face and lock in that exposure. It isn’t perfect. Some faces are brighter or darker than a gray card—and you can compensate based on your observation—adding more light if the face is brighter and restricting some light if the face is darker than a gray card. Usually faces are within 1 stop of ‘average’ though, which is well within the acceptable exposure range, so just metering the face should be close enough to tweek in post processing.
There is however a second problem in question 5 which is implied: how much light is falling on the front of the subject? If all the light ( from a bright window) is behind the subject then will there be any on the other side, or is this just going to be a silhouette? Without a fill-in flash, or some well placed reflectors, you could get a technically acceptable exposure but still have an awful picture. You usually need some kind of directional light to cast some shadows that our brains can interpret as depth.
Jan 21, 2024 06:10:51 #

User ID wrote:
Over many decades Ive NEVER once had to switch to full manual. Never, not even once.
Yes I know. Your way is a good way to always on manual. I do however use A mode about as often as M. I do also use auto ISO but only in A mode. When I switch to M I turn off auto ISO. I also never make a mark on my camera or any of my equipment. That including tools (cameras are not tools for me).
If you want to reply, then register here. Registration is free and your account is created instantly, so you can post right away.