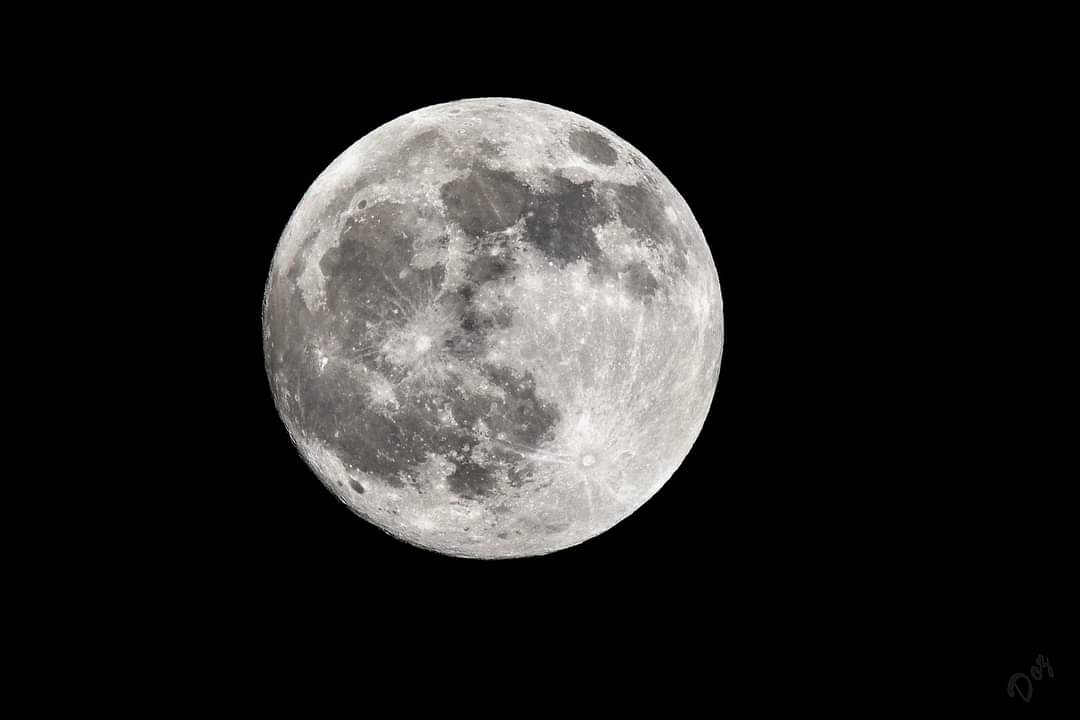
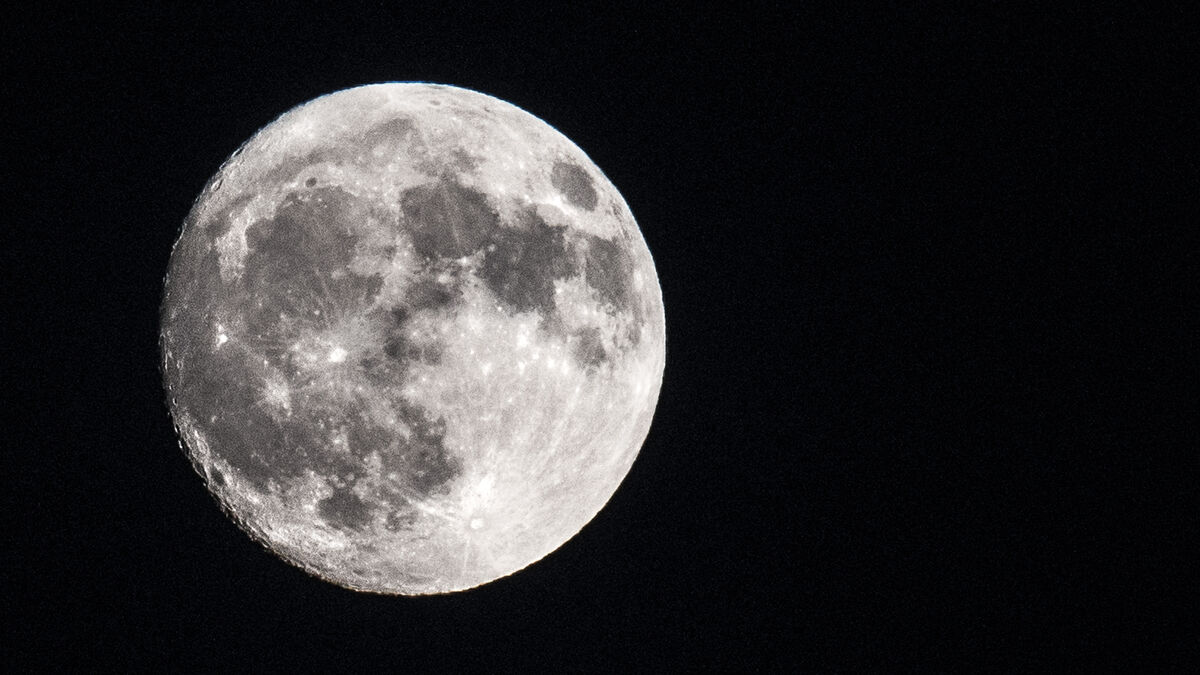
How to capture the moon
May 31, 2023 14:08:38 #
May 31, 2023 14:28:00 #
Rhare wrote:
Yeah all I get is a white ball.
----------
Increase your shutter speed a couple of stops. Shooting the moon is a lot like shooting a lightbulb when it is on.
May 31, 2023 15:52:30 #
fetzler
Loc: North West PA
CamB wrote:
Remember it is daylight on the moon. Start with standard daylight settings.
Indeed the "sunny 16 rule" is a good place to stat. The color temperature of moon light is about 4100K.
May 31, 2023 16:27:07 #
rehess wrote:
I don’t understand why this so important to some people. NASA does a great job - from above the atmosphere.
Thanks, that was real helpful---just like this post is.
May 31, 2023 16:30:06 #
Rhare wrote:
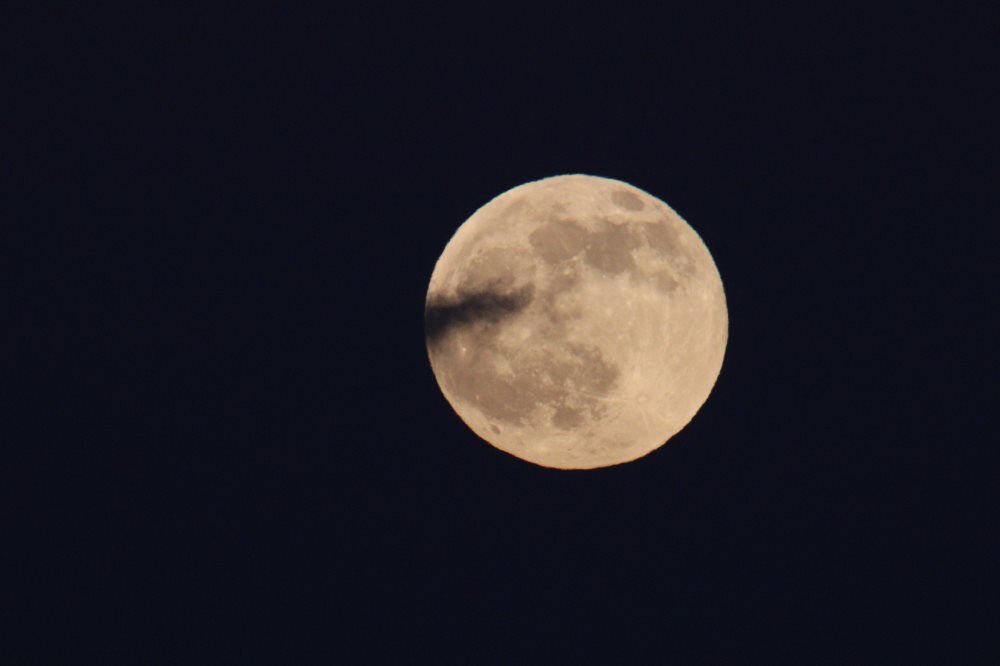
I can never capture the moon as it looks. Any suggestions?
Lens 400mm +. 1/4 - 1/2 moon: iso 200, f11, spot metering, shutter 1/125. More than 1/2 moon: iso 100, f11, center weight metering, shutter 1/125. Use these settings as a start then experiment.
May 31, 2023 17:20:48 #
Sidwalkastronomy
Loc: New Jersey Shore
I'm confused on why people would use F11 to start. Depth of field not a factor on moon photos. I go old school to start 2 stops down from wide open.
I use my tripod and my gimble so I can sort of track the moon. I meter for the moon and make sure you don't include the black sky. White balance should be daylight. I use ISO 800 or lower depending on camera. Newer cameras are great for increasing ISO, experiment.
For exposure I bracket and more bracket. Did I mention I bracket.
I don't use one square for metering because you could hit a light or dark spot (maria) lunar seas. I compose the moon and zoom in at my max 600
I use my Tamron 150-600 ,G2. I ALWAYS a remote release. They are cheap, get a wireless Bluetooth type so you DONT need a direct line of sight, wired ones can shake camera.
I compose and start shooting varying the shutter speed. The view on back of camera can be tricky to trust.
Vary the iso and shutter speed. Remember 1:1 relationship between the too. Increase ISO 2 notches drop speed. When reviewing photos on back of camera they can be decietful.
For focus I use manual focus on an edge. I use on my canon rebel the 5x 10x button on back to check, once there do not touch which means you use BBF.
Take time on focus, do it once and trust it.
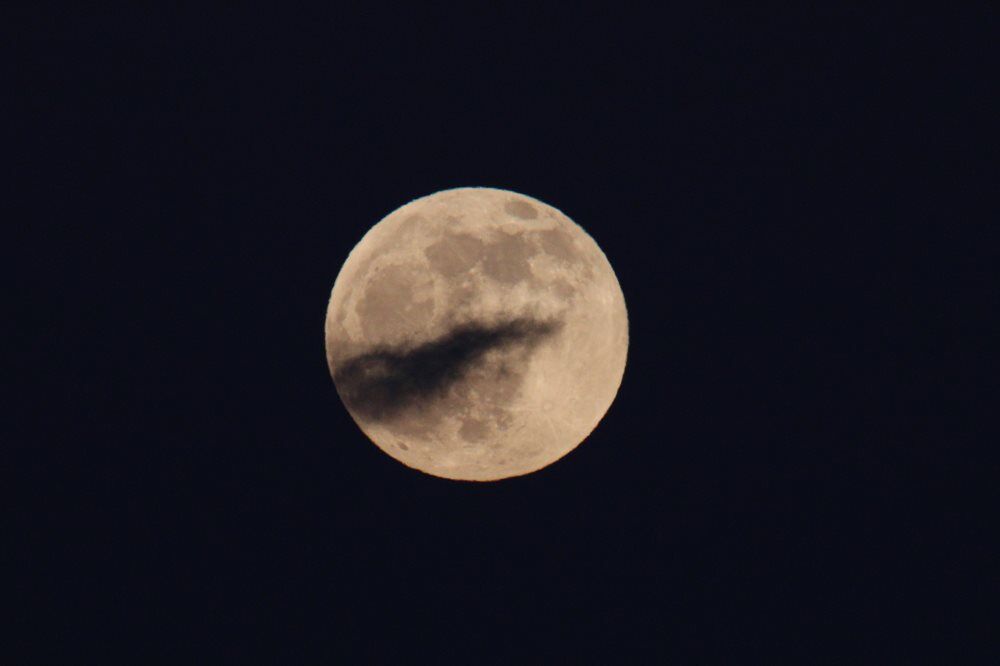
Sometimes you catch the unexpected photo, like my post below when i saw the moon splitting in half LOL
see next post for photos as I hit quick reply and couldn't add photos
I use my tripod and my gimble so I can sort of track the moon. I meter for the moon and make sure you don't include the black sky. White balance should be daylight. I use ISO 800 or lower depending on camera. Newer cameras are great for increasing ISO, experiment.
For exposure I bracket and more bracket. Did I mention I bracket.
I don't use one square for metering because you could hit a light or dark spot (maria) lunar seas. I compose the moon and zoom in at my max 600
I use my Tamron 150-600 ,G2. I ALWAYS a remote release. They are cheap, get a wireless Bluetooth type so you DONT need a direct line of sight, wired ones can shake camera.
I compose and start shooting varying the shutter speed. The view on back of camera can be tricky to trust.
Vary the iso and shutter speed. Remember 1:1 relationship between the too. Increase ISO 2 notches drop speed. When reviewing photos on back of camera they can be decietful.
For focus I use manual focus on an edge. I use on my canon rebel the 5x 10x button on back to check, once there do not touch which means you use BBF.
Take time on focus, do it once and trust it.
Sometimes you catch the unexpected photo, like my post below when i saw the moon splitting in half LOL
see next post for photos as I hit quick reply and couldn't add photos
May 31, 2023 17:23:10 #
May 31, 2023 17:26:52 #
May 31, 2023 17:58:45 #
Rhare wrote:
I can never capture the moon as it looks. Any suggestions?
I do all my Moon shots hand held. I use a Nikon D7500 and D500 with the Sigma 150-600 Contemporary Lens with VR turned on. Auto single point or area focus mode, f/9 to f/11, 1/320 to 1/500 sec. ISO 100 to 200, depending on the brighness and phase of the Moon. I crop and do minor adjustments in post.
May 31, 2023 18:03:15 #

May 31, 2023 18:30:45 #
Sidwalkastronomy
Loc: New Jersey Shore
I like them
How do you focus?
Why no tripod so you don't have to find themoon exposure to exposure
How do you focus?
Why no tripod so you don't have to find themoon exposure to exposure
May 31, 2023 20:15:56 #
My astrophotography alter ego sneaks out. Take a video in AVI mode. Download free programs PIPP and Autostakkert. Follow one of the tutorials on YT to process the movie.
May 31, 2023 21:12:05 #
Watcher51
Loc: Gulfport, ms
Use your Basic Reference Exposure for a cloudless day. The light is reflected from the surface of the moon just as light is reflected from a boulder field in the desert on a sunny day.
Expose for a sunny day and you will see the actual color of the moon.
Expose for a sunny day and you will see the actual color of the moon.
May 31, 2023 21:45:48 #
larryepage wrote:
There was quite a bit of discussion of this topic ... (show quote)
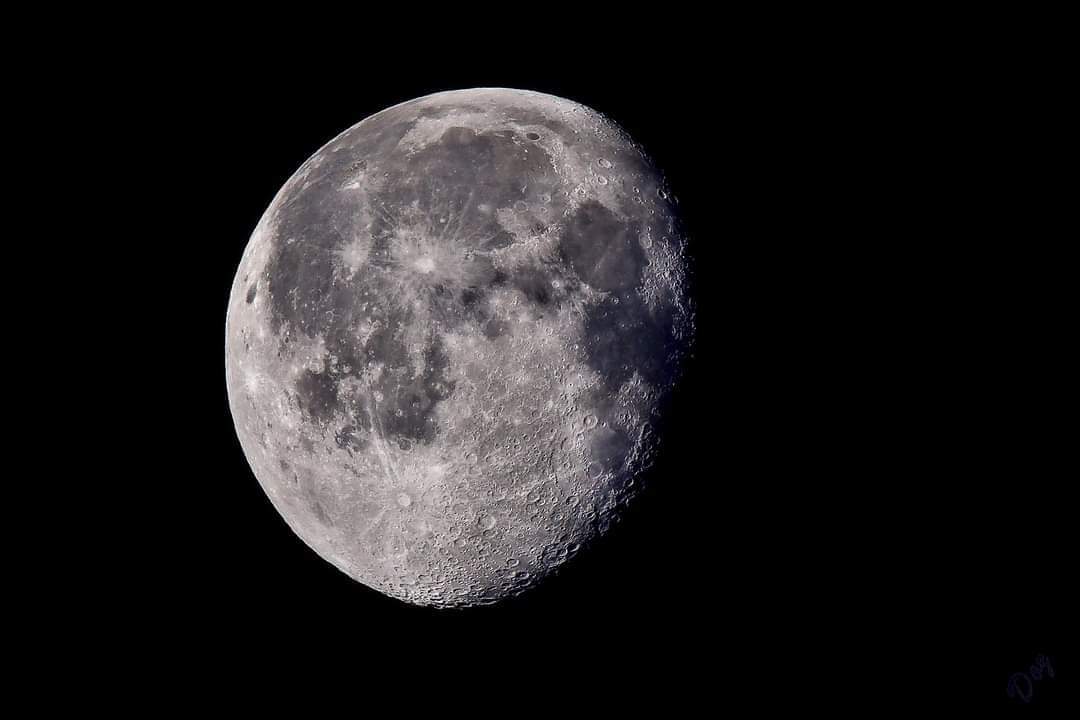
There was a similar explanation that stuck with me. Someone responded to my question by saying, "shoot it like a rock with a light shining on it." That stuck with me. Attached is D500, f14, 1/200 sec, ISO 900, 300 mm
Luck!
May 31, 2023 21:49:37 #
Sidwalkastronomy
Loc: New Jersey Shore
With digital cameras just bracket the exposures. More then once I though I liked one exposure on back of camera but then on my desk top i like some other exposure
If you want to reply, then register here. Registration is free and your account is created instantly, so you can post right away.