Please try editing a poor image (to help select a replacement for Aperture)
Jun 24, 2019 23:46:54 #
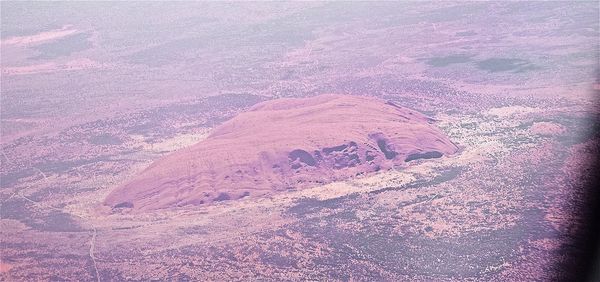
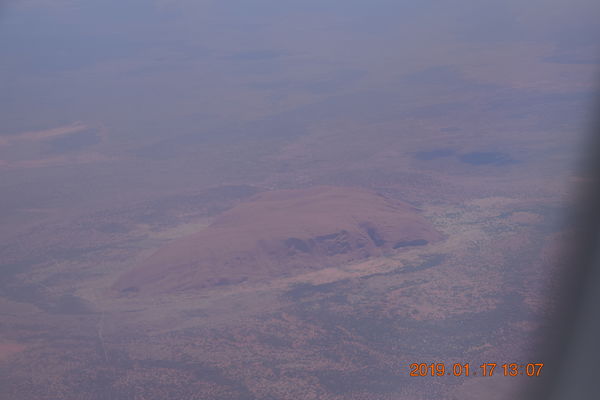
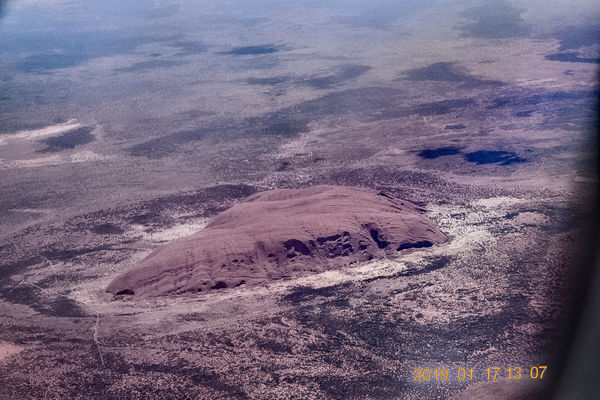
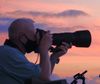
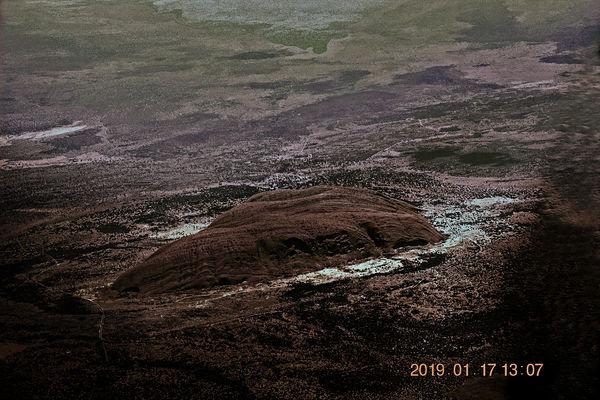
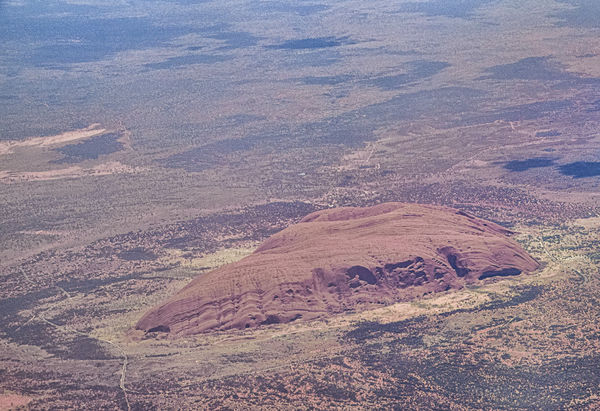
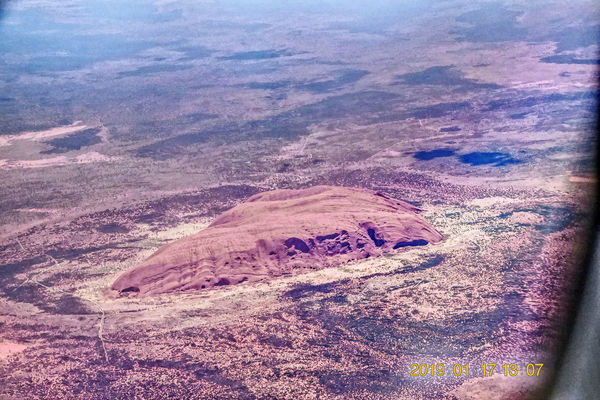
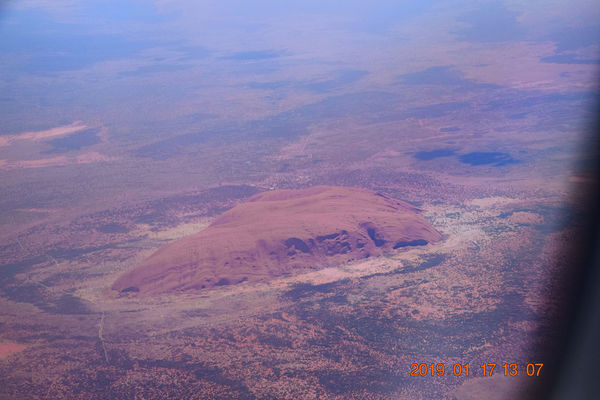
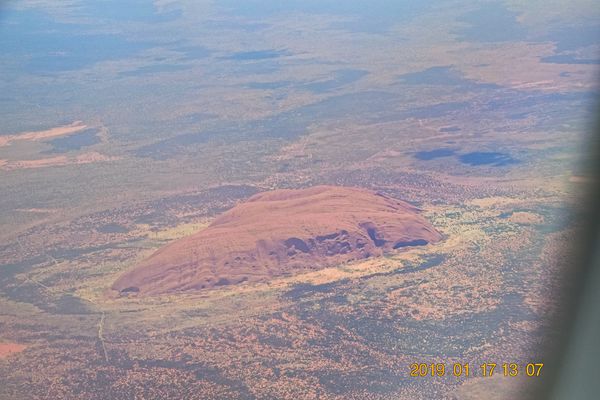
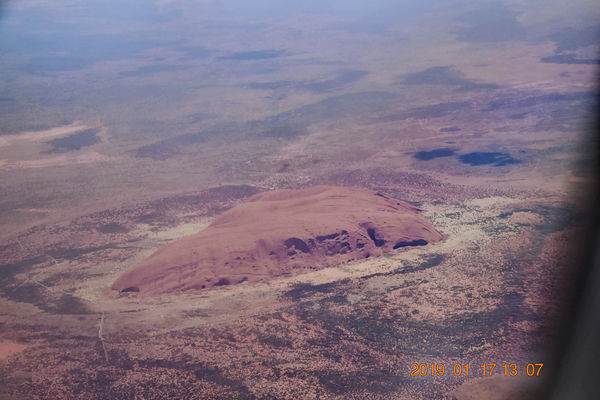
There are several ongoing threads on life after Aperture. One criterion for selecting a replacement app is how well it can rescue a poor picture. So I am hoping that some of you using Lightroom Classic CC, PS, ON1 Photo Raw 2019.5, Capture One, Luminar3, or whatever will take a shot at improving the second image (Taken thru haze while departing Uluru (Ayers Rock) during our January visit to Australia/New Zealand). The first image is the best I could do using Aperture 3.6. Thanks!
Jun 25, 2019 00:05:17 #
mwsilvers
Loc: Central New Jersey
tonyjag wrote:
There are several ongoing threads on life after Aperture. One criterion for selecting a replacement app is how well it can rescue a poor picture. So I am hoping that some of you using Lightroom Classic CC, PS, ON1 Photo Raw 2019.5, Capture One, Luminar3, or whatever will take a shot at improving the second image (Taken thru haze while departing Uluru (Ayers Rock) during our January visit to Australia/New Zealand). The first image is the best I could do using Aperture 3.6. Thanks!
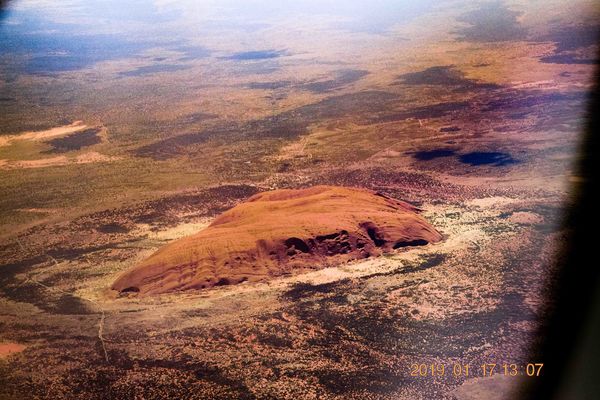
Here is one I did quick and dirty in DXO PhotoLab Elite of your second image. Given more time, and a raw image to work with and the results would have been much better.
Jun 25, 2019 01:22:05 #
Jun 25, 2019 01:42:05 #
Just did a quicky on the IPAD PRO 12.9 ...photoshop fix and PS Express .. serious work would take my MacBook Pro and serious programs ...\
Jun 25, 2019 01:49:36 #
tonyjag wrote:
There are several ongoing threads on life after Aperture. One criterion for selecting a replacement app is how well it can rescue a poor picture. So I am hoping that some of you using Lightroom Classic CC, PS, ON1 Photo Raw 2019.5, Capture One, Luminar3, or whatever will take a shot at improving the second image (Taken thru haze while departing Uluru (Ayers Rock) during our January visit to Australia/New Zealand). The first image is the best I could do using Aperture 3.6. Thanks!
well had to try... quick attempt Photo Elements 2019
Jun 25, 2019 06:25:48 #

Jun 25, 2019 09:48:08 #

tonyjag wrote:
There are several ongoing threads on life after Aperture. One criterion for selecting a replacement app is how well it can rescue a poor picture. So I am hoping that some of you using Lightroom Classic CC, PS, ON1 Photo Raw 2019.5, Capture One, Luminar3, or whatever will take a shot at improving the second image (Taken thru haze while departing Uluru (Ayers Rock) during our January visit to Australia/New Zealand). The first image is the best I could do using Aperture 3.6. Thanks!
Just a quick adjustments on my IPad

Jun 25, 2019 10:17:42 #
One minute adjustment from Affinity Photo, using a single file in HDR. Nothing else was done. Makes sure to use the "download".
Jun 25, 2019 12:29:03 #
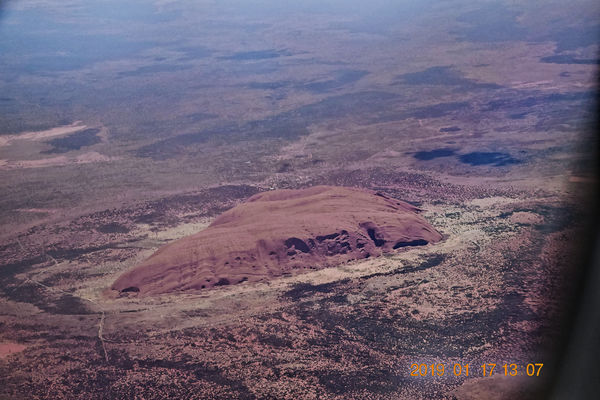
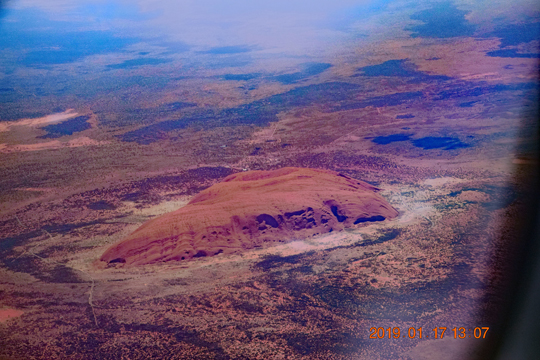
Five minute job in Elements. First, make a Background Copy (Select Background , press Ctrl+J), select Enhance > Haze Removal. I used Auto Haze Reduction and full Sensitivity, that took care of the haze. Add a Levels Adjustment Layer, drag the Left and Right Sliders inward until they touch the edges of the histogram. I saved it as a JPEG for easy transmission. You could do the same process and save it as a PNG and it would be better.
Jeffers
Jeffers
Jun 25, 2019 12:47:33 #
tonyjag wrote:
There are several ongoing threads on life after Aperture. One criterion for selecting a replacement app is how well it can rescue a poor picture. So I am hoping that some of you using Lightroom Classic CC, PS, ON1 Photo Raw 2019.5, Capture One, Luminar3, or whatever will take a shot at improving the second image (Taken thru haze while departing Uluru (Ayers Rock) during our January visit to Australia/New Zealand). The first image is the best I could do using Aperture 3.6. Thanks!
Photolemur and HDR Express
Jun 25, 2019 14:10:17 #
Jun 25, 2019 14:23:15 #
Jun 25, 2019 14:35:45 #
Jun 25, 2019 15:23:52 #

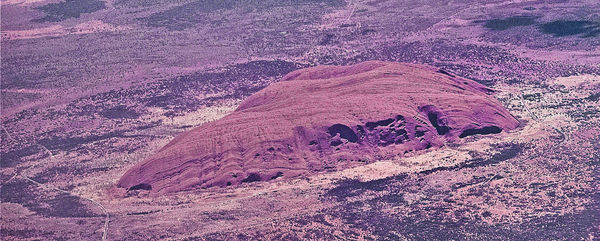
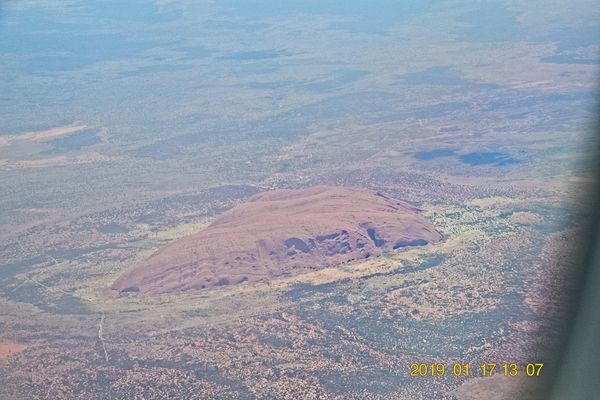
I tried improving it using Lightroom CC. This is my result, which involved using the full extent of "Dehaze" followed by an "Auto" exposure adjustment. I tweaked that result with a little reduction in "Vibrance" and a little added "Clarity". I also added just a little green "Tint" in the second version.

Jun 25, 2019 15:43:23 #
A better way to do this is to do what said before and use the Haze Reduction Layer more as an Adjustment Layer. Ctrl+J the Background layer and name the new layer Haze Reduction. Above that, add a Levels Layer. Reselect the Haze Reduction Layer and fully reduce the Haze by selecting Enhance > Haze Removal. Move both the Haze Reduction and Sensitivity sliders full right, then select OK. Your picture will look terrible. With the Haze Reduction Layer still selected, move its Opacity Slider left, to blend that layer with the Background Layer. When you get it as good as you think you can, select the Levels Layer and slide the Black and White Input sliders (the top sliders) to the Histogram edges. That will make it better, but maybe not perfect. Reselect the Haze Reduction Layer and adjust the blend again. When satisfied, reselect the Levels Layer and readjust it (it will have changed). This is what I got when I tried this procedure. And it took less time than to document this.
If you want to reply, then register here. Registration is free and your account is created instantly, so you can post right away.