Colorizing Graphic Line-Art
Mar 10, 2024 16:41:25 #
I want to share a technique for colorizing graphic line art for those who may have an interest.
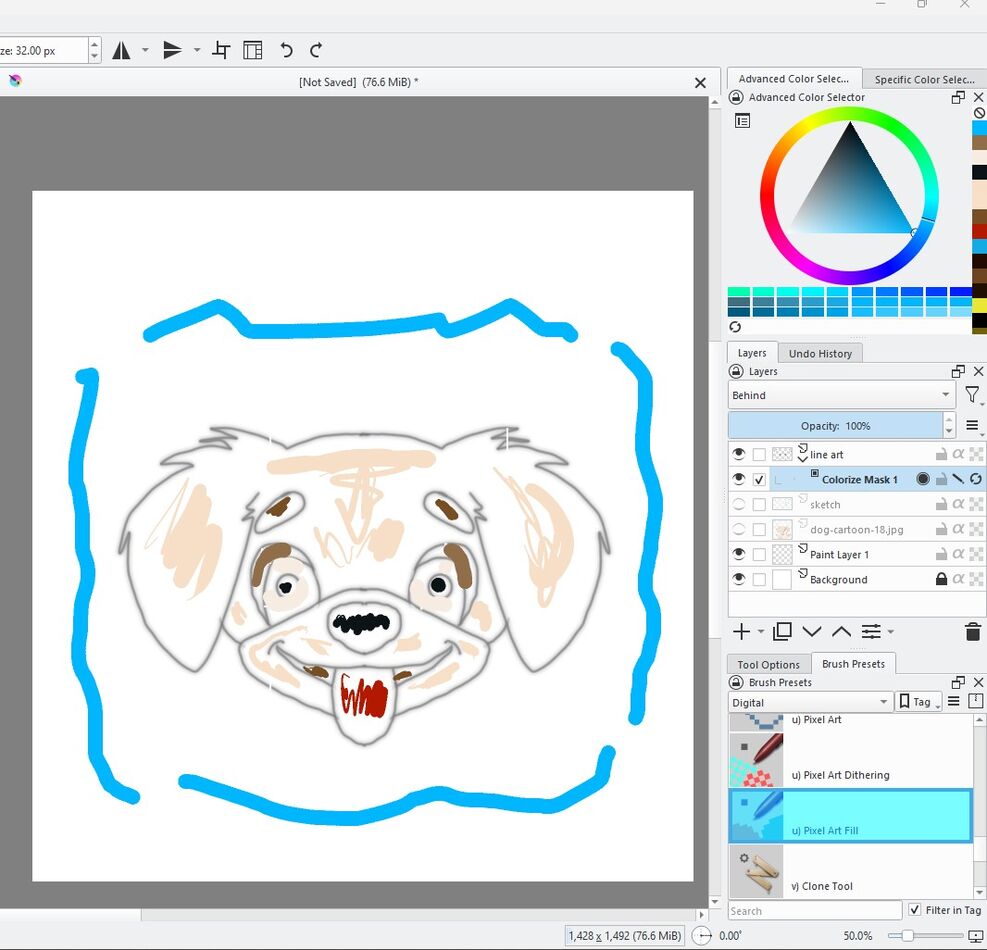
There are a multitude of graphic programs that one can use to draw and color such as Photoshop, Affinity Photo, Clip Paint, Krita, etc. I use Krita (as well as the others) because it is power-packed with features and it is an Open-Source program which means that it is free for public use as all Open-Source programs are.
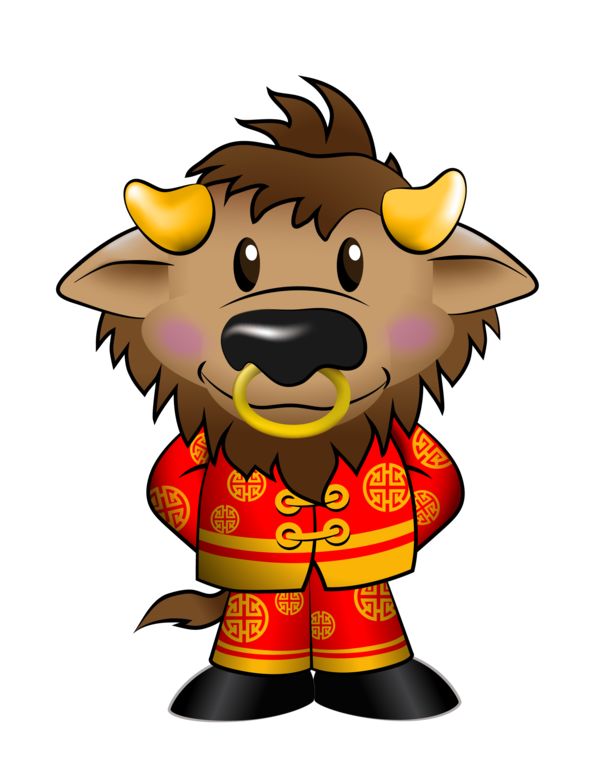
I'll take you through the steps of the cartoon dog that I created as an example of how this process works.
IMAGE ONE (Draft Sketch)- I start with a loose, quick, draft sketch. I use a blue color to set it apart from the other layers. I don't spend much time on this because it is to be used as a guide and I often change it before it is done.
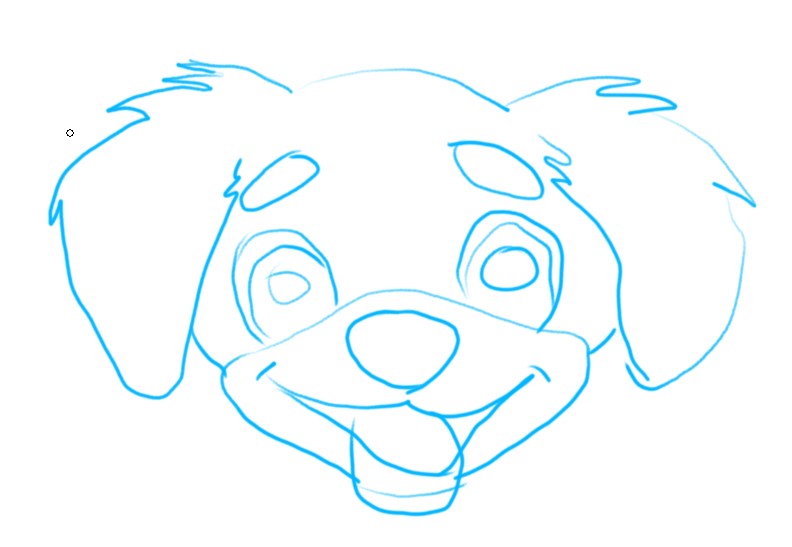
IMAGE TWO (Line Drawing) - I create a new layer and turn down the opacity of the draft sketch layer. Because the dog's face is symmetrical, I use a mirror drawing tool that allows me to draw the right and left sides at the same time (how cool is that!). Note: This is NOT a copy, paste, and flip process. It draws both sides in real-time. Because this is the line art that will be used, care is taken in the drawing with attention to close shapes that may have open gaps. This is important for the colorizing process.
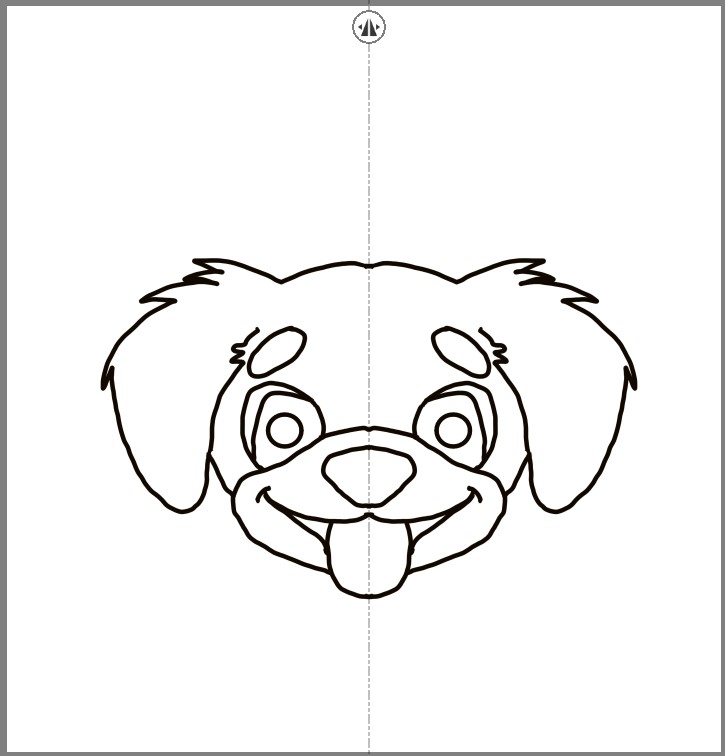
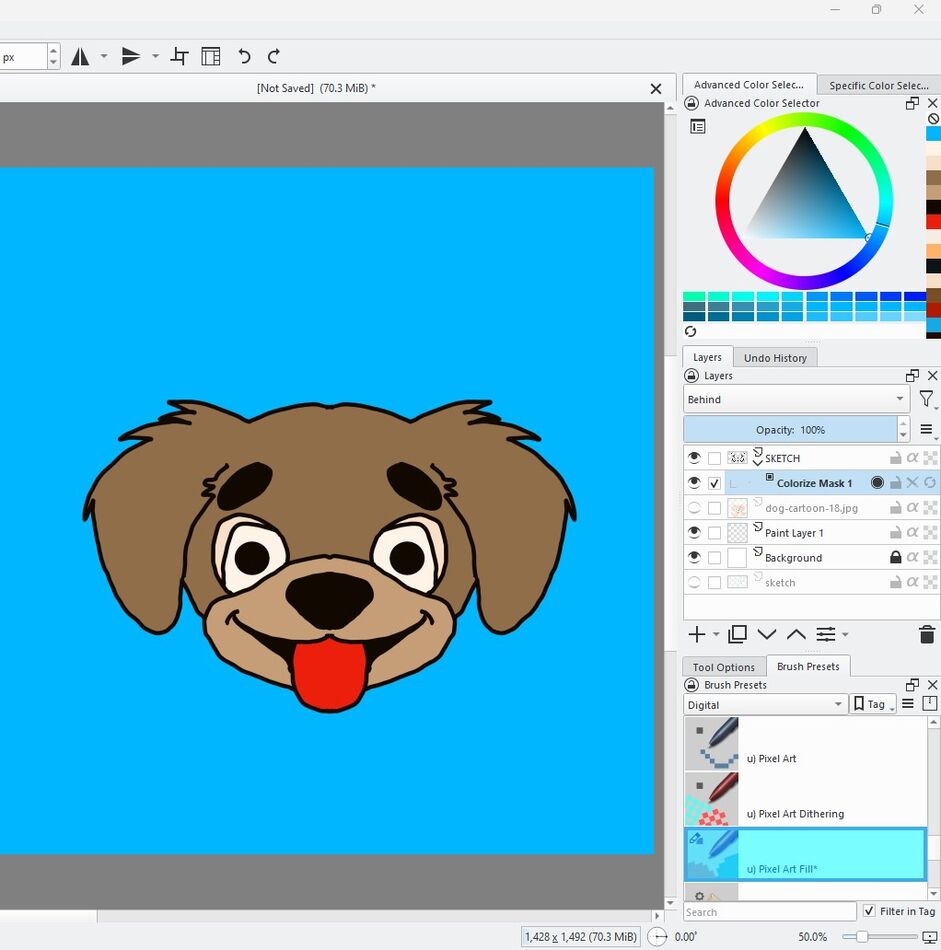
IMAGE THREE (Colorization Mask) - A colorization mask layer is added and bits of color are placed where I want them to be applied. This can be a line, dot, scribble, or whatever. Yes, this looks weird and it is not how we would paint in non-digital media.
IMAGE FOUR (Processed Colorization Mask) - With the colors laid in place, the mask can be processed to block in the colors where placed.
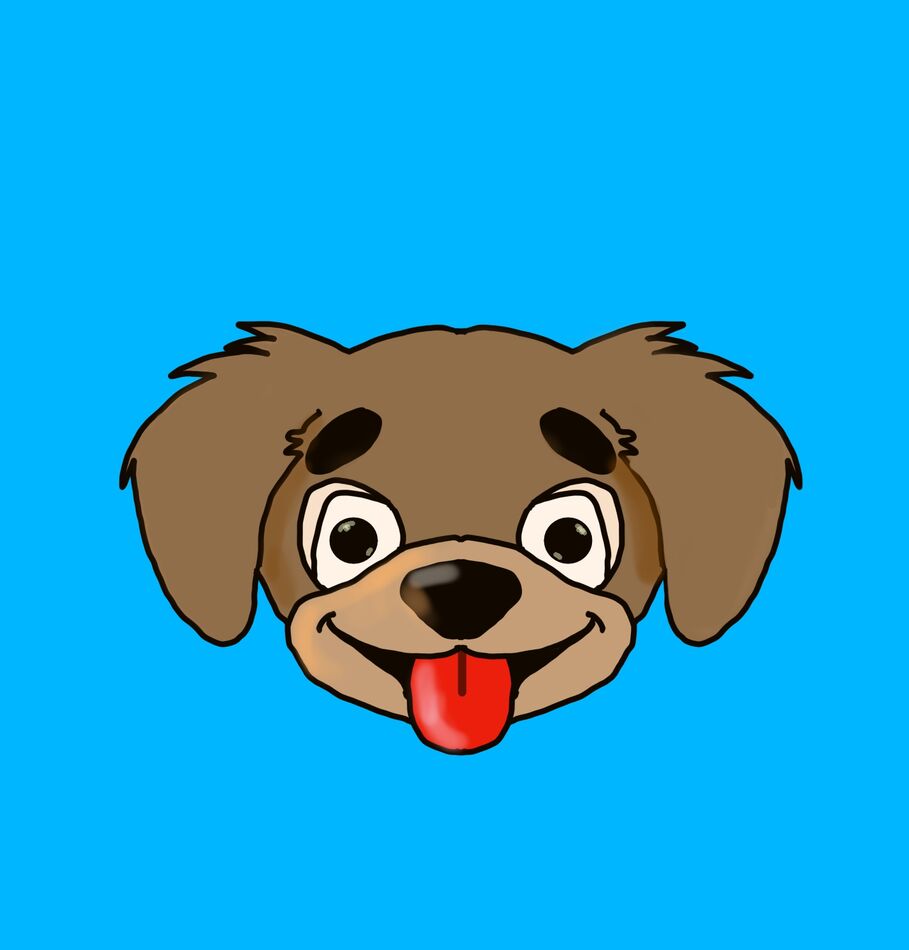
IMAGE FIVE (Final Touches) - When the colorization is processed, new layers can be added to apply highlights, shadows, details, etc.
There are a multitude of graphic programs that one can use to draw and color such as Photoshop, Affinity Photo, Clip Paint, Krita, etc. I use Krita (as well as the others) because it is power-packed with features and it is an Open-Source program which means that it is free for public use as all Open-Source programs are.
I'll take you through the steps of the cartoon dog that I created as an example of how this process works.
IMAGE ONE (Draft Sketch)- I start with a loose, quick, draft sketch. I use a blue color to set it apart from the other layers. I don't spend much time on this because it is to be used as a guide and I often change it before it is done.
IMAGE TWO (Line Drawing) - I create a new layer and turn down the opacity of the draft sketch layer. Because the dog's face is symmetrical, I use a mirror drawing tool that allows me to draw the right and left sides at the same time (how cool is that!). Note: This is NOT a copy, paste, and flip process. It draws both sides in real-time. Because this is the line art that will be used, care is taken in the drawing with attention to close shapes that may have open gaps. This is important for the colorizing process.
IMAGE THREE (Colorization Mask) - A colorization mask layer is added and bits of color are placed where I want them to be applied. This can be a line, dot, scribble, or whatever. Yes, this looks weird and it is not how we would paint in non-digital media.
IMAGE FOUR (Processed Colorization Mask) - With the colors laid in place, the mask can be processed to block in the colors where placed.
IMAGE FIVE (Final Touches) - When the colorization is processed, new layers can be added to apply highlights, shadows, details, etc.
Mar 10, 2024 17:53:38 #
That whole process in interesting. It doesn’t sound really difficult, just time consuming, but it looks like fun.
Mar 10, 2024 22:34:24 #
Mar 11, 2024 02:35:54 #

sippyjug104 wrote:
I want to share a technique for colorizing graphic... (show quote)
Thats nice.
I use Adobe Illustrator & Photoshop for stuffs like that.
I posted one here: https://www.uglyhedgehog.com/t-664686-1.html
Mar 11, 2024 05:29:02 #

Thank you Sippy, I copied and transferred to MS-Word so it is now a saved document tutorial
Mar 11, 2024 06:55:33 #

I have Affinity Designer which has some nice features and integrates with Affinity Photo seamlessly.
If you want to reply, then register here. Registration is free and your account is created instantly, so you can post right away.