My Image Your View - *** Sunrise Over the Lake *** All Edits Welcome
Oct 2, 2023 12:37:54 #

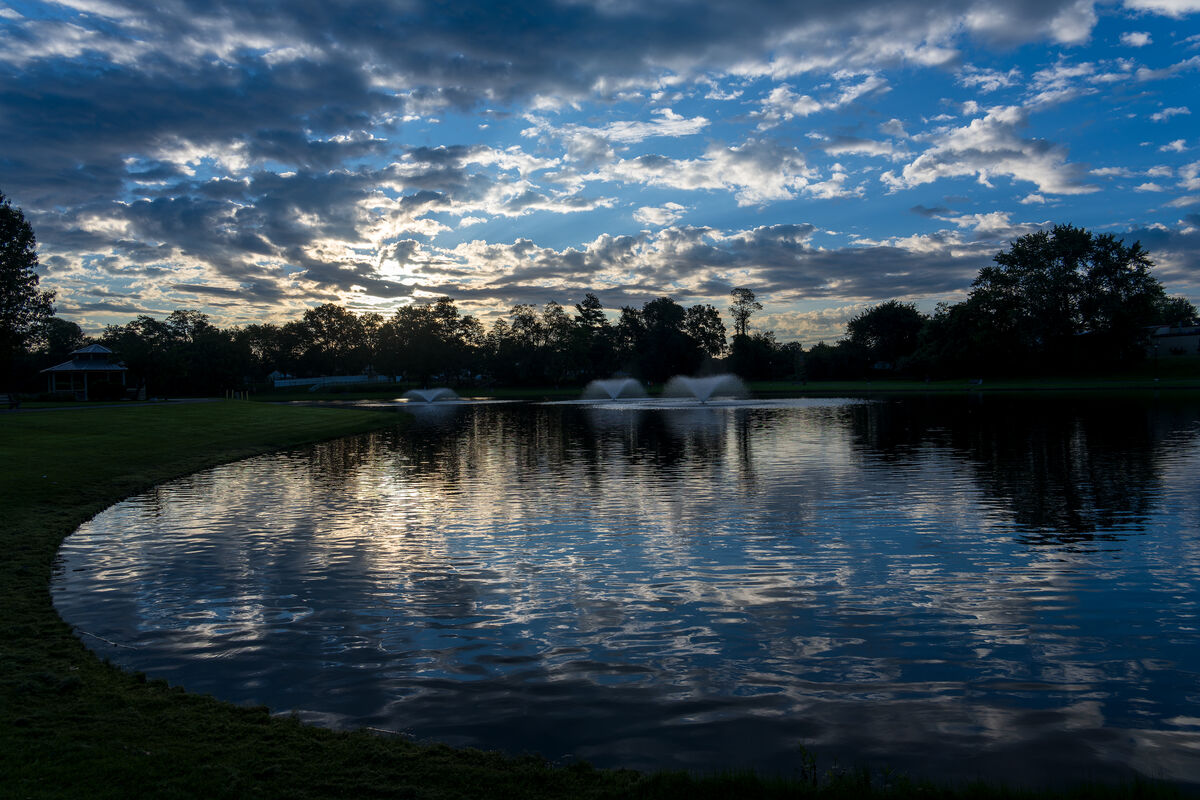
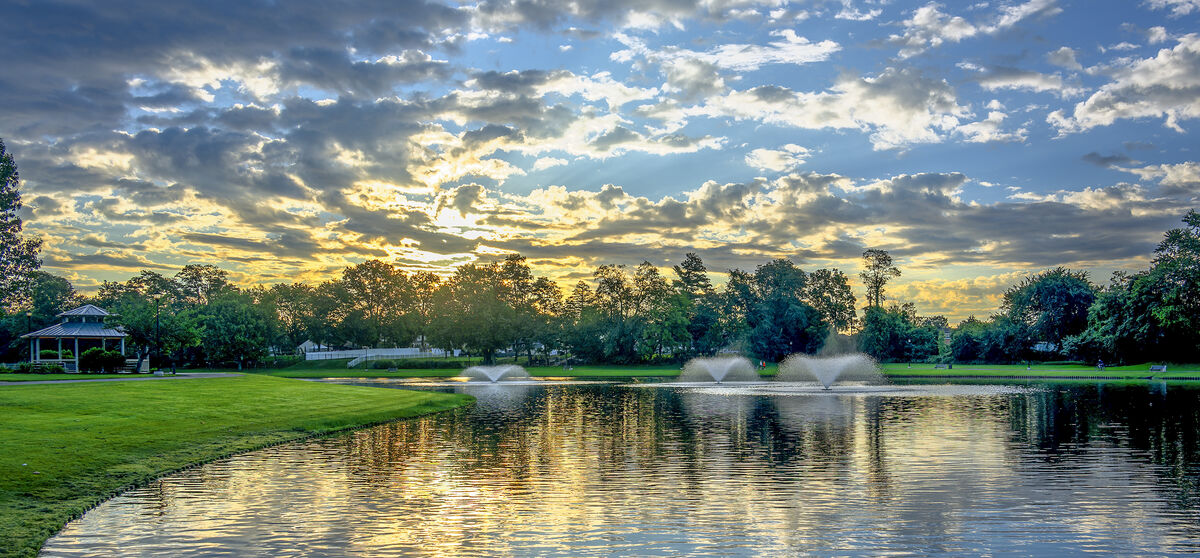
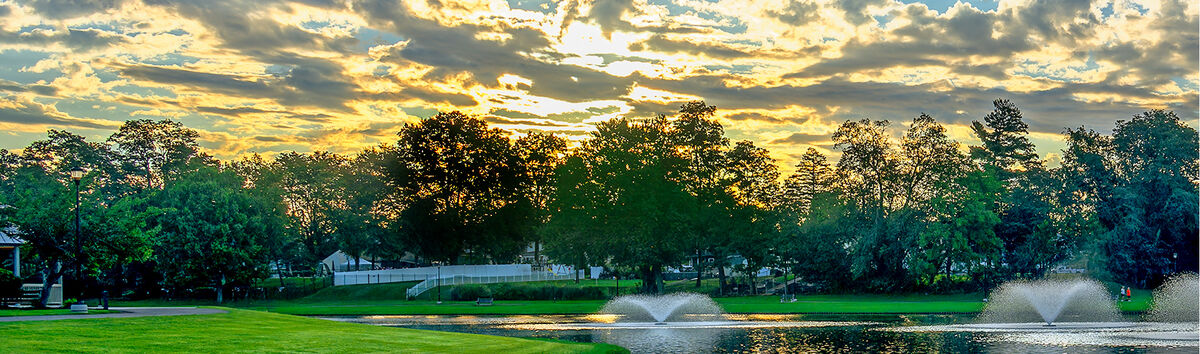
One of the advantages of waking up in the wee hours of the morning is the chance to catch a really nice sunrise. The attached image was taken hand-held with an attempt to preserve highlights in the sky. It could really benefit from your editing expertise and some TLC to bring out its potential.
Trust me there's a very nice image hiding in this file, and I hope you have fun editing this one.
Feel free to download this image to your computer. Then you can edit it any way that you think is an improvement. Composites, black and white conversions, textures, sky swaps, inverted images, solarization, or whatever else you think will improve the photo are acceptable techniques for your edit. When you are finished, post your edit in this thread. Edits will be accepted until 9pm Eastern time on Thursday. No edits will be accepted after that time because we will begin voting then. Thank you for your efforts and your participation.
Oct 2, 2023 14:47:14 #
Oct 3, 2023 12:33:10 #

Jim-Pops wrote:
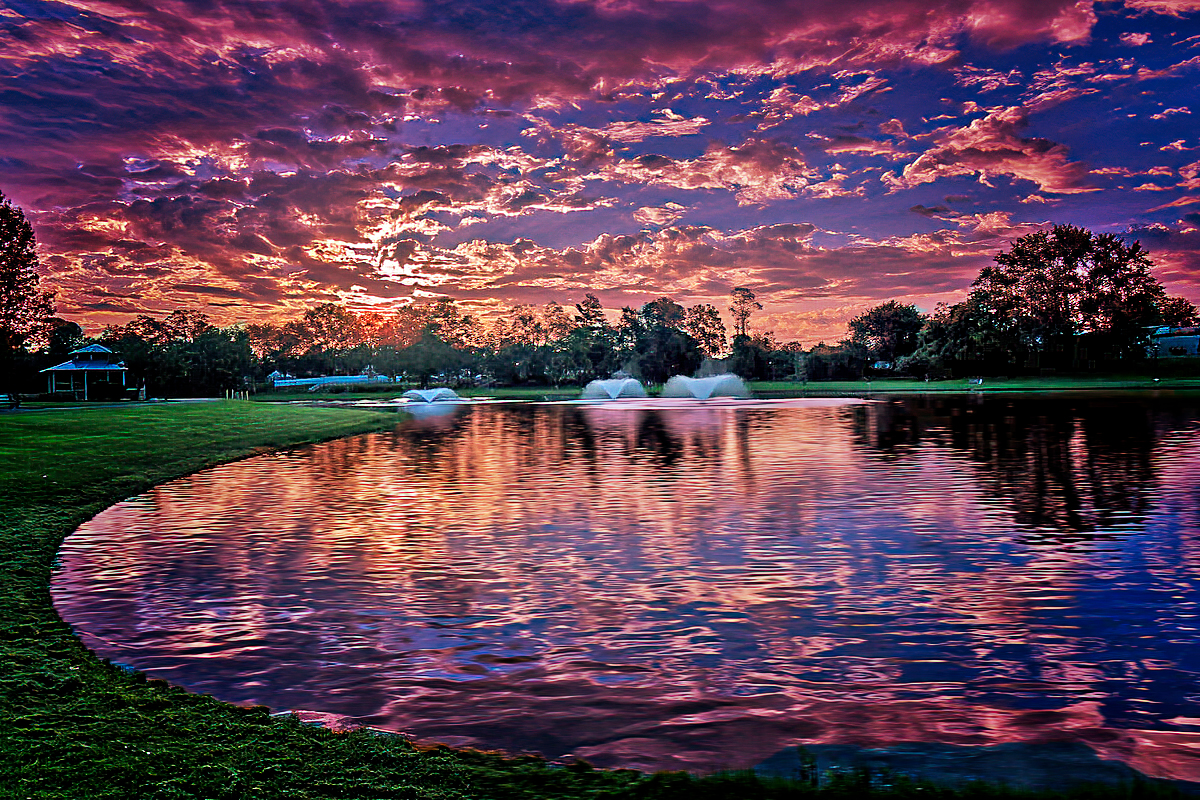
My edit was to make it different not necessarily better.
That could become my favourite disclaimer lol. I too seem to have allowed a little purple to creep into my golden hour.
.
Oct 3, 2023 16:49:32 #

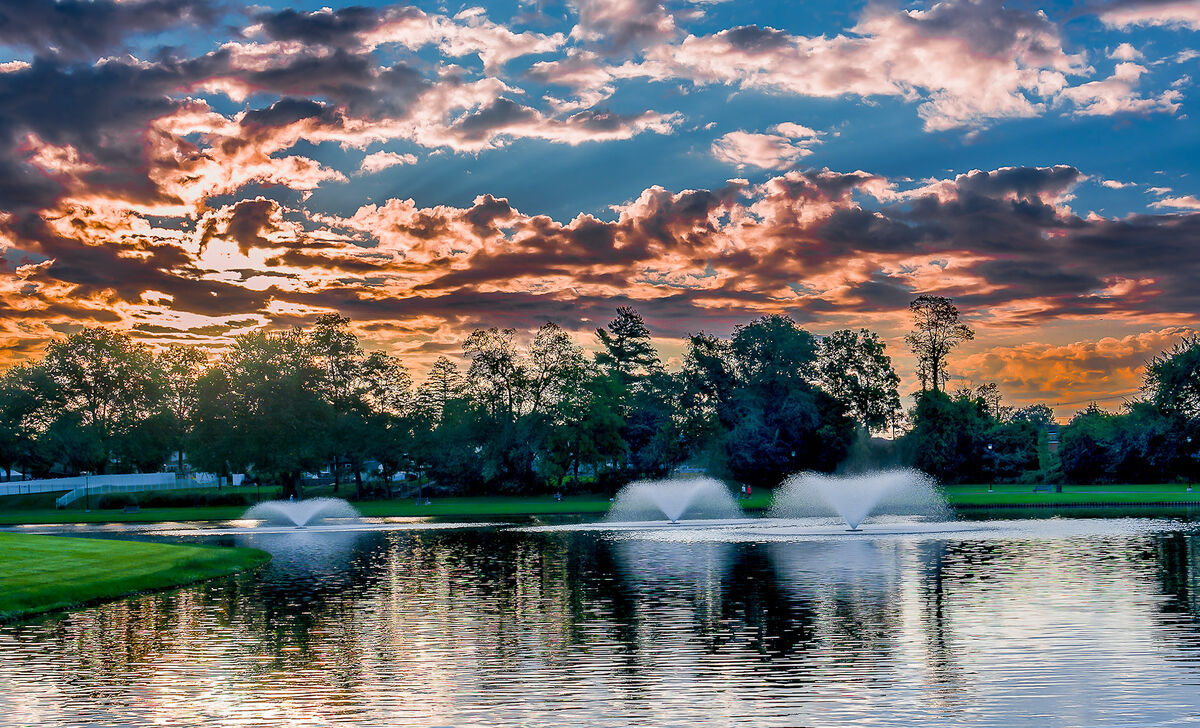
My take. Kept the sky but changed the time of day a bit. And some geese

Oct 4, 2023 12:47:49 #
Oct 4, 2023 13:47:59 #
I like the brighter edits I'm seeing. One thing that troubles me is that while making the image brighter, the tops of the trees become light so much that they look lit from the wrong side. Can the top of the trees be darkened or could the tops have darker green added? Also, can this be done without affecting the brighter sky coming through the leaves and branches?
Just wanted to add some friendly conversation.
Just wanted to add some friendly conversation.
Oct 4, 2023 14:04:18 #
Jim-Pops wrote:
I like the brighter edits I'm seeing. One thing that troubles me is that while making the image brighter, the tops of the trees become light so much that they look lit from the wrong side. Can the top of the trees be darkened or could the tops have darker green added? Also, can this be done without affecting the brighter sky coming through the leaves and branches?
Just wanted to add some friendly conversation.
Just wanted to add some friendly conversation.
I think that what you're referring to is due to haze which was brightly lit in the original and becomes even more so when the whole image is brightened. The best I could do was to darken the hazy areas but I had to avoid areas where there's a lot of sky behind the haze. Lr's brush isn't good enough to separate out the tree branches from the sky behind them.
Oct 4, 2023 14:09:25 #
R.G. wrote:
I think that what you're referring to is due to haze which was brightly lit in the original and becomes even more so when the whole image is brightened. The best I could do was to darken the hazy areas but I had to avoid areas where there's a lot of sky behind the haze. Lr's brush isn't good enough to separate out the tree branches from the sky behind them.
I agree a tough thing to separate. I tried playing around with luminosity masking but wasn't selective enough.
Oct 4, 2023 14:22:46 #
I selected the whole treeline area and added contrast to get the branches to stand out but I could only go so far before it was too much for the trees that aren't affected by the haze. Perhaps a second selection of just the hazy areas of the treeline would have allowed more contrast for those areas. Oh well - next time perhaps... 
Oct 4, 2023 16:35:56 #
Oct 4, 2023 16:44:53 #

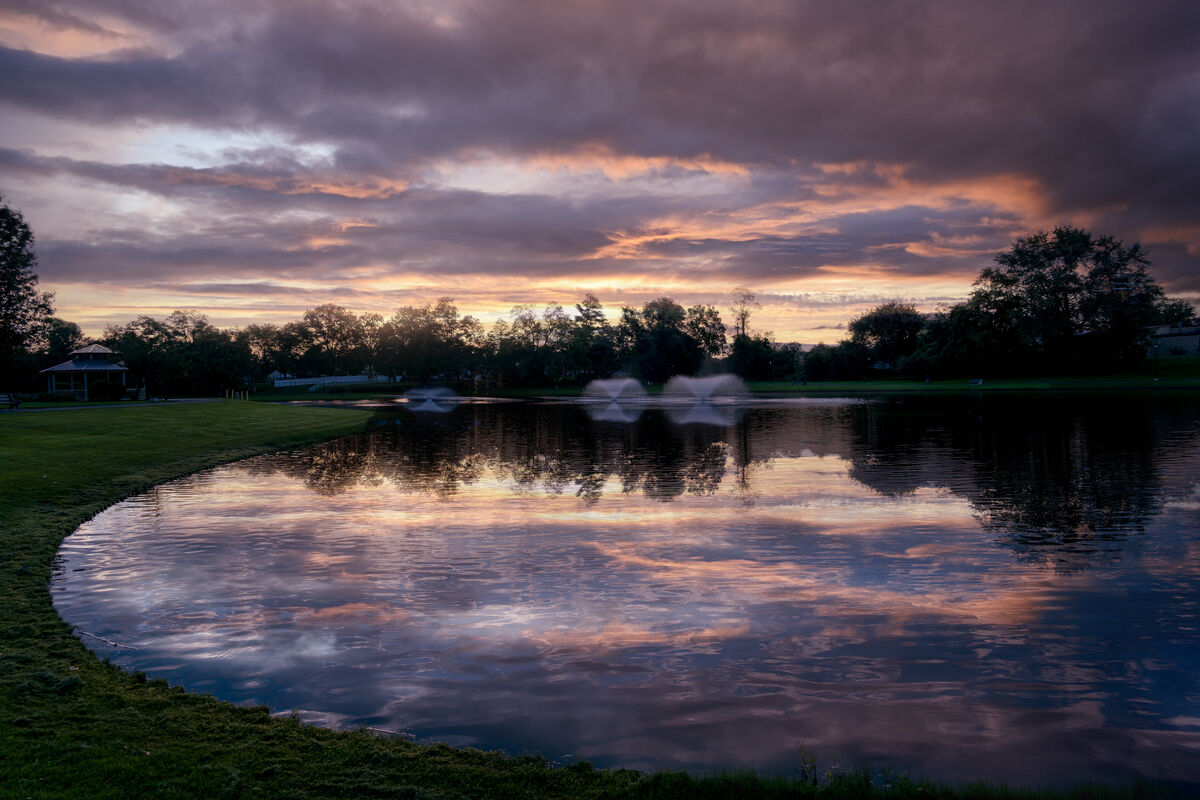
My View. Applied a motion blur to the lake as it showed ripples. Treated it with Topaz AI Sharpen. Make an adjustment to lighten the shadows. Retained the original sky and applied an Overlay of Sun Rise color to it. Selected the lake and gave it a lighter overlay Sun Rise color. Probably some other minor adjustments.
Oct 4, 2023 22:32:13 #

Oct 5, 2023 10:34:17 #
Jim-Pops wrote:
I like the brighter edits I'm seeing. One thing that troubles me is that while making the image brighter, the tops of the trees become light so much that they look lit from the wrong side. Can the top of the trees be darkened or could the tops have darker green added? Also, can this be done without affecting the brighter sky coming through the leaves and branches?
Just wanted to add some friendly conversation.
Just wanted to add some friendly conversation.
Here is a simple way of darkening just the branches any color you want leaving the sky between the branches untouched. It is destructive, meaning you’re altering the image, not a mask or an adjustment. There are non-destructive means but I would use luminosity masks for that.
1) Make a copy of the image layer. You will make the edits on the copy if you need to redo, the underlying original is untouched.
2) Select the brush tool. In the upper toolbar, select Mode = Overlay and Flow = 5% (or a low value)
3) Toggle the foreground layer to black.
4) Press the Option key (Macs) and using the eyedropper, select the color you want to paint the trees. Select a black or a dark green if you want a good silhouette.
5) Carefully paint over the tree branches you want to darken. Using the overlay mode, only the pixels with luminosity lower that 127 (50% gray) will be effected. The bright areas will remain unchanged.
In the attached example, I darkened the tree above the center fountain dark green and the tree just to the left black using the method I just described.
Note that if you select the white foreground, only the bright areas will be effected leaving the dark areas unaffected.
Also note that when you’re done, set Mode back to normal. This used to cause me a lot of frustration when my brushes didn’t work right and I kept finding that the brush mode was set to something other than normal.
Hope this helps
Oct 5, 2023 11:30:15 #
Oct 5, 2023 18:43:30 #

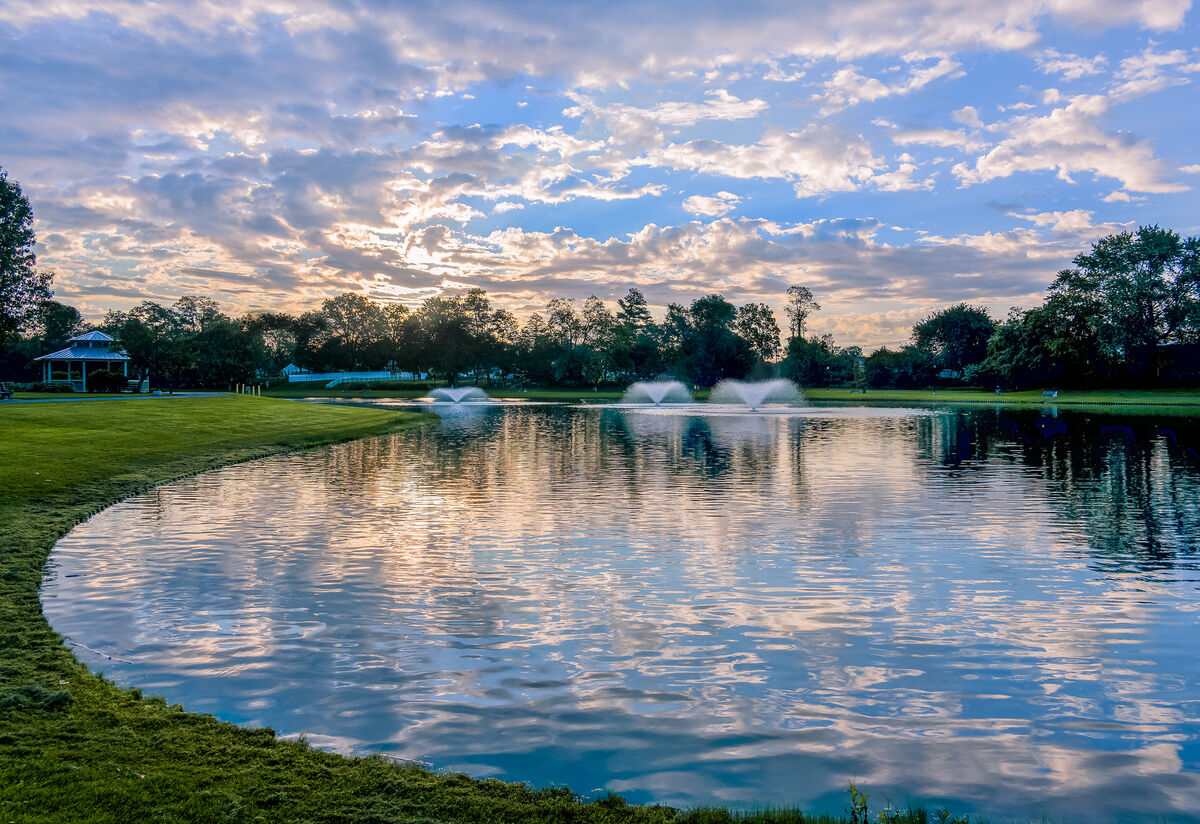
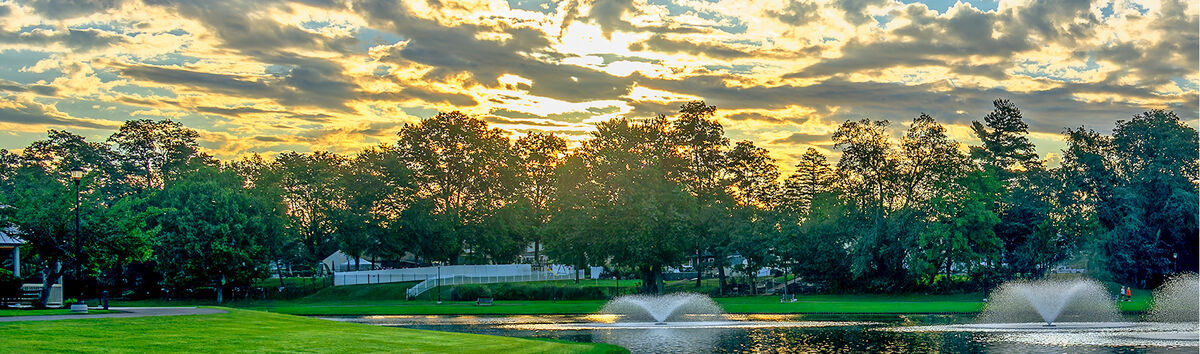
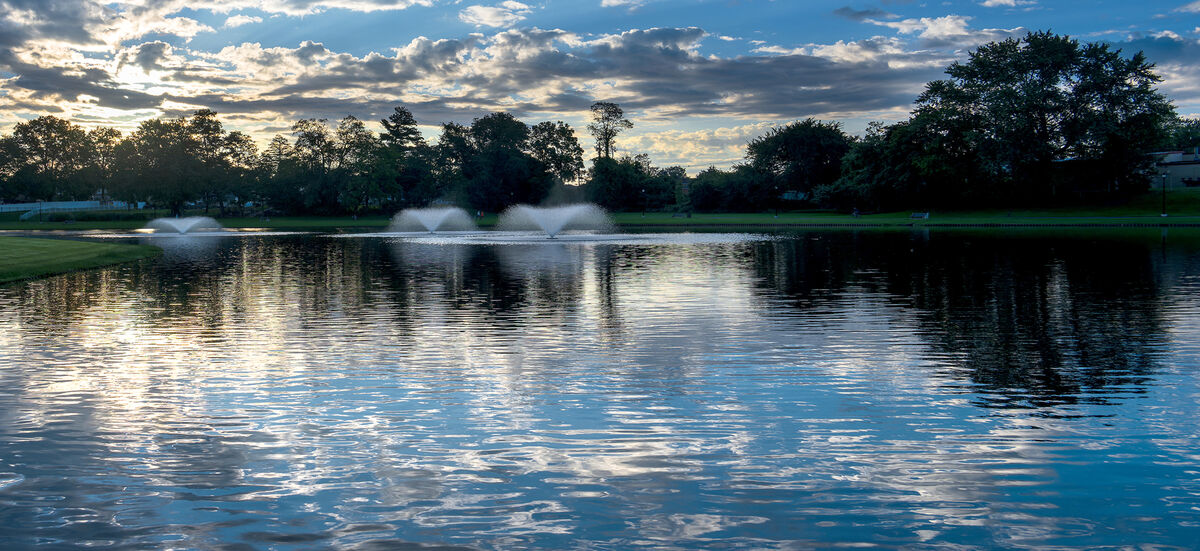
NikonGal alerted me to this thread, specifically SalvageDiver's solution. PS Elements doesn't have one of his steps, but I would normally want to keep a lot of area dark anyway; it would have been my reason for shooting
I used levels and a layer mask to selectively lighten some areas, and dodged the water spray features. I also bumped the yellow saturation a bit. And I "stretched" the image to remove the left side. Free Transform has become a favorite tool.
Thanks all.
I used levels and a layer mask to selectively lighten some areas, and dodged the water spray features. I also bumped the yellow saturation a bit. And I "stretched" the image to remove the left side. Free Transform has become a favorite tool.
Thanks all.
If you want to reply, then register here. Registration is free and your account is created instantly, so you can post right away.