Check out Astronomical Photography Forum section of our forum.
Post-processing of IR images
Jun 12, 2023 22:56:32 #

I was looking at an IR conversion firm's filter offerings and noticed that all the filters they sell except one require post processing of the IR image. This brought to mind a question: why do all IR images seem to require post processing, even those taken with a full spectrum conversion camera whose non-IR images do not seem to require post processing?
Trapper1
Trapper1
Jun 13, 2023 08:02:33 #

Real IR, 720nm for example or greater are B&W... and the use of Plugins to modify contrast, color, or add special effects are a plus, but SOOC are good photos. Full spectra is an art form of photography. I converted a Nikon 1, J1, DIY to full spectra then added ring to change from the 42.5 mm to 52mm filters. Filters from Amazon are more expensive than those from Aliexpress in China. Aliexpress gives detail of spectra vs US sales.
Others 550, 580, 620, 680 nm, and such are with color-visible light added. Rob Shea gives us a free education on the effects of " [sorto-of] white balance" Start here...
https://www.youtube.com/watch?v=VROXl5WhVQE&t=563s
https://kolarivision.com/choosing-an-infrared-filter/
Others 550, 580, 620, 680 nm, and such are with color-visible light added. Rob Shea gives us a free education on the effects of " [sorto-of] white balance" Start here...
https://www.youtube.com/watch?v=VROXl5WhVQE&t=563s
https://kolarivision.com/choosing-an-infrared-filter/
Jun 13, 2023 11:39:22 #

trapper1 wrote:
I was looking at an IR conversion firm's filter offerings and noticed that all the filters they sell except one require post processing of the IR image. This brought to mind a question: why do all IR images seem to require post processing, even those taken with a full spectrum conversion camera whose non-IR images do not seem to require post processing?
Trapper1
Trapper1
The one that you are referring to that doesn't need post processing is the Kolari IR Chrome filter. And it is actually a stack of several filters made into one in which it has been designed to handle visible and IR light in a certain way to produce the look that they were after.
Image 1 is taken using that ChromeIR filter. About the only thing needed in the processing is adjustment of the brightness if needed, or perhaps saturation or color tint to refine the look.
But it is also possible to combine several filters together to come up with a different. This "Candy Pink" look is created using 3 filters: A Vivitar X1 filter (sort of a pale yellow-green), a KB20 (made by B&W) and an 80C (a slightly blue filter). Together, they shape the light response. The last filter, the 80C actually affects the IR portion of the spectrum which can be modified for a slightly different look to choose either the 80B or 80A in place of the 80C.
Image 2 is an image using these three filters together and is straight out of the camera. It can be improved by using a brush to desaturate the areas you don't want the pink such as the cement and the backtop basketball court, and the tree trunks.
The Vivitar X1 filter could be replaced with a Kenko P00 filter which is also a pale yellow-green. Another pale yellow-green filter that doesn't work as good is the Asanuma YG(X0) as the colors shift more to cranberry.
Another pale Yellow-Green filter I found was a Rodenstock 11 with Image 3 being the result. The sky isn't a true sky color, and can be fixed, but I show it as it came out of the camera.
So what you see here is that by careful selection of multiple filters, the processing of the image has been shifted from post processing to in-camera. But the normal IR filters do not have this ability. They must be post processed.


Check out Travel Photography - Tips and More section of our forum.
Jun 13, 2023 13:19:50 #
Thank you both for the very welcome information and insight. It is going to take me a while to try things out based on you input but it sure gives me a leg up on IR. I am still hoping someone will explain why IR images need to be doctored up in the first place.
Trapper1
Trapper1
Jun 13, 2023 13:42:41 #
trapper1 wrote:
Thank you both for the very welcome information and insight. It is going to take me a while to try things out based on you input but it sure gives me a leg up on IR. I am still hoping someone will explain why IR images need to be doctored up in the first place.
Trapper1
Trapper1
It's because the IR filters are beyond red and shift the entire image into red. Plus, the way vegetation responds to IR light. Visible light now looks very red. The channel swapping is needed to fool us into thinking we have a normal looking sky while the rest of the image takes on the IR look.
Jun 16, 2023 14:17:53 #

Look at Rob Shea's videos on YouTube. He gives a very in-depth review of processing IR.
The minimal processing for colour is the red- Blue shift.
The minimal processing for colour is the red- Blue shift.
Jun 19, 2023 13:11:51 #
At this point I am only interested in B&W and do not want to get involvd in doctoring up color images yet.
Trapper1
Trapper1
Jun 19, 2023 18:55:12 #
trapper1 wrote:
At this point I am only interested in B&W and do not want to get involvd in doctoring up color images yet.
Trapper1
Trapper1
You should have said this earlier. B&W processing is really easy. No channel swapping necessary.
Let's go through an easy exercise. I have listed some easy steps below.
Some additional comments:
Some individuals don't want any processing at all. They can shoot JPEG in the camera and accept what the camera provides them. There is a difference in what you may get from a 590nm filter vs a 720nm filter vs what you might get with a 850nm filter. The longer the wavelength of the filter, the less visible light is in the final image. But I also find that the longer the wavelength, the harsher the B&W image is due to the lack of visible light. If a 590nm filter is used for B&W, there is more visible light mixed in, and the result is a richer B&W result with more gradation of gray scales.
Note also that IR images lighten up the vegetation. Visible light would have much darker vegetation and I don't like it as well. I prefer the lighter vegetation.
Original Image (taken in RAW) and converted to JPEG in Lightroom for posting
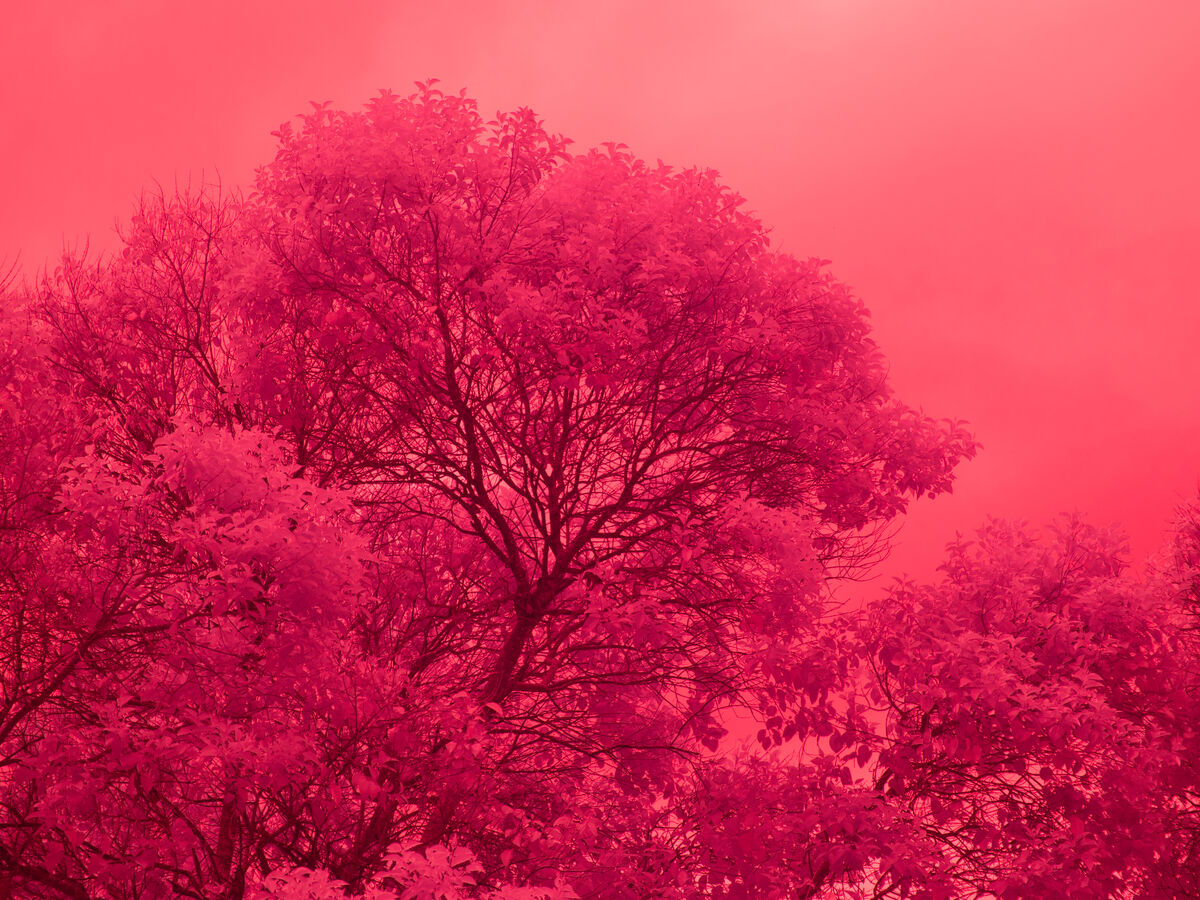
(Download)
The lazy conversion to B&W. Just told Lightroom to convert to B&W. Lightroom made the conversion decisions.
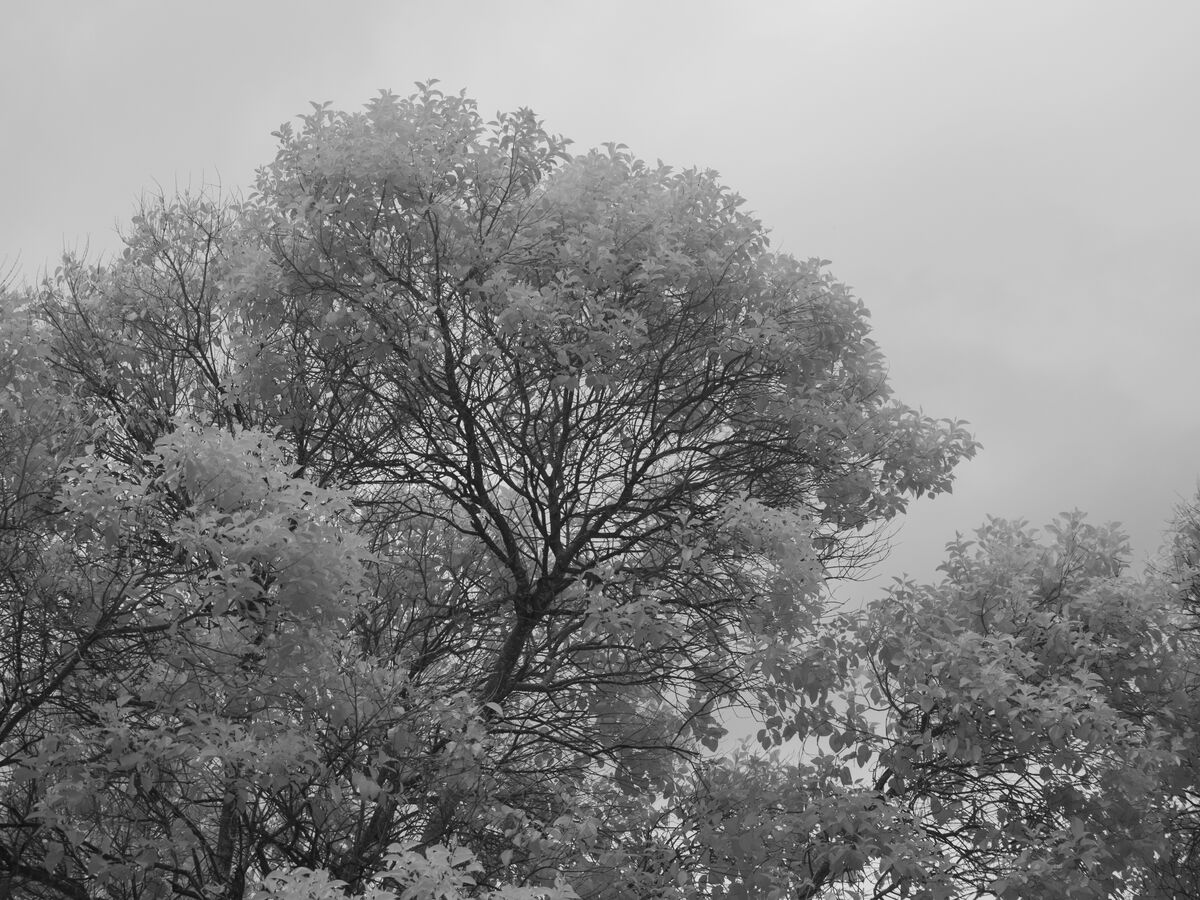
(Download)
A better way, open the Lightroom Profile Browser and select a B&W look you might like.
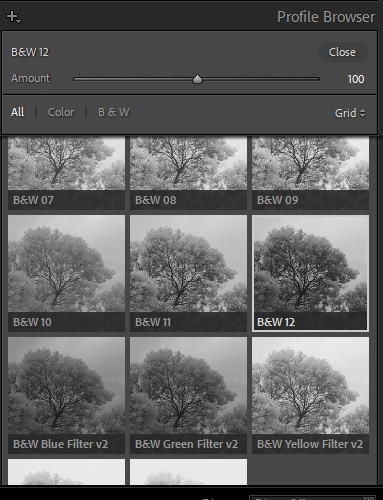
In the Profile Browser, decided I wanted to use B&W12
(Download)
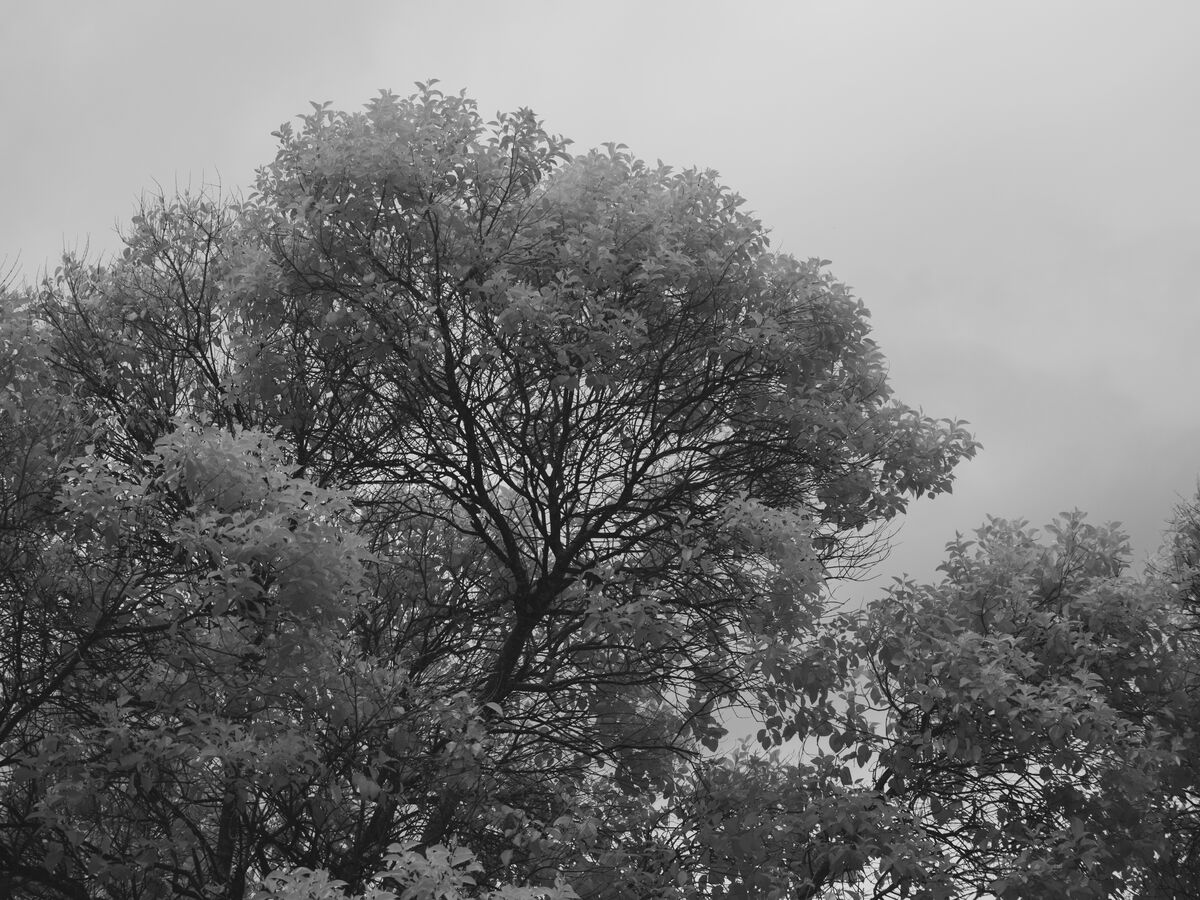
Next, I decided B&W12 needed more contrast
(Download)
An example where I used 590nm to generate good grayscales, and I used NIK's Silver Efex Pro, WetRocks Profile to get the look I wanted
(Download)
Jun 19, 2023 22:21:15 #
JimH123, thanks for the post. I can see from your examples how post-processing of images can be a gateway to really unique IR images. The progression of stages in your images was impressive. I am not familiar with and so do not use Lightroom or any other post-processing program at this time. But it was very interesting to me for you to show the progression of image changes. Thank you.
Trapper1
Trapper1
Jun 20, 2023 02:06:19 #
trapper1 wrote:
JimH123, thanks for the post. I can see from your examples how post-processing of images can be a gateway to really unique IR images. The progression of stages in your images was impressive. I am not familiar with and so do not use Lightroom or any other post-processing program at this time. But it was very interesting to me for you to show the progression of image changes. Thank you.
Trapper1
Trapper1
Good luck getting started with IR. Many people start with letting the camera do the B&W conversion. If you shoot RAW plus JPEG, you can save the RAW images for sometime in the future when you are ready to take another step.
And that brings up the question of have the IR filter in the camera permanently. Or to add it as a filter on the end of a lens. This is called full spectrum IR conversion and is the most flexible and allows more things to be done.
If you go for having the filter in the camera, I suggest the 590nm. This allows you to go to 650nm, 720nm or even 850nm with an external filter. But if you have the 850nm filter in the camera, you can't use shorter wavelength filters. Can't go that direction.
As for processing B&W in camera, you can boost contrast in the JPEG settings.
Jun 28, 2023 09:23:12 #
petrochemist
Loc: UK
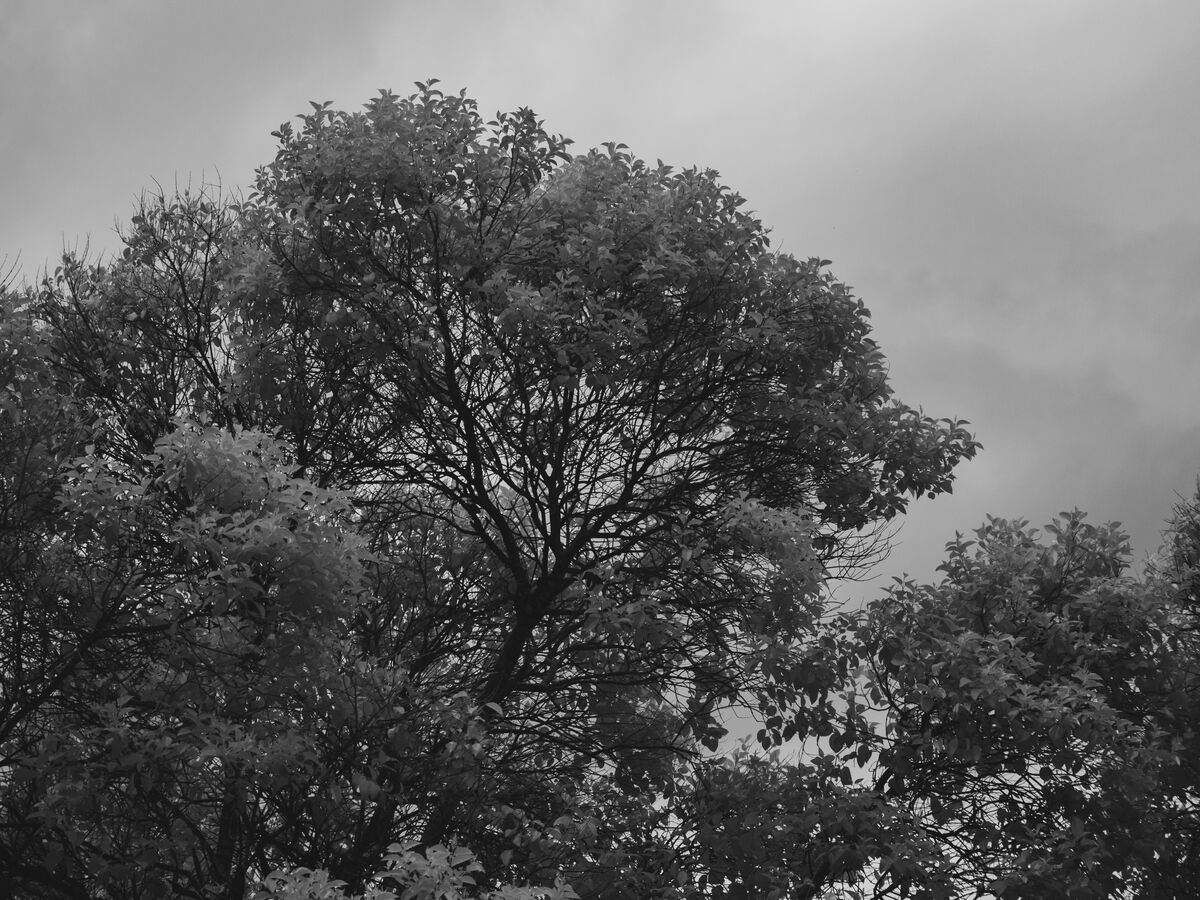
Many would consider all photographs need post processing to reach their best. I don't find IR needs much more than normal visual shots. With longer cut off filters I typically just desaturate & tweak levels:
 Parliament by infra red by Mike Kanssen, on Flickr
With the right white balance I like the results I get from a 590nm SOOC (I have 2 different white balance values stored & switch between them to use the one that suits the subject best):
 Haywain IR by Mike Kanssen, on Flickr
Though a red/blue channel swap is the standard treatment for these I very rarely bother & prefer to just tweak the hue slider which can give a wide range of options:
 sml P1150526ah by Mike Kanssen, on Flickr
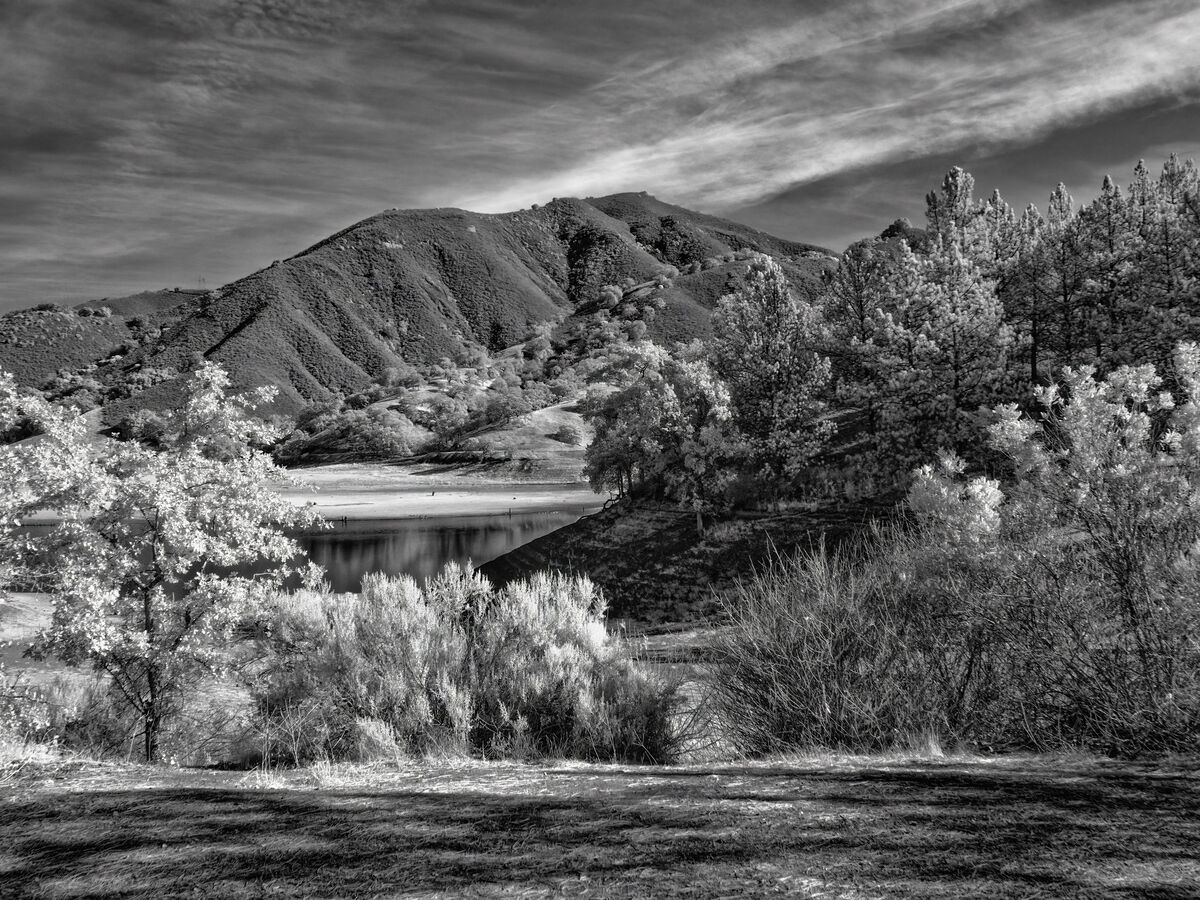
 Bingham rocks by Mike Kanssen, on Flickr
A wratten #47 filter can also give 'goldie' type shots like the above SOOC.
With a foveon based camera you can get results similar to aerochrome IR film pretty much straight away using the right X1 filter & fluorescent WB (note I have 3 'X1' filters, which differ significantly in their IR transmission - high, medium & low presumably based on coatings):
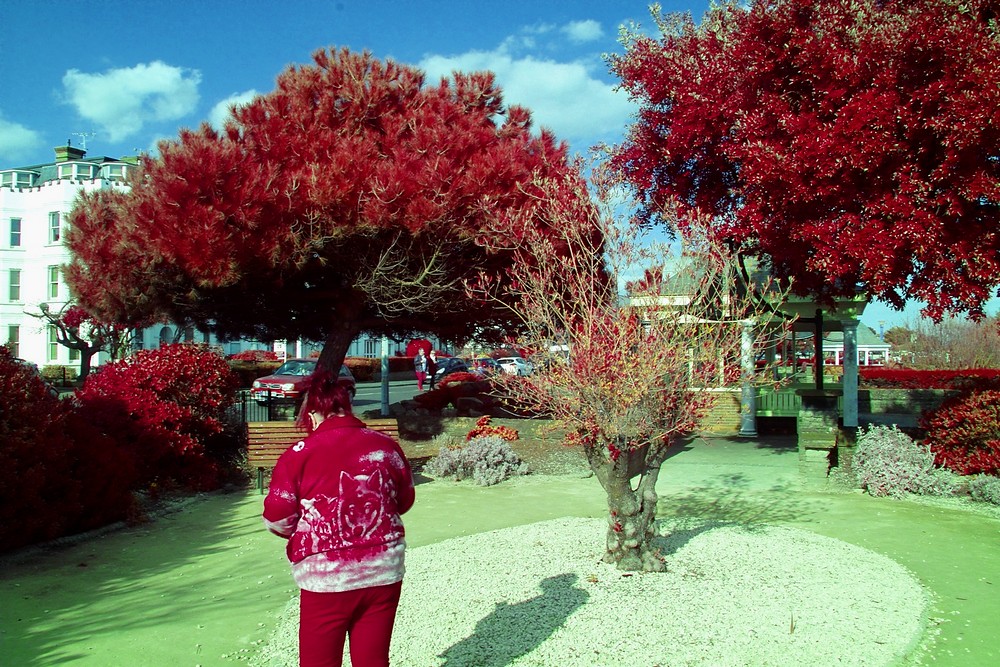 seafront garden aerochrome small by Mike Kanssen, on Flickr
Parliament by infra red by Mike Kanssen, on FlickrWith the right white balance I like the results I get from a 590nm SOOC (I have 2 different white balance values stored & switch between them to use the one that suits the subject best):
Haywain IR by Mike Kanssen, on FlickrThough a red/blue channel swap is the standard treatment for these I very rarely bother & prefer to just tweak the hue slider which can give a wide range of options:
sml P1150526ah by Mike Kanssen, on FlickrBingham rocks by Mike Kanssen, on FlickrA wratten #47 filter can also give 'goldie' type shots like the above SOOC.
With a foveon based camera you can get results similar to aerochrome IR film pretty much straight away using the right X1 filter & fluorescent WB (note I have 3 'X1' filters, which differ significantly in their IR transmission - high, medium & low presumably based on coatings):
seafront garden aerochrome small by Mike Kanssen, on Flickr
If you want to reply, then register here. Registration is free and your account is created instantly, so you can post right away.
Check out Photo Critique Section section of our forum.