Check out Street Photography section of our forum.
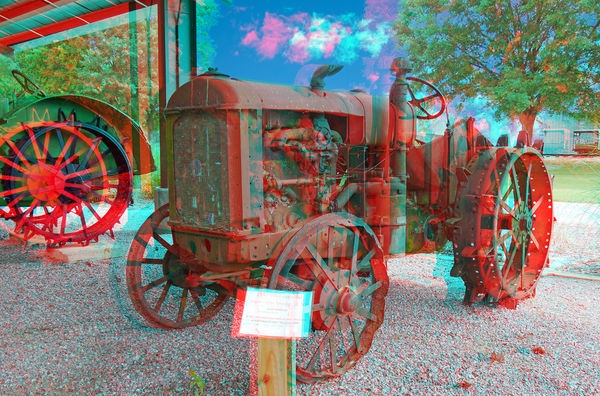
1937 International Harvester, 2D and 3D with sky replacement.
Jul 10, 2021 16:10:59 #
Guyserman
Loc: Benton, AR
Using Photoshop Elements I replaced the sky in both the left and right photos used to make the 3D. It landed in the same position in both photos. I ungrouped the layers it created and was able to shift the sky layer left in the left photo and right in the right photo giving a 3D effect of the clouds being much farther away than the picture foreground. I wound up with 21 layers in the process of replacing the sky in two photos and creating the anaglyph. A lot of work but I learned a lot.
3D - Anaglyph glasses required.
(Download)
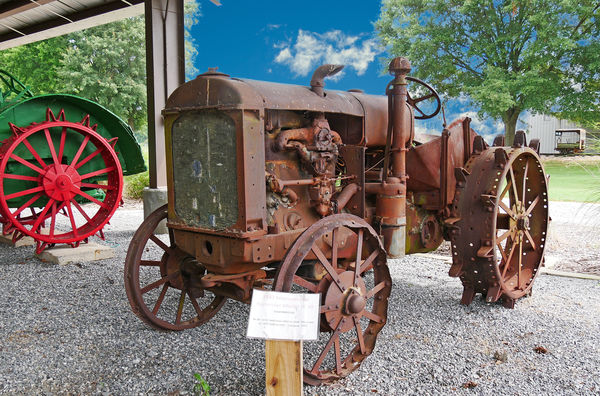
2D - Right eye photo after sky replacement.
(Download)
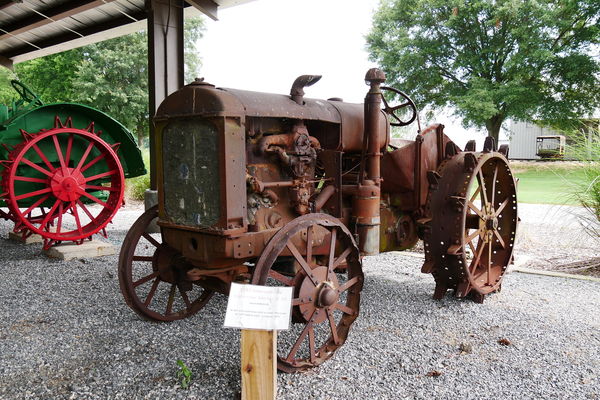
2D - Original right eye photo.
(Download)
Jul 11, 2021 09:46:33 #

Sometimes replacing the sky is not simply one chick and done. Good that you learned something in this sky replacement.
Jul 11, 2021 09:54:08 #
Guyserman
Loc: Benton, AR
NJFrank wrote:
Sometimes replacing the sky is not simply one chick and done. Good that you learned something in this sky replacement.

Check out Panorama section of our forum.
Jul 11, 2021 12:26:20 #

You are attempting too much at once to succeed without a year or more worth of experience under your belt. I do Photoshop work in the 3D realm as well as 2D and it isn't easy to do both at once. To be good in 3D your depth work has to be meticulous.
Jul 11, 2021 16:37:30 #
Guyserman
Loc: Benton, AR
Fotoartist wrote:
You are attempting too much at once to succeed without a year or more worth of experience under your belt. I do Photoshop work in the 3D realm as well as 2D and it isn't easy to do both at once. To be good in 3D your depth work has to be meticulous.
While it's true, the more experience you have the better you are likely to be. However, I don't think a year or more worth of experience necessarily qualifies one to attempt more and be successful. I looked back at quite a few of your past submissions and did not find a single 3D shot, parallel or crossed eye gaze, or anaglyph. Nevertheless would you be so kind as to tell me how I can improve my anaglyph.
If you want to reply, then register here. Registration is free and your account is created instantly, so you can post right away.