Challenge: “Straight out of Camera” January 13th - 15th, 2020
Jan 12, 2020 23:25:28 #
Transbuff1985 wrote:
I want to thank Larry for his Free Sunday challeng... (show quote)
Really nice start Bob..
Jan 12, 2020 23:26:18 #
katspangle wrote:
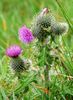
Interesting challenge. Here's my first attempt at it:
#1 original
#2: cropped to remove some background leaves, increased color saturation a bit
#1 original
#2: cropped to remove some background leaves, increased color saturation a bit
Nicely done Kats.
Jan 12, 2020 23:28:19 #
RichardTaylor wrote:
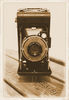
From the archives. A 2006 vacation shot. br It's b... (show quote)
Nicely done Richard..
Jan 12, 2020 23:31:14 #
Jan 12, 2020 23:33:12 #
KTJohnson wrote:
Okay, below is what arguably is the most photogeni... (show quote)
Beautifully done KT..
Jan 12, 2020 23:35:25 #

Jan 12, 2020 23:36:14 #
Great detail - The processing really did the trick with the color of the leaves. I feel that to many times people over process and Push the colors to far. Thanks for the upload.
Jan 12, 2020 23:57:24 #
Okay Here Goes..
#1 Raw File conversion to JPEG no adjustments..
#2 adjustments made Sharpening, Noise reduction in luminescence and color, Shadows lifted a bit, Highlights lowered a bit. WB changed from Tungsten to Daylight, Blacks lifted a smidge,Vibrancy tweaked, and saturation nudged. and Cropping to remove an area to the upper left.
Jan 13, 2020 00:00:23 #
Webbie62 wrote:
Great detail - The processing really did the trick with the color of the leaves. I feel that to many times people over process and Push the colors to far. Thanks for the upload.
Webbie62 Welcome aboard the forum. When you wish to reply on someones post please click on "Quote Reply" bottom bar below the post itself so we know who you are referring to. Thanks for joining in. Bob

Jan 13, 2020 00:08:46 #
Photogirl17 wrote:
Okay Here Goes..
#1 Raw File conversion to JPEG no adjustments..
#2 adjustments made Sharpening, Noise reduction in luminescence and color, Shadows lifted a bit, Highlights lowered a bit. WB changed from Tungsten to Daylight, Blacks lifted a smidge,Vibrancy tweaked, and saturation nudged. and Cropping to remove an area to the upper left.
#1 Raw File conversion to JPEG no adjustments..
#2 adjustments made Sharpening, Noise reduction in luminescence and color, Shadows lifted a bit, Highlights lowered a bit. WB changed from Tungsten to Daylight, Blacks lifted a smidge,Vibrancy tweaked, and saturation nudged. and Cropping to remove an area to the upper left.
Nicely Done Lesley. For me I like both of them. But by doing what you did help bring more color, saturation and detail into the finished photo.

Jan 13, 2020 00:12:41 #
Photogirl17 wrote:
Okay Here Goes..
#1 Raw File conversion to JPEG no adjustments..
#2 adjustments made Sharpening, Noise reduction in luminescence and color, Shadows lifted a bit, Highlights lowered a bit. WB changed from Tungsten to Daylight, Blacks lifted a smidge,Vibrancy tweaked, and saturation nudged. and Cropping to remove an area to the upper left.
#1 Raw File conversion to JPEG no adjustments..
#2 adjustments made Sharpening, Noise reduction in luminescence and color, Shadows lifted a bit, Highlights lowered a bit. WB changed from Tungsten to Daylight, Blacks lifted a smidge,Vibrancy tweaked, and saturation nudged. and Cropping to remove an area to the upper left.
That worked well.
Jan 13, 2020 05:58:58 #

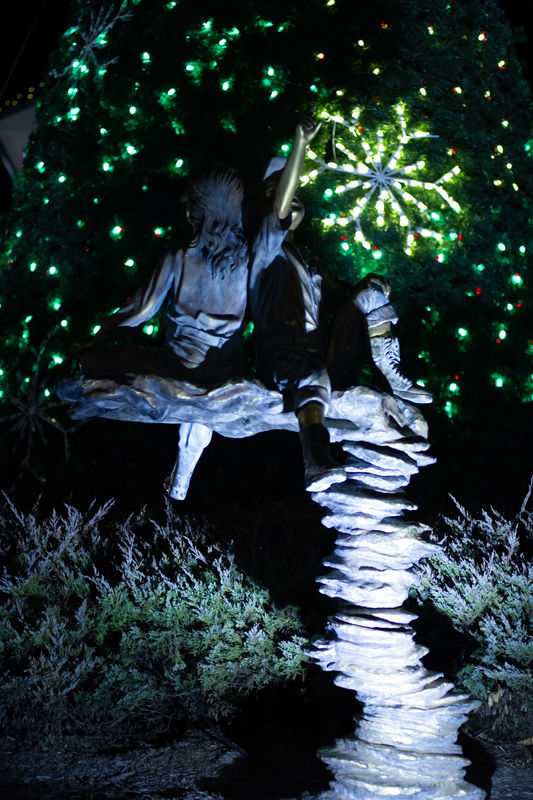
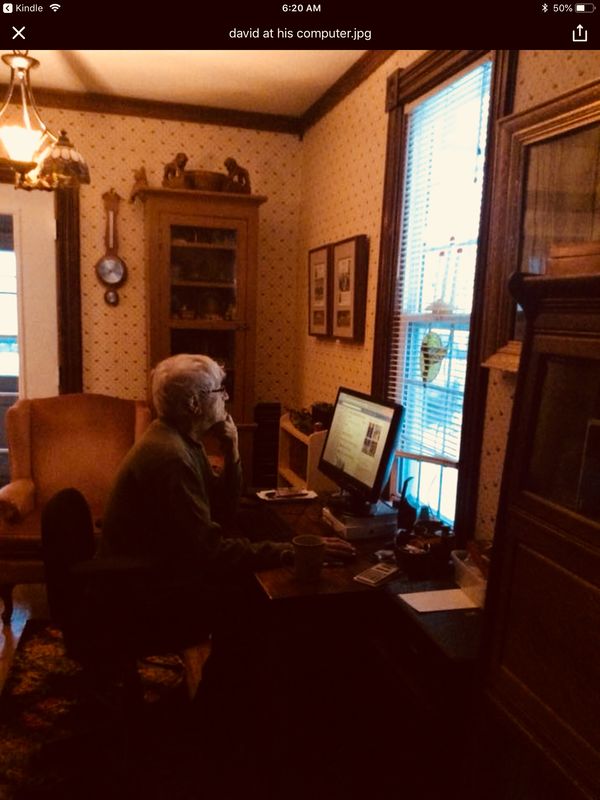
#1 straight out of the camera
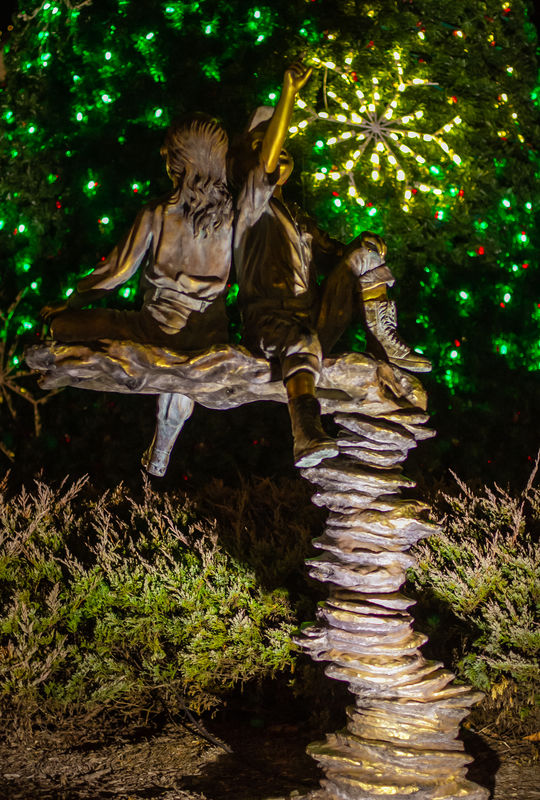
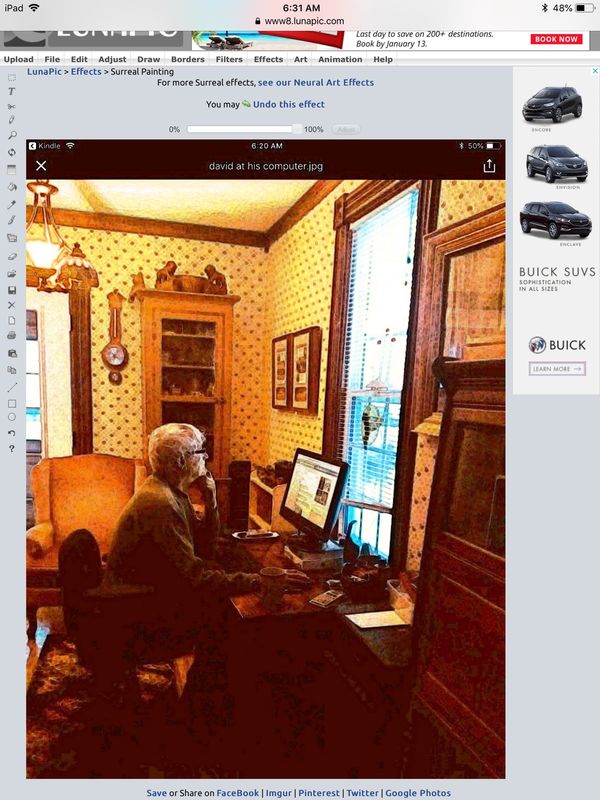
#2. I went to lunapic.com and first adjusted the sharpness a bit,then I used a surreal effect to get some pop.
#2. I went to lunapic.com and first adjusted the sharpness a bit,then I used a surreal effect to get some pop.
Jan 13, 2020 07:58:35 #
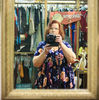
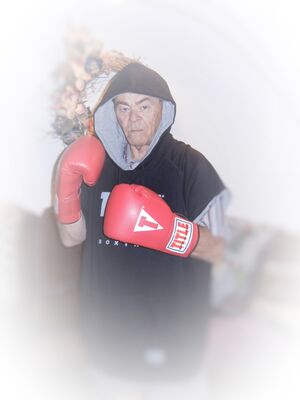
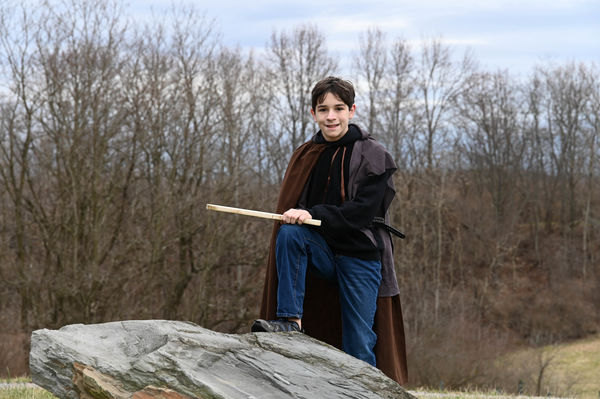
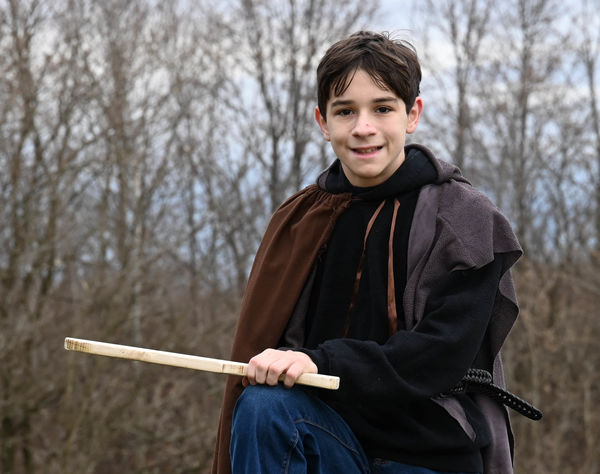
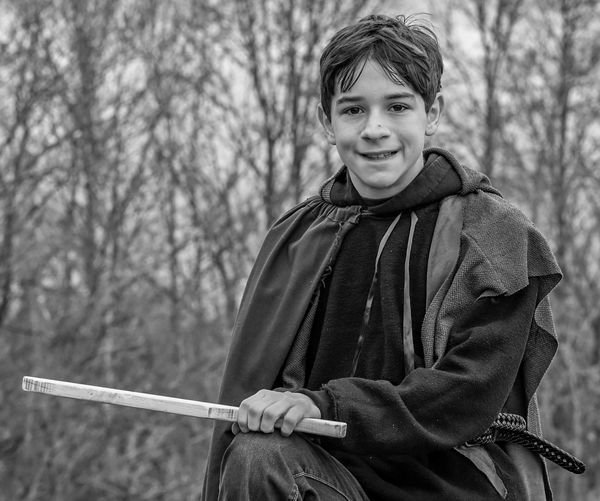
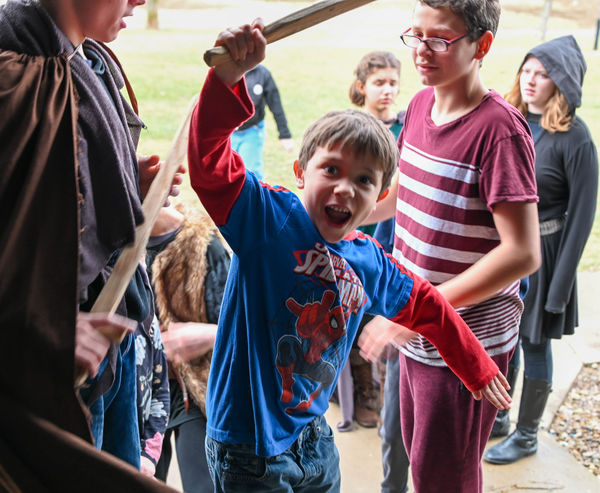
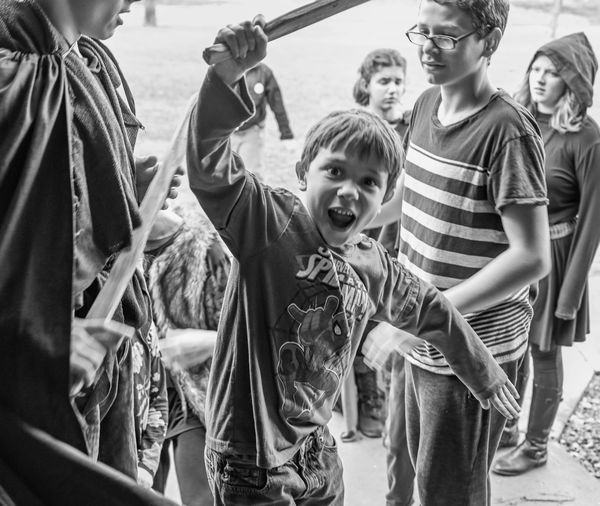
I like to convert snapshots to B&W portraits. Here are a couple showing the progression from SOOC to the final product.
Jan 13, 2020 08:01:29 #
Ysarex wrote:
Well, my most recent photo taken this past weekend... (show quote)
Pg. 1
Wow!! What a striking difference!
Jan 13, 2020 08:15:00 #
judy juul
Loc: Cheshire, Ct.
RichardTaylor wrote:
From the archives. A 2006 vacation shot. br It's b... (show quote)
Nice group and explanation, Rich!
If you want to reply, then register here. Registration is free and your account is created instantly, so you can post right away.