Hyperfocal Distances
Apr 18, 2019 10:30:30 #
nikondoug wrote:
Now that you know your camera does not have a DOF button, you can download one of two APP's, Field Tools or Photo Pills. You enter the "F" stop you want to use and the app will give you the DOF. Both of these APP's are easy to use. The Photo Pill app is more versatile, you can do more then DOF. Check them out on YouTube.
Good Luck
Good Luck
Photo Pills is a great app! The augmented reality feature alone makes it worthwhile for me

Apr 18, 2019 10:58:57 #
Apr 18, 2019 14:05:57 #
amfoto1
Loc: San Jose, Calif. USA
It's actually not "1/3 of the way up from the bottom of the image frame".... It's "focus on an object about 1/3 of the distance from you, for whatever near-to-far distance range you are trying to render within the plane of sharpest focus".
This only gives a rough approximation. But it can be better than nothing.
Another way... IF you have a lens that has distance and Depth of Field scale (many don't today, especially zooms)... and your goal is to have as much as possible near-to-infinity in sharp focus, set the lens' infinity mark at the aperture you are using. This is another rough approximation, maximizes closest focus possible, while insuring the distant remains sharp. It's sort of biased for scenic shots.
Depth of field and hyperfocal distance calculators are great. But if your lens doesn't have accurate distance/DoF markings... good luck! You'll need a really long tape measure or an accurate laser rangefinder.... unless you're really good at estimating distances.
Apr 18, 2019 14:19:05 #
LarryFB wrote:
I have a D-5100 and not the D-5300, but I suspect ... (show quote)
No LIVE VIEW with those models?
Apr 18, 2019 15:12:34 #

lamiaceae wrote:
No LIVE VIEW with those models?
Of course it has live view, but the diaphragm stays open wide until you press the shutter!
Apr 18, 2019 17:12:49 #

I have an Android tablet that is always with me. There is an App (free) in the Google Play store that calculates the Hyperfocal distance at various lens settings. My camera (Pentax K-50) was on it's list.
Apr 18, 2019 17:31:59 #

My Panasonic TZ100 has Post Focus... an interesting concept that takes photos and multi-focus points and stacks.
Looks like PhotoPill is a wow addition:
https://expertphotography.com/photopills-review/
Unfortunate, those old fashion clunky DSLR ... well... " It’s a great tool for landscape photographers, whether they use Apple iPhones or Android phones."
hassighedgehog... can you give a reference for the ap you are talking about?
Apr 18, 2019 18:28:27 #
dpullum wrote:
My Panasonic TZ100 has Post Focus... an interesting concept that takes photos and multi-focus points and stacks.
Looks like PhotoPill is a wow addition:
https://expertphotography.com/photopills-review/
Unfortunate, those old fashion clunky DSLR ... well... " It’s a great tool for landscape photographers, whether they use Apple iPhones or Android phones."
hassighedgehog... can you give a reference for the ap you are talking about?
Looks like PhotoPill is a wow addition:
https://expertphotography.com/photopills-review/
Unfortunate, those old fashion clunky DSLR ... well... " It’s a great tool for landscape photographers, whether they use Apple iPhones or Android phones."
hassighedgehog... can you give a reference for the ap you are talking about?
In Google play there are a lot of them. The one I have is called Hyperfocal DOF by Javier Cancio. It has an eyeball with an iris on it. Just use Hyperfocal as a search word. At the time I got it, there were not so many. Even now most of them are free. I would try one and if you don't like it, delete and try another.
Apr 18, 2019 20:57:28 #
Timmers
Loc: San Antonio Texas.
The truth is most modern lenses one can not use the technique for image focus. You can also not use a zoom lens for controlled 'depth of field'. The 1/3 rule for focus is another one of the non truths for doing controlled depth of field. Playing about with charts and such to get to a hyper focal distance is fun with math and is a huge waste of time as well.
I was out in the garden getting ready for the Saturday (two days away) shoot with VADA and getting images made was quite easy. People make this all so mystical and frankly all this silly fooling around shows just how poorly most photographers know their craft. So, here is the practical side of controlling and doing 'depth of field' (dof). I swear, I do this ALL the time and have for most of my years doing photography.
First, the pre-view button on camera/lens is to stop the lens to the working f stop so you can see the effect of what the image will look like at the selected f stop, shapes, boka and all that jazz, it is never to be used for determining image sharpness.
There is an assumption, that is the lens you are using is made by a good manufacturer and that image sharpness for the lens has been properly calibrated to minimum standards. Makers like E. Leitz, Carl Zeiss, high end Nikon and Canon, Pentax and the like are examples of quality optical makers of lenses that can be trusted.
Here is what you do to focus and 'prime' or fixed focal length lens. Take as example a 50mm lens or 100mm focal length lens on a full frame view finder (24mm by 36mm).
Step one, figure out where you are going to make the photograph from. If you move closer or further away from the subject, then 'things' will change.
Step Two: From the chosen place, focus on the closest thing that you want in focus and note that on your lens.
To make this so much easier I take and put a narrow piece of masking tape around the barrel of the lens covering up the distance scale of the lens. Why, because that scale is distracting and frankly it is a lot easier to put a small pen mark on the tap. But I digress.
Step three: Focus on the furthest object/thing you want in sharp focus, then put a mark on the tap (or note the position on the focus scale).
Final step: Rock the focus of the lens back and forth until you find a place where both close and far points will fall between a single common f stop that is marked on the depth of field scales that progress out from the focus marker (there are two sets of common f stops engraved that expand out around the focus scale, this is precisely why they are engraved on the lens).
When you settle on a location that the close and far focus rests between a single marked f stop, you have two things, first, that is minimum f stop needed to assure that the close and far objects will be in sharp focus, AND guess what, you just set the lens for the hyper focal distance give that distance with that focal length for the sharp focus of the selected close and far points in your image!
That is how the practical photographer uses a camera lens to achieve correct focus for the scene.
Let me also say, I have used this as the single most common photographic technique for photography in the past 40 years of making photographs with 35mm and all non view camera optics.
As an added point, if you get an older model Hasselblad camera with older lenses, and look at the lens you will see a bright red set of blades that are mounted in the lens. As you move the f stop the blades move out wider. The lens can be focused independent and as the two red blades move they will show you what f stop to use by moving the blades back and forth till the close and distant point fall between the two red blades of the Blad!
One last point, if you have a 2.8cm, f 6.3 Leitz Hectar lens for the old screw mount Leica camera bodies, you will discover a rather astounding thing. When the lens is set for the maximum f stop the depth of field/focus scale crosses over itself! With this lens, if you stop the lens down to the maximum f stop then you NEVER bother with focus, simply rack the lens focus around till it stops at the closes point (18 inches) and shoot, the lens will be in focus from infinity to 18 inches! This lens was the first interchangeable lens made for Leica cameras, made by the microscopic division of E. Leitz, and that is why there are 28mm lenses in 35mm photography!
Apr 18, 2019 21:36:51 #

Timmers wrote:
The truth is most modern lenses one can not use th... (show quote)
Useful process except that many modern lenses do not have the old style DOF scales engraved on lenses any more.
Apr 18, 2019 23:18:00 #
TriX wrote:
Useful process except that many modern lenses do not have the old style DOF scales engraved on lenses any more.

Apr 19, 2019 00:08:07 #
Hyperfocal distance is more about a technique than a setting. Hyperfocal distance is setting the focus of the lens to the point that gives you the greatest range depending on the aperture you are using. News photographers, paparazzi, etc., would set their camera's aperture then set the focus manually to be at the 1/3 forward, 2/3 back. They can swing their cameras up and fire rapidly and as long as they are within the range of focus, they can count on their subject being in focus. Keep in mind that this technique was used primarily before the development of auto focus lenses.
For example, on any given day, with the exposure being 1/250 at f:8, they might set their focus to twenty feet. Everything they shoot that is within the distance of ~12 feet to ~35 feet will be in focus. This is a hypothetical example, and years ago (pre totally auto lenses) lenses actually showed that range depending on the f stop you were using (unfortunately, modern auto everything lenses no longer show those focus ranges). The wider the aperture, the less range of focus you would have. The smaller the aperture, the greater the range. When people refer to depth of field, they are looking at the entire range of forward of the actual focus to somewhere behind that actual focus point.
For example, on any given day, with the exposure being 1/250 at f:8, they might set their focus to twenty feet. Everything they shoot that is within the distance of ~12 feet to ~35 feet will be in focus. This is a hypothetical example, and years ago (pre totally auto lenses) lenses actually showed that range depending on the f stop you were using (unfortunately, modern auto everything lenses no longer show those focus ranges). The wider the aperture, the less range of focus you would have. The smaller the aperture, the greater the range. When people refer to depth of field, they are looking at the entire range of forward of the actual focus to somewhere behind that actual focus point.
Apr 19, 2019 03:24:42 #
2Much
Loc: WA
[quote=camerapapi]Spencer Cox has more than an article written where he addresses depth of field. He is currently writing for Photography Life and a Google search, if you are interested, will yield lots of information on his articles./quote]
I use the Double the Distance Method that I read about on Photography Life. I found it simpler, quicker and more reliable than other methods. Below are links to a basic explanation of the method, and a video in which Spencer Cox demonstrates using Double the Distance in the story behind a photo he recently took in Great Sand Dunes National Park.
https://photographylife.com/landscapes/double-the-distance-method-explained
https://photographylife.com/video-how-i-took-this-sand-dunes-photo
Apr 19, 2019 09:52:09 #
Timmers
Loc: San Antonio Texas.
I am vary aware of the failure of modern equipment to know and provide basic critical aspects of the tools of the trade. Perhaps it is time to demand that the manufacturers provide these critical aspects of our craft.
One of the critical considerations that I made when selecting the Sony Mirrorless camera was that I could use the older, excellent Leitz and Zeiss optics that are plentiful and absurdly cheap to buy today. I regularly shoot a Leica R 28mm lens and a 50 mm f 2.8 Summitar Leica lens because of the quality of the images that these lens render. After all, I am interested in the final photograph, not necessarily the process.
I would post images but I work with figure photography and that is not permitted in this general discussion (you could pop over to the nude part of the forum).
Another critical aspect of my decision was that I just got tired of going to shoot and having lenses give me an error code because they weren't communicating with the camera. What good was a lens/camera that was not ready to make images when I was, so I illuminated the problem generator.
Above is a reference to paparazzi and pre selected focus for image making. References like this imply a rediculously idea. Many, many excellent photographers use selective focus and depth of focus. It is a standard in the old techniques of photography. I use this method all the time.
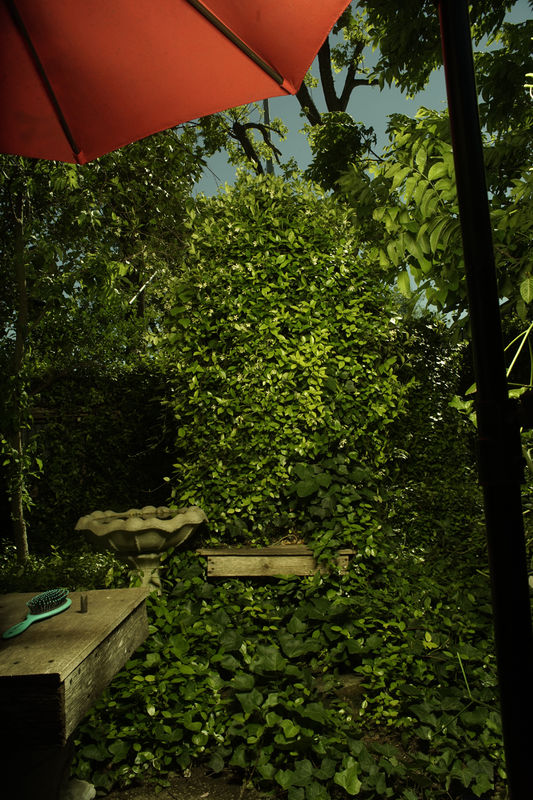
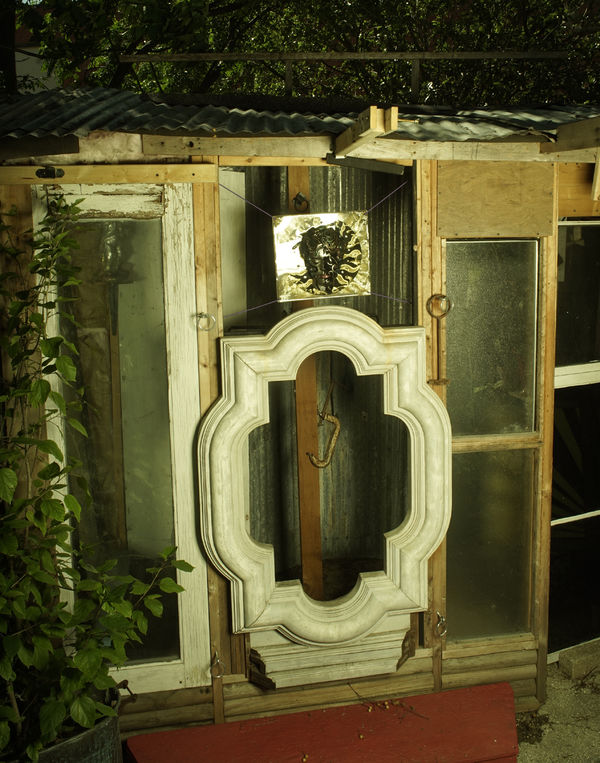
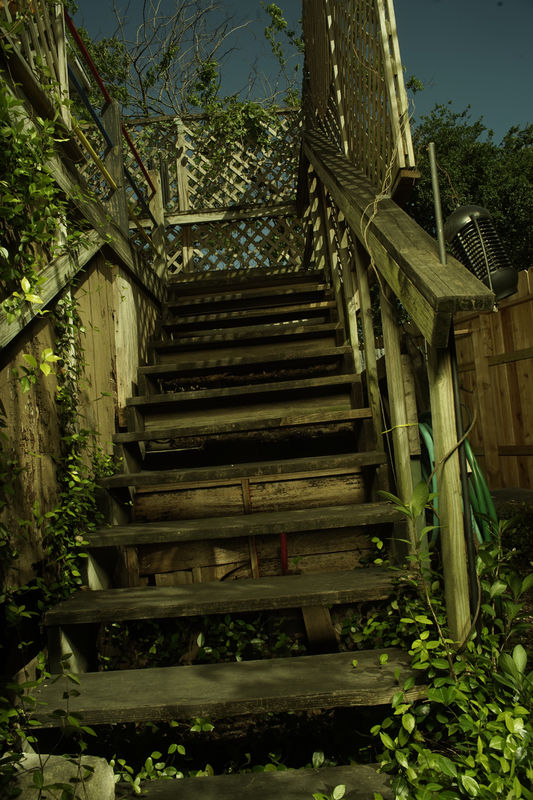
I went out to the garden yesterday and did some quick exposures. I knew the exposure, the rule of 16 popped in and out of my brain in a mill second. I set the exposure (about 1/2 exposure less that summer at sea level I'm in San Antonio Texas about 700 feet above sea level). I has exposing in open shade so opened the exposure by b3 1/2 stops. Then the lens technique, I set the f stop to f 11 and rolled the lens so the furthest point of focus was at 15 feet. Close point was some close location but I was 6 feet from my 'subject', a growth of honey suckles vines. The test? What would my exposure look like because it was about 2:00PM and I needed to know how the image would look because the plants were EATING LIGHT...photosynthesis! The exposure looked good on the back of the camera. No polarizer and the sky was a deep blue and a big fat cloud up in the sky looked fluffy and detailed, as detailed as a cloud can look. Of course the sky and cloud were out of focus but then who would know!
This is when you know you are in control of image making. It is when making photographs becomes a 'natural' thing, when you aren't bothered with any distracting side issues. The only question was would I have a decent exposure giving the time of day tomorrow on Saturday in early afternoon with the plants doing their feasting on sunlight.
In the final decision I decided to use a flash, a Hensel Mono Light with a beauty dish. The power was set to the highest position (10). The flash was placed at 7 feet from each general area. The exposure with this fill flash ended up at 1/ISO (200) for f 16. The camera set to ISO 200, 1/200 second exposure and f=16. This gave a slightly dense/saturated image. I used the setting 'SUN' for white balance with no other corrections in Photoshop.
The last photo is of Bubble, the big 27 pound kitty, its his garden, he lives there! He went up to the apartment to snooze while I did the images.
One of the critical considerations that I made when selecting the Sony Mirrorless camera was that I could use the older, excellent Leitz and Zeiss optics that are plentiful and absurdly cheap to buy today. I regularly shoot a Leica R 28mm lens and a 50 mm f 2.8 Summitar Leica lens because of the quality of the images that these lens render. After all, I am interested in the final photograph, not necessarily the process.
I would post images but I work with figure photography and that is not permitted in this general discussion (you could pop over to the nude part of the forum).
Another critical aspect of my decision was that I just got tired of going to shoot and having lenses give me an error code because they weren't communicating with the camera. What good was a lens/camera that was not ready to make images when I was, so I illuminated the problem generator.
Above is a reference to paparazzi and pre selected focus for image making. References like this imply a rediculously idea. Many, many excellent photographers use selective focus and depth of focus. It is a standard in the old techniques of photography. I use this method all the time.
I went out to the garden yesterday and did some quick exposures. I knew the exposure, the rule of 16 popped in and out of my brain in a mill second. I set the exposure (about 1/2 exposure less that summer at sea level I'm in San Antonio Texas about 700 feet above sea level). I has exposing in open shade so opened the exposure by b3 1/2 stops. Then the lens technique, I set the f stop to f 11 and rolled the lens so the furthest point of focus was at 15 feet. Close point was some close location but I was 6 feet from my 'subject', a growth of honey suckles vines. The test? What would my exposure look like because it was about 2:00PM and I needed to know how the image would look because the plants were EATING LIGHT...photosynthesis! The exposure looked good on the back of the camera. No polarizer and the sky was a deep blue and a big fat cloud up in the sky looked fluffy and detailed, as detailed as a cloud can look. Of course the sky and cloud were out of focus but then who would know!
This is when you know you are in control of image making. It is when making photographs becomes a 'natural' thing, when you aren't bothered with any distracting side issues. The only question was would I have a decent exposure giving the time of day tomorrow on Saturday in early afternoon with the plants doing their feasting on sunlight.
In the final decision I decided to use a flash, a Hensel Mono Light with a beauty dish. The power was set to the highest position (10). The flash was placed at 7 feet from each general area. The exposure with this fill flash ended up at 1/ISO (200) for f 16. The camera set to ISO 200, 1/200 second exposure and f=16. This gave a slightly dense/saturated image. I used the setting 'SUN' for white balance with no other corrections in Photoshop.
The last photo is of Bubble, the big 27 pound kitty, its his garden, he lives there! He went up to the apartment to snooze while I did the images.
Apr 19, 2019 11:05:14 #
If you want to reply, then register here. Registration is free and your account is created instantly, so you can post right away.