Using HDR in Landscapes
Dec 4, 2018 15:47:47 #

Although displayed at a size to fill most monitors, the resolution of this image somewhat 'hides' the movement in the details of the trees where three images were combined. The primary subject, the rocks, are not moving. This is an older image from 2014 at the Custer State Park in South Dakota, where maybe today I'd simply process a pseudo HDR from a single image so there would be no movement in the details.
Sylvan Lake by Paul Sager, on Flickr
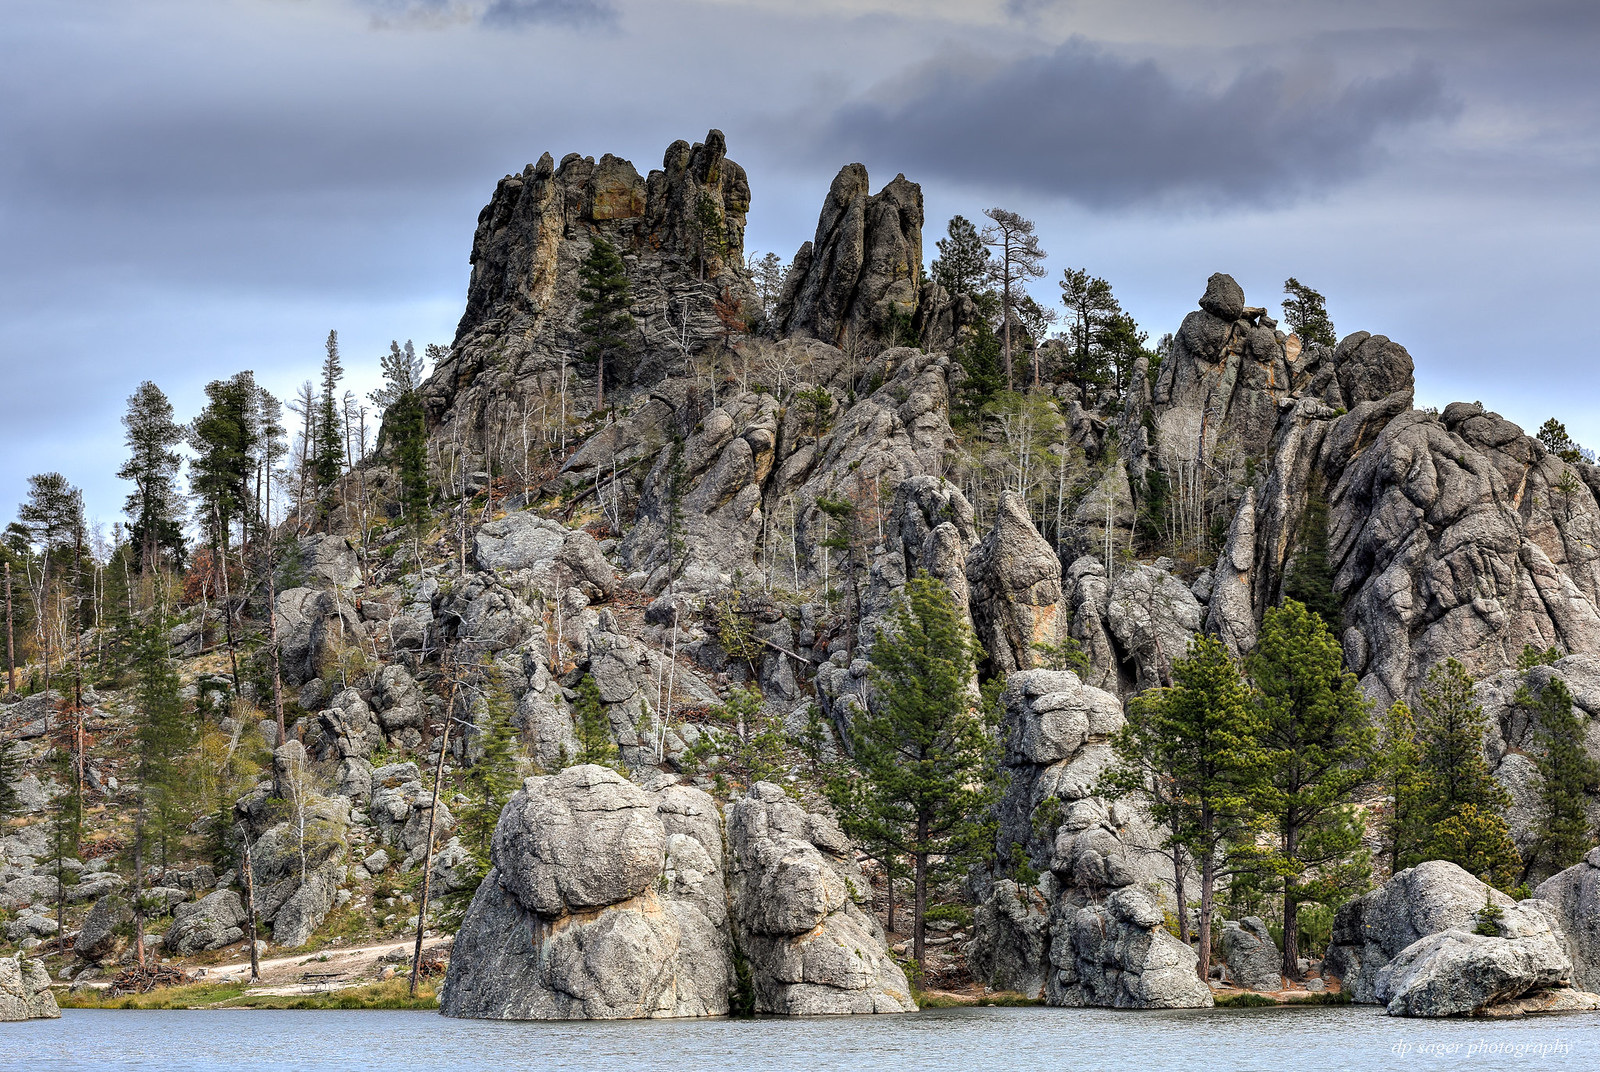
Sylvan Lake by Paul Sager, on Flickr
Dec 4, 2018 16:00:52 #

Dec 5, 2018 06:26:05 #
Dec 5, 2018 12:45:27 #

I've been told repeatedly that if a scene's dynamic range doesn't challenge the sensor's capabilities, there's no point in doing exposure bracketing. Well, time and time again I've seen obvious improvements in the merged image over the single neutral image. The end results after editing are better and easier to achieve. I would say there's even an advantage in using exposure bracketing for misty scenes (where the dynamic range is either low or very low). Skies come out stronger with more detail and colour.
I also came across the problem of movement in vegetation when using exposure bracketing and found that anti-ghosting didn't solve the problem. That's one of the reasons why I nearly always use just the neutral and the dark exposures in my merges. The brightest exposure will have the slowest shutter speed, and even when movement isn't a problem, using the brightest exposure typically aggravates glare, and very often it takes away more than it contributes.
I also came across the problem of movement in vegetation when using exposure bracketing and found that anti-ghosting didn't solve the problem. That's one of the reasons why I nearly always use just the neutral and the dark exposures in my merges. The brightest exposure will have the slowest shutter speed, and even when movement isn't a problem, using the brightest exposure typically aggravates glare, and very often it takes away more than it contributes.
Dec 5, 2018 13:06:29 #
So, throw away the brightest and process the other two to help of eliminate movement. Interest, seems to make some sense, I'll give it a try next time encounter that problem that anti-ghosting can't handle. I use a HDR program called, Easy HDR.
Dec 5, 2018 14:22:46 #
rmvdw wrote:
So, throw away the brightest and process the other two to help of eliminate movement. Interest, seems to make some sense, I'll give it a try next time encounter that problem that anti-ghosting can't handle. I use a HDR program called, Easy HDR.
It'll reduce rather than eliminate the problem. It's more noticeable when you're using a fairly slow shutter speed for the neutral exposure, in which case the brightest exposure could involve a shutter speed that's unacceptably slow. And it's not just subject movement that's problematic. If you're doing hand-held exposure bracketing the neutral and dark exposures should be plenty sharp and auto align takes care of any misalignment due to camera movement. However, the brightest exposure could well have a shutter speed that results in noticeable softness for hand-held shots, and including it in the merge would soften the resulting merge.
Here's a thread I posted a while back that demonstrates one possible scenario - https://www.uglyhedgehog.com/t-485628-1.html
Dec 6, 2018 00:55:08 #
Paul, please talk about how and where you focused to achieve the deep depth of field, as well as your f stop and how that affected your image. Thanks!
Dec 6, 2018 07:04:40 #
Einreb92 wrote:
Paul, please talk about how and where you focused to achieve the deep depth of field, as well as your f stop and how that affected your image. Thanks!
Thank you Bernard, but I'm not sure there is that much 'science' to it. This image is captured at f/11, the aperture I will use in any situation where the distance to subject is near infinity for the lens and I want a sharp depth of field through the entire image. I'll then set a single AF point on the point of interest within the image, preferably at 1/3 to 2/3 of the way into the image, depending on the composition. What I think is more interesting about the tools used in this image is from a decision to go on an all-day walkabout with just an 85mm prime.
Dec 6, 2018 14:59:04 #

If you want to reply, then register here. Registration is free and your account is created instantly, so you can post right away.