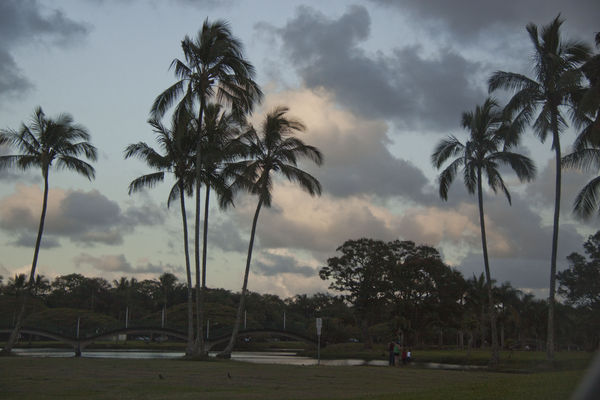
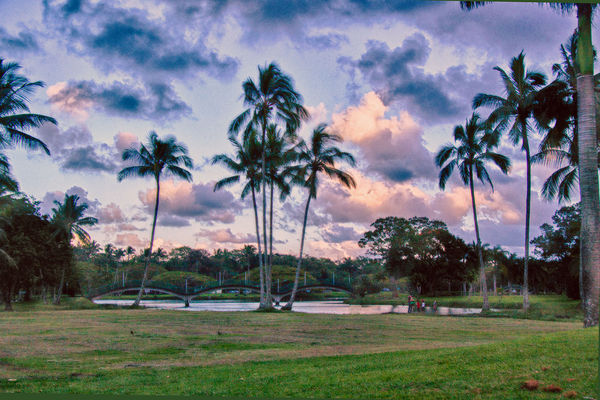
Lili'uokalari Gardens, Hilo, Hawaii
Jul 24, 2012 11:38:58 #
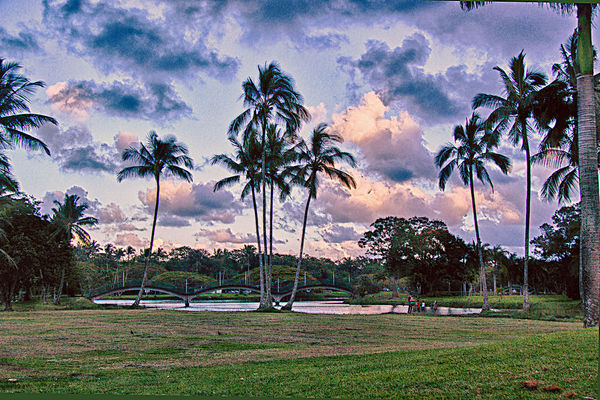
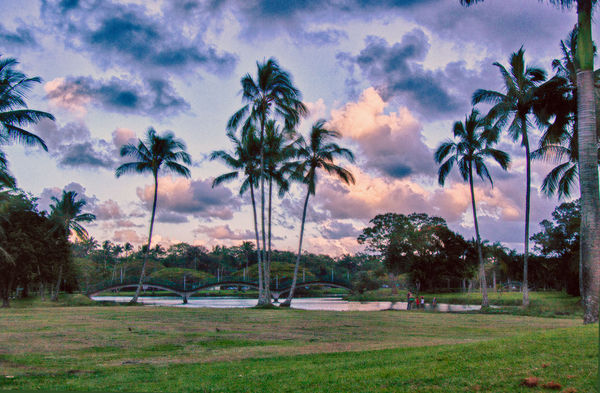
The images were shot at sunset just as the sun disappeared behind the tree. Processing was in NIK HDR EFlex Pro. Critiques are welcome.
Swede
Swede
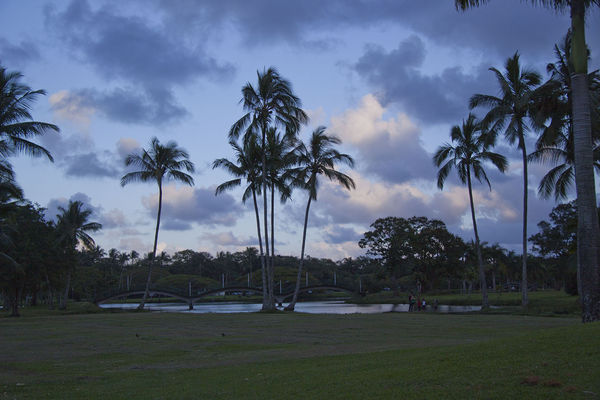

Combined Image
Jul 25, 2012 15:29:10 #

Jul 25, 2012 18:36:23 #
photophly wrote:
Love the finished product.
Thank you; I'm glad somebody finally commented.
Swede
Jul 25, 2012 18:57:16 #
llindstrand wrote:
Thank you; I'm glad somebody finally commented.
Swede
photophly wrote:
Love the finished product.
Thank you; I'm glad somebody finally commented.
Swede
Just curious.....how do you like the Nik program?
Jul 25, 2012 19:46:56 #
photophly wrote:
Just curious.....how do you like the Nik program?
llindstrand wrote:
Thank you; I'm glad somebody finally commented.
Swede
photophly wrote:
Love the finished product.
Thank you; I'm glad somebody finally commented.
Swede
Just curious.....how do you like the Nik program?
I like it very well. I have used it for about 2 years. At the time I looked at a cross-section of the software available and tried several. The thing that I especially was their offering about 28 presets that will show your image and you can select for the output. They just came out with a new version that allows some more individual flexibility. They also have some self help movies on the site now that I wasn't aware of.
Photoshop CS6 has a revised HDR program that is a great improvement over the CS5 version. It doesn't have the presets but does a tolerable job.
I also use the NIK noise removal software and am very happy with it. I tried their sharpening program and it is on my list for someday. There are several places that you can get it discounted up to 15% if you look for them.
Another program that I use a lot is Smart Photo Editor It has about 1200 preset edits any of which can be combined so the possibilities are endless. It costs a whopping $29.95 and is worth every penny.
Sorry if I rambled too much. If I can answer any more, let me know.
Swede
Jul 25, 2012 20:21:07 #
llindstrand wrote:
quote=photophly quote=llindstrand quote=photoph... (show quote)
Thanx for the info........I am going to look into that Smart Photo Editor program.Anything to speed up post production is good.
Jul 26, 2012 21:07:05 #
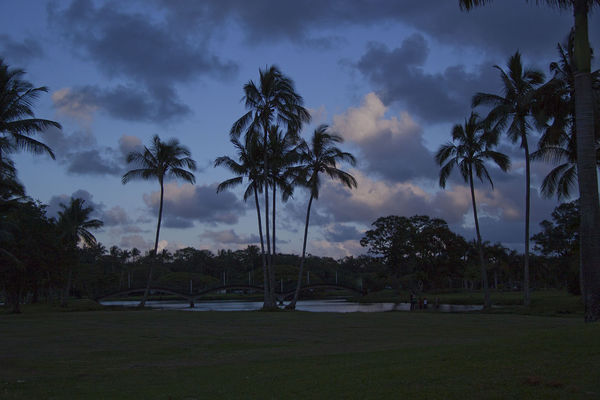
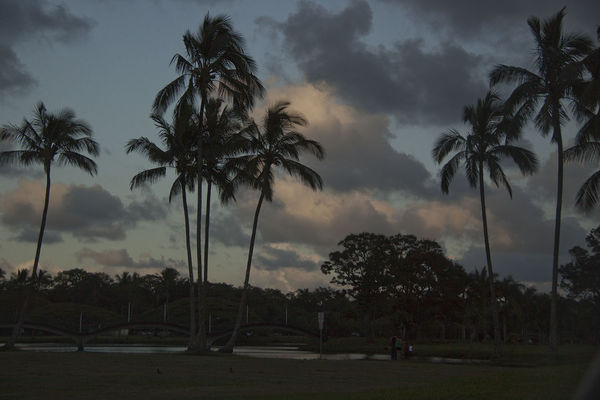
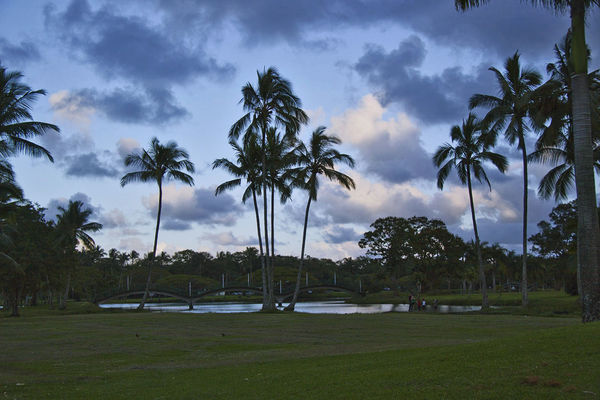
Always love a cloudy sky. Did you pump up the saturation +/- the blue? A sky like the first picture looks more natural. Play with the colour settings to keep the greens but tone down the blues. The first 3 originals are already showing a bluish cast.
Jul 26, 2012 23:07:16 #
Chinaman wrote:
Always love a cloudy sky. Did you pump up the saturation +/- the blue? A sky like the first picture looks more natural. Play with the colour settings to keep the greens but tone down the blues. The first 3 originals are already showing a bluish cast.
Thank you for your comments. The pictures were taken in the early evening at sunset. Most all of the other pictures taken in the park show a quite a bit of blue. I'll post a set with lightening them up a bit and see if this is what you mean. I would appreciate if you would look at them and comment. If you want to make any changes to show me what you mean, you are welcome to do so.
Swede

Jul 27, 2012 00:53:11 #
Hi Swede
Your new postings are not quite what I had in mind. Don't alter the original images. Work on the tone-mapped/merged image in NIK, process it and work on it again in Photoshop or equivalent. Did you try just reducing the blues in the final image in a photoeditor?
I will have a go with them over the weekend if I have time and come back to you next week. Kids have weekend sports, friends coming over, a half day conference to attend and a house model to complete with one of the kids. Thats why I love going to work!
Jul 27, 2012 14:07:10 #
Chinaman wrote:
Hi Swede br Your new postings are not quite what I... (show quote)
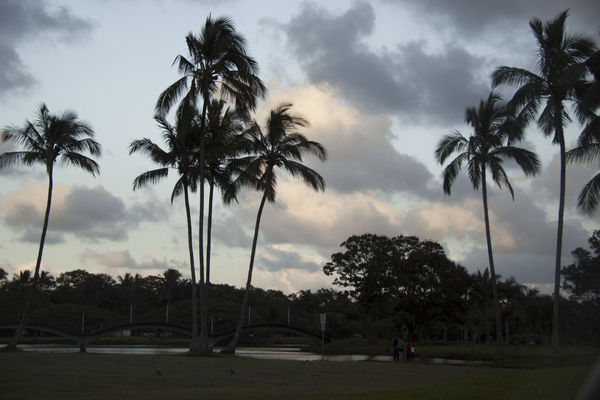
I appreciate your taking a look at them. I went back to the original and have three slightly different finished products. It is hard to get rid of the blue as it was late afternoon just as the sun was going down.
Jul 30, 2012 01:00:13 #
Hi Swede
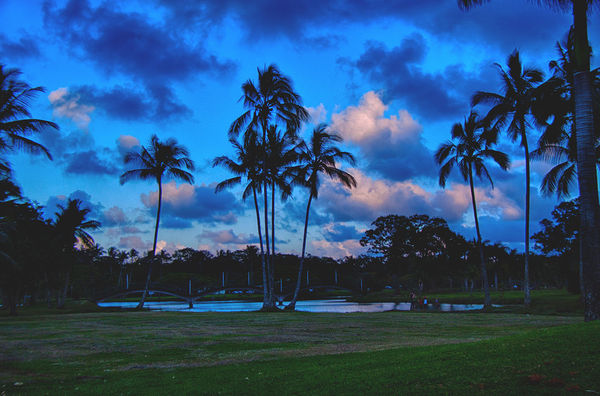
The 3rd image of the last set looks pretty good.
I managed to play around with your originals in different ways at the weekend and reporting on 2 of them which gave the best results. My aim was to keep the white bits of the clouds white, keep the sky a lovely blue, bring up the green and yellow in the grass and lighten up the foreground.
1. I used Photomatix v4 to tonemap the 3 original JPG images. The image looked pretty good so I didnt alter any of the settings in Photomatix and proceeded to process and save it as a TIFF image.
I opened the TIFF image in Photoshop CS3 and adjusted the Selective Colour options. In the GREEN option, I pushed the Yellow slider to +20 and in the CYAN option, I move the Cyan slider to -20. In the Blue option, I reduced the Black to -10 and in the Neutral, I increased the Yellow to +10. Basically, play with the different colour options to get the look you want. I then increased the contrast by about +10 and reduced the brightness by -5.
2. I opened the correctly exposed original JPG image in Photoshop. I went into Image/Adjustments/Shadow Highlight and played with the sliders to achieve my aim as mentioned above. Sorry I forgot to take note of the settings. The contrast was then increased to +15. In the Selective Colour GREEN option, I pushed the Yellow slider to +20 and in the NEUTRAL option, I move the Yellow slider to +15. The end results looked pretty good too.
The small JPG files (around 200Kb) I downloaded were probably not the best quality images to be tone-mapped, hence the little difference between the tone-mapped image and the Shadow/Highlighted image.
HDR of 3 originals

Shadows & Highlight adjustments of normal exposure image
Jul 30, 2012 12:21:11 #
Chinaman wrote:
Hi Swede br The 3rd image of the last set looks pr... (show quote)
Thank you for taking an interest and all the work you did. I really appreciate it. I like the white you kept in the clouds. It was something I hadn't thought of--I just wanted to keep the clouds in the photo and some of the range of color. Editing can be quite a challenge as there are so many parameters to consider. I keep working at it and trying to remember and improve.
I posted some new HDR's on UHH last night under the heading "Sunset at Mt. Si". Please feel free to take a look if you are so inclined!
Swede
If you want to reply, then register here. Registration is free and your account is created instantly, so you can post right away.