First Post here
Feb 4, 2018 22:07:00 #

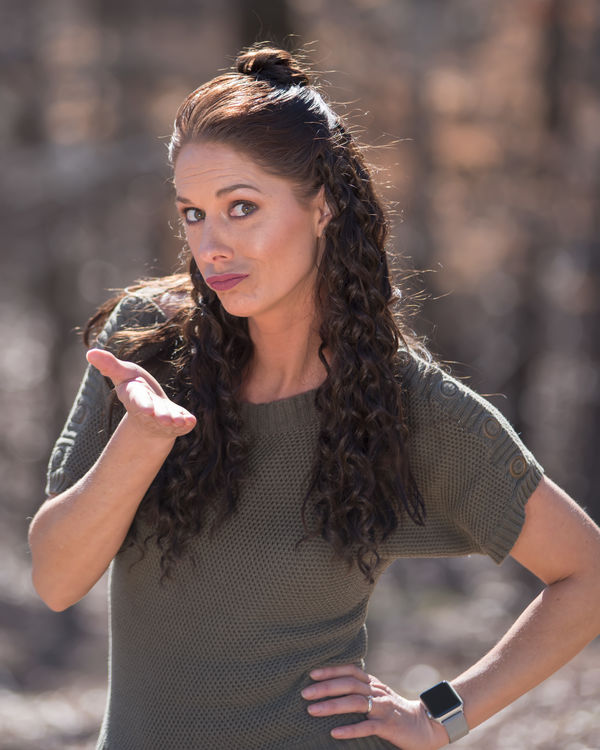
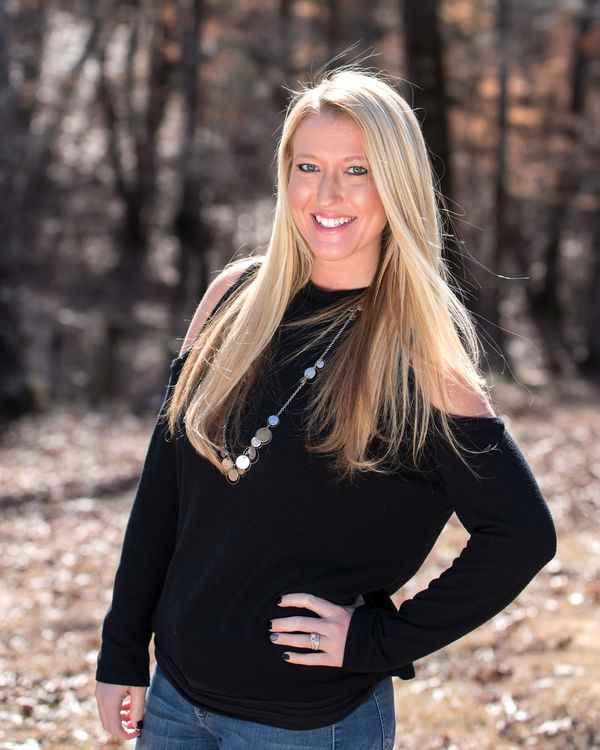
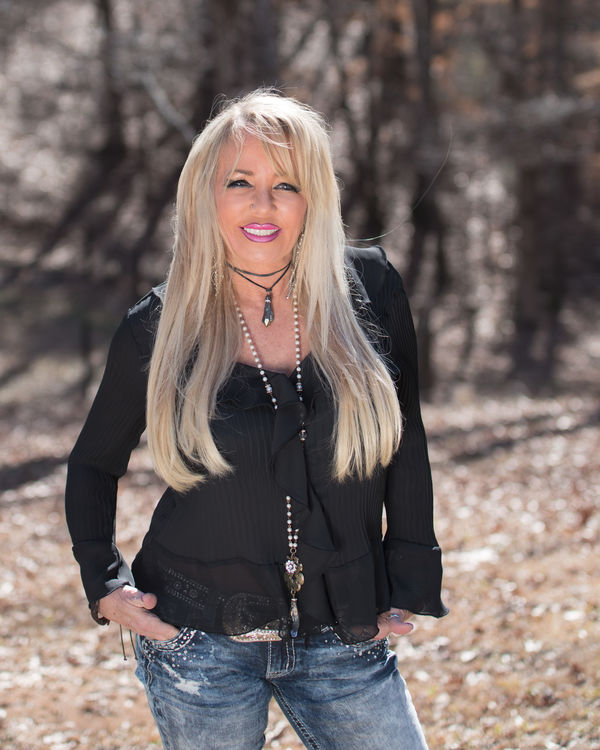
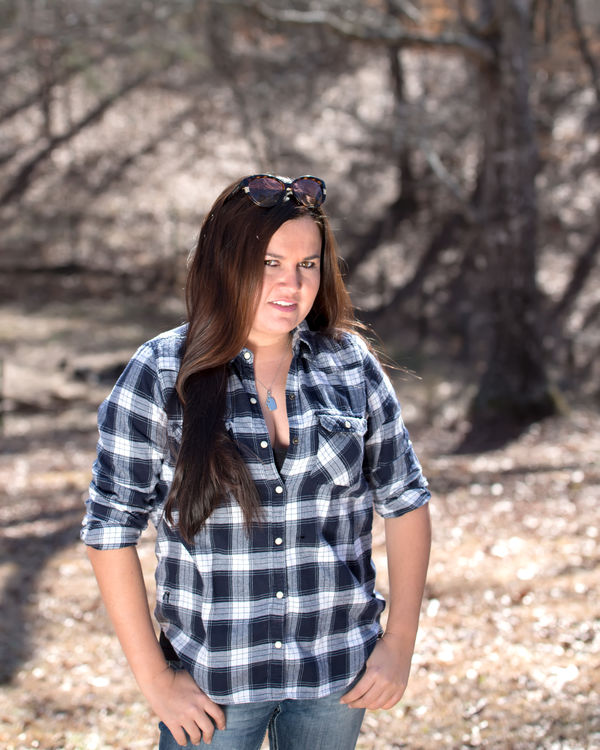
Just found this section and always looking to improve few from this week end shoot they are very happy but know they can be better.
Feb 4, 2018 22:31:40 #
Very nice shots. Beautiful models. I am not too far from you in McCalla. Thanks for the posts.
Feb 4, 2018 22:36:00 #
ReFlections wrote:
Very nice shots. Beautiful models. I am not too far from you in McCalla. Thanks for the posts.
Lived in Coleman Lakes for a few years
Feb 5, 2018 02:44:53 #
jdubu
Loc: San Jose, CA
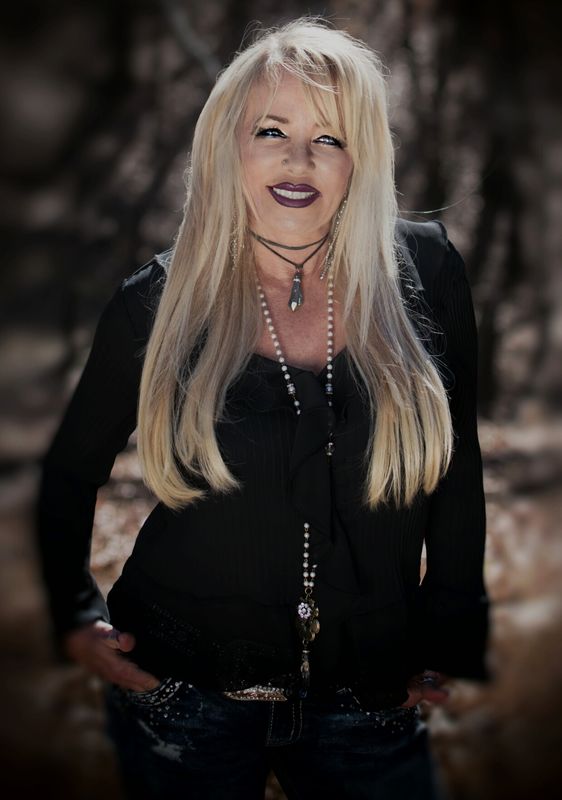
My first thought is the light needs some diffusion to eliminate the hot spots. The bare flash is too contrasty. Also the placement from low camera left is an unnatural light source for portraits in most cases. Here it is casting shadows above the nose and cheekbones making the underside of the nose and prominent features the brightest. Great use of the sun position to create rim lighting.
Feb 5, 2018 08:23:56 #
Yes, agree the light is a bit harsh and needs to be softened, otherwise nice work...
Feb 5, 2018 10:21:45 #
No flash involved using reflector I thought was little harsh should have took more time angling but was rushing in between video shoot
Feb 5, 2018 12:14:43 #
jdubu
Loc: San Jose, CA
hangman45 wrote:
No flash involved using reflector I thought was little harsh should have took more time angling but was rushing in between video shoot
Ah, then you need a stand with reflector clips or a voice activated stand. If you used the white surface, possibly feather the reflector to use the falloff of the reflected light instead of the full reflected light.
Feb 5, 2018 12:30:52 #
jdubu wrote:
Ah, then you need a stand with reflector clips or a voice activated stand. If you used the white surface, possibly feather the reflector to use the falloff of the reflected light instead of the full reflected light.
Yes they were on boom stands should have used white instead of silver live and learn.
Feb 7, 2018 13:37:34 #

Hangman!, Thanks for posting your images- cool stuff!
I think your method of using natural light and reflectors is a great approach and you are really on the right track to good outdoor portrait lighting control. In man cases, I think it can be superior to flash augmentation or fill becaus you can see exactly what you are getting as you are adjusting your lighting.
I don't think any lighting issue you perceive as needing improvement is the fault of using a silver type of reflector and in fact, that is my tool of choice for this method. So...the trick is in LIGHTIN DIRECTION and FEATHERING. Now- you lighting ain't bad but slightly flat. By looking at the highlight and shadow patterns on the face and the catch-lights in the eyes, I am guessing that the reflector was pretty close to the camera/subject axis- kinsa like an on-camera flash. So...by moving that reflector to an angle of somewhere between 30 to 45 or vwn 90 degrees off axis, depending on the position and relative camera angle to the subject's face (full face or 2/3 face) or to 135 degree for a profile- you will get more studio portrait-like lighting. If you FEATHER the beam of light from the reflector, that is, by rotating the reflector carefully toward the camera and just using the EDGE of the beam rather than the center or "hot spot", you will get richer and more modulated skin tone and texture and better MODELING. Weh the reflector is more off the camera/subject axis, it is easier on the subject's eyes and there will be less of a tendency to squint and better rendition on the eyes with better catch-lights.
If you keep the reflector coming in from the same side as the sunlight is striking the back of the subject, you will get a better unity of lighting and/or a nice hair or kicker light at certain times of the day.
You may want to use a wider aperture to kick the background more out of focus.
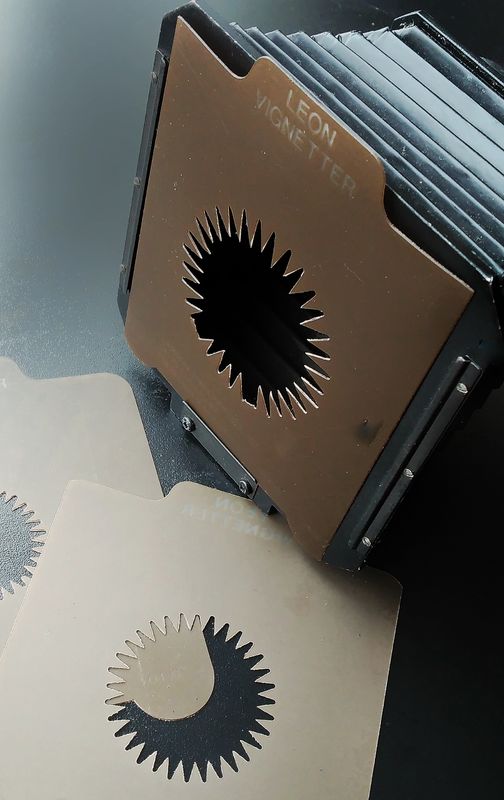
You can also darken the background in processing, however, I use and recommend a camera vignetter on a bellows lens shade so that the vignette is right on the file.
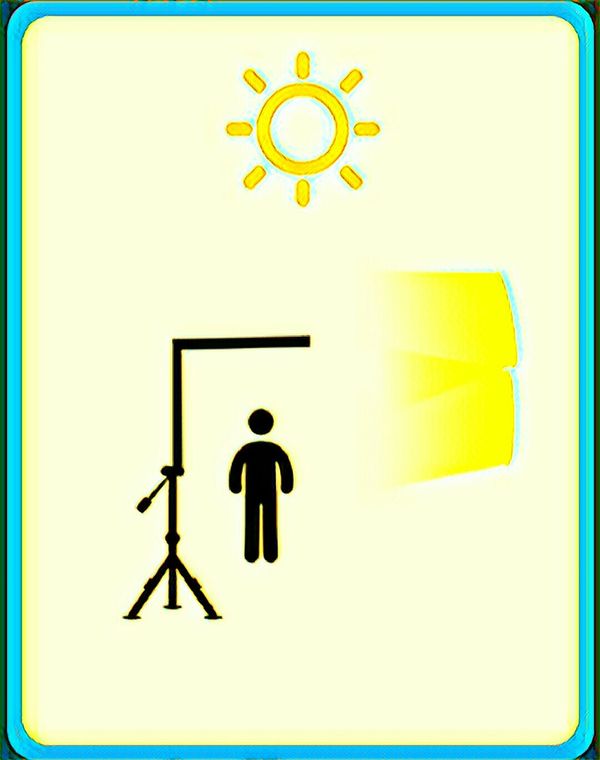
You may also want to consider SUBTRACTIVE LIGHTING. The basic tool for this BLACK gobos- they can be fancy pop open or umbrella framed black flags or just panels of black Foam-Cor boards. The concept is to shade one side of the subject to create a shadow area and allow natural softer light or reflected light to become the man light source. This an yet another way to get portrait lighting in out of door environments. Chek out the diagram that I am going to post in the next reply box- It is an inverted L-shaped setup made of Foam-Cor, lashed to a lightstand that provides the side shading and an overhang over the subject.
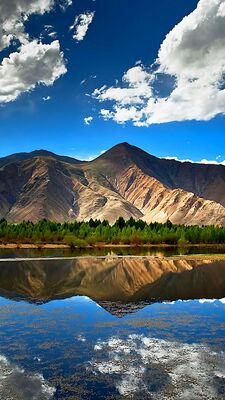
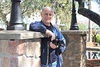
Also, in the next reply box, I have provided an edit of one of your images to give you a general idea of the effects I am suggesting. It's gonna be a quick and dirty edit from my smartphone- I am working away from my home/office. The screen quality will probably be poor but I think you will get the idea as to the crop and the other aesthetics. There is also a shot of that vignetting device I am talking about.
I hope this helps! Let me know if you have any further questions.
Ed
I think your method of using natural light and reflectors is a great approach and you are really on the right track to good outdoor portrait lighting control. In man cases, I think it can be superior to flash augmentation or fill becaus you can see exactly what you are getting as you are adjusting your lighting.
I don't think any lighting issue you perceive as needing improvement is the fault of using a silver type of reflector and in fact, that is my tool of choice for this method. So...the trick is in LIGHTIN DIRECTION and FEATHERING. Now- you lighting ain't bad but slightly flat. By looking at the highlight and shadow patterns on the face and the catch-lights in the eyes, I am guessing that the reflector was pretty close to the camera/subject axis- kinsa like an on-camera flash. So...by moving that reflector to an angle of somewhere between 30 to 45 or vwn 90 degrees off axis, depending on the position and relative camera angle to the subject's face (full face or 2/3 face) or to 135 degree for a profile- you will get more studio portrait-like lighting. If you FEATHER the beam of light from the reflector, that is, by rotating the reflector carefully toward the camera and just using the EDGE of the beam rather than the center or "hot spot", you will get richer and more modulated skin tone and texture and better MODELING. Weh the reflector is more off the camera/subject axis, it is easier on the subject's eyes and there will be less of a tendency to squint and better rendition on the eyes with better catch-lights.
If you keep the reflector coming in from the same side as the sunlight is striking the back of the subject, you will get a better unity of lighting and/or a nice hair or kicker light at certain times of the day.
You may want to use a wider aperture to kick the background more out of focus.
You can also darken the background in processing, however, I use and recommend a camera vignetter on a bellows lens shade so that the vignette is right on the file.
You may also want to consider SUBTRACTIVE LIGHTING. The basic tool for this BLACK gobos- they can be fancy pop open or umbrella framed black flags or just panels of black Foam-Cor boards. The concept is to shade one side of the subject to create a shadow area and allow natural softer light or reflected light to become the man light source. This an yet another way to get portrait lighting in out of door environments. Chek out the diagram that I am going to post in the next reply box- It is an inverted L-shaped setup made of Foam-Cor, lashed to a lightstand that provides the side shading and an overhang over the subject.
Also, in the next reply box, I have provided an edit of one of your images to give you a general idea of the effects I am suggesting. It's gonna be a quick and dirty edit from my smartphone- I am working away from my home/office. The screen quality will probably be poor but I think you will get the idea as to the crop and the other aesthetics. There is also a shot of that vignetting device I am talking about.
I hope this helps! Let me know if you have any further questions.
Ed
Feb 7, 2018 13:42:50 #

If you want to reply, then register here. Registration is free and your account is created instantly, so you can post right away.