MOON
Jan 15, 2012 20:47:35 #
Jan 18, 2012 20:43:45 #
I found a solution!
There is a f6.3 convertor that almost doubles the field of view. The one from Celestron is $119 but I found a competitive one on ebay for $68.
In addition the improvement from f11 to f6.3 cuts exposure time for dim objects. I intend to try some of that this summer too now that I have a DSLR capable of very high ISO.
But even with f 6.3 you steill only get great contrast near the dark/light transition.
So I have decided on a summer project. I am going to take one every few days over a full moon cycle and then merge them in Photoshop Elements.
Donaldaq wrote:
Seems that the only way you may get the entire Moon in the frame is a: when there is a crescent Moon (you can rotate the camera to fit it in frame of course) or b: when the Moon is further away from Earth in its orbit (it does vary and it DOES make a difference in how large the Moon appears to us). Looks like a very good first attempt to me. I love the Moon but I despise its difficulty to expose properly, especially on film. Keep up the great efforts.
Feb 2, 2012 00:49:58 #
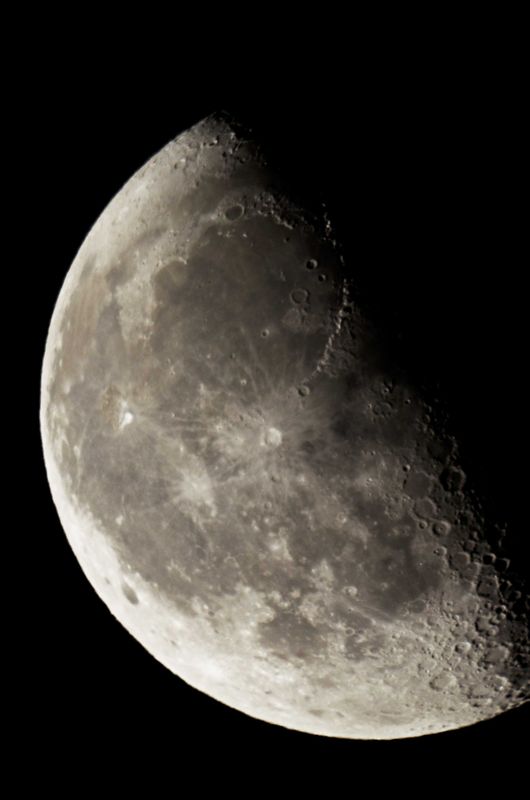
OK, this is from the first shots with the f6.3 convertor on the trusty old C8. So I did 1/600 sec and ISO 640. Nikon D5100.
There were a few whispy clouds tonight so I may be able to do a bit better. The suggestion to use the magnification on live view seems to really help on focus.
I shot in RAW and fiddled a bit in ACR and Elements sharpening and contrast. I want to add a high pass filter but didn't get to it tonight.
I didn't notice the bright circle (kind of halo) on my screen till posted here. I need to figure out where that came from...possibly overdid the sharpening.
Jupiter was out tonight also and I could clearly see four moons in Live view...but they didn't come out on the photos with the above. Guess they need a little more exposure time. It actually looked like five moons but I suspect one was a star.
MtnMan wrote:
I found a solution! br br There is a f6.3 convert... (show quote)
Feb 2, 2012 02:03:31 #
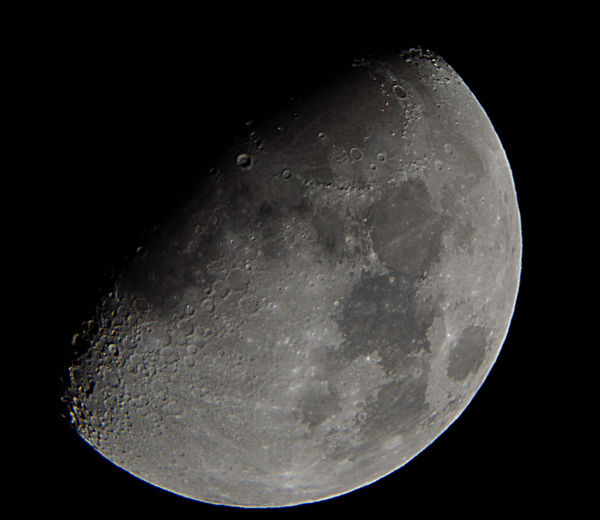
One last try for tonight. Same parameters.
The bright ring seems to be an artifact of the thumbnail posting here. It isn't so prominant on my screen. You can download it and check it out. Right click to "save as" to get the full size image.
The bright ring seems to be an artifact of the thumbnail posting here. It isn't so prominant on my screen. You can download it and check it out. Right click to "save as" to get the full size image.
MtnMan wrote:
OK, this is from the first shots with the f6.3 con... (show quote)

Feb 12, 2012 19:37:18 #
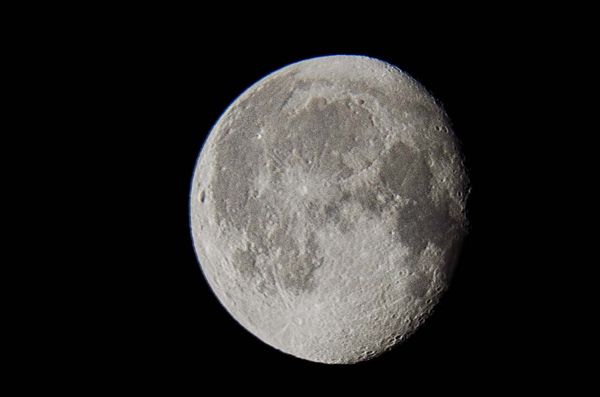
I figured out how to get rid of the halo and also get more detail. I am working in Photoshop Elements 10.
So I first select the dark sky and then invert the selection so I have a selection of the moon.
I then use select/refine to compress the selection 10%. That's what I am going to enhance and thus not get the halo onto the background. So then "Control J" gives me a layer with that selection.
I then use the "Emboss" filter on that layer to get the detail. I adjusted the opacity and added a brightness adjustment. And here is what we now have:
If you want to reply, then register here. Registration is free and your account is created instantly, so you can post right away.