CHALLENGE - Mar. 3 - Mar 5 - Smoke
Mar 2, 2014 22:18:57 #

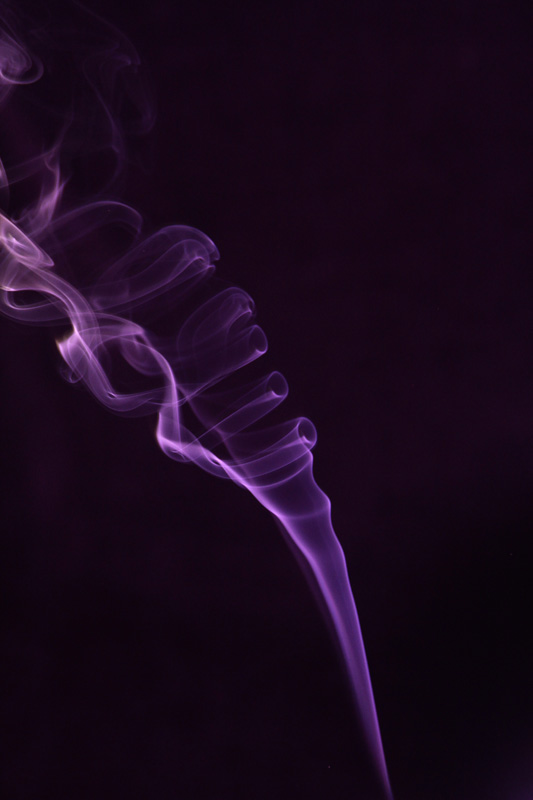
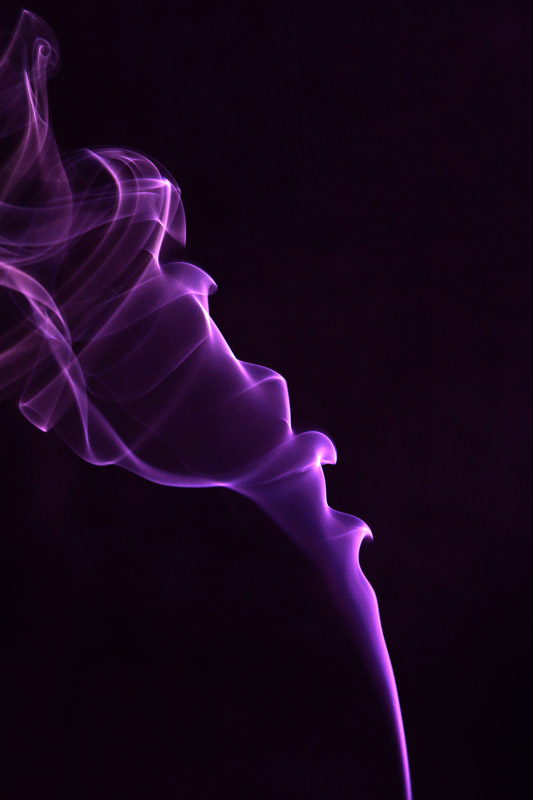
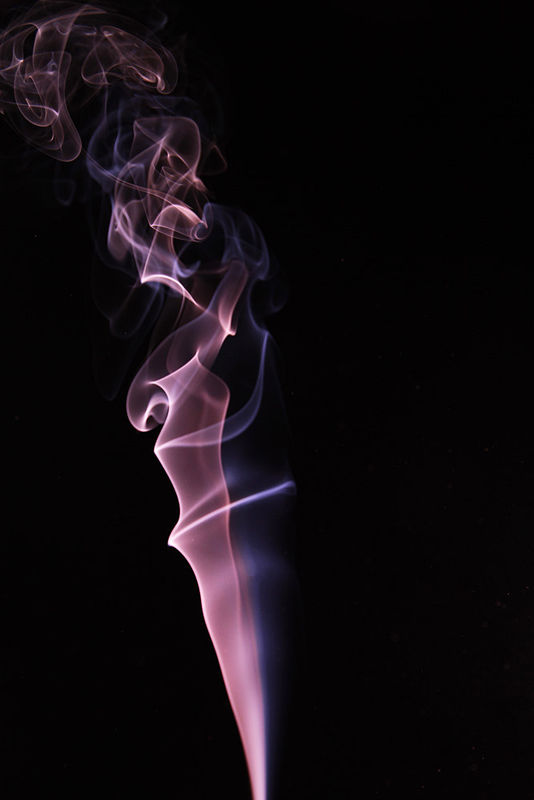
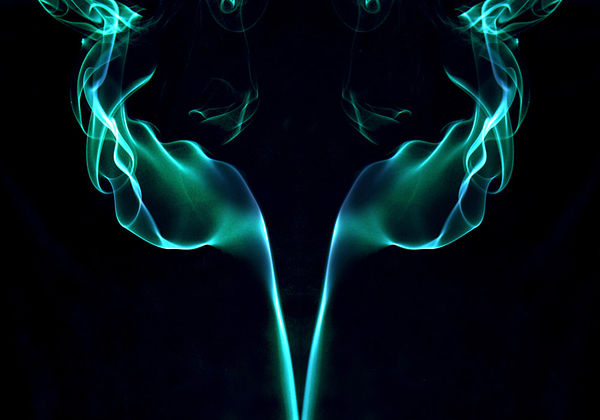
This challenge should be fun. I am giving instructions for setting up a work station to capture smoke. The challenge is not limited to just this type of smoke...so use your imagination and let see what you all can come up with. Please be careful with what you do! Also if you have any pictures of historic fires, it would be interesting to see some of them.
There are many places on the internet to find out how to set up your work station, but this is what I have come up with:
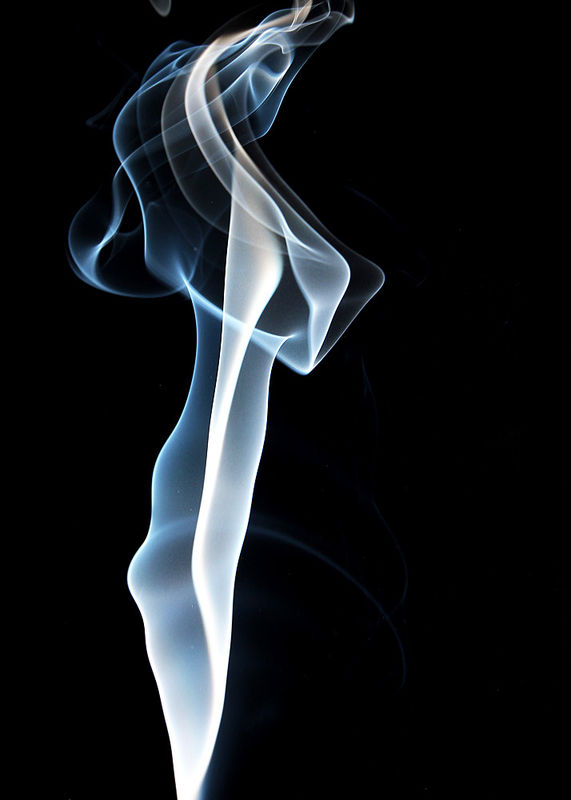
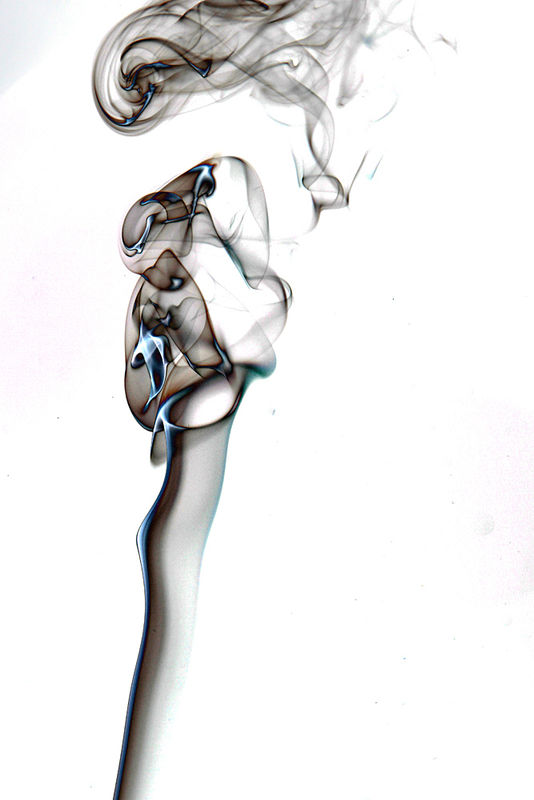
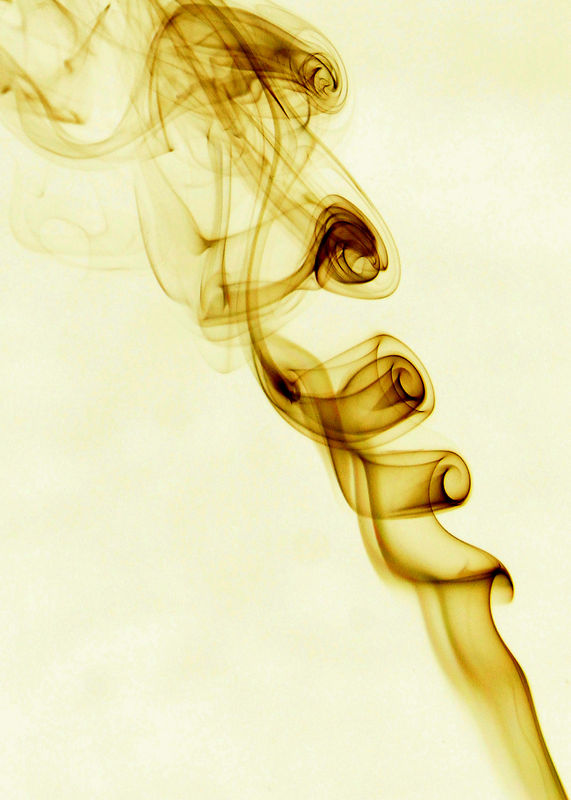
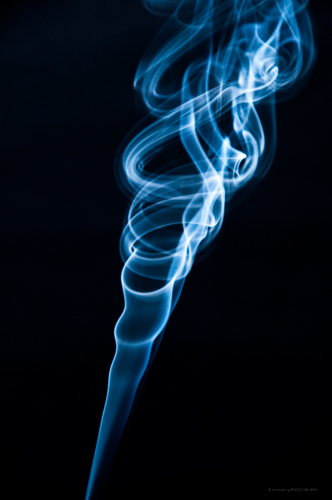
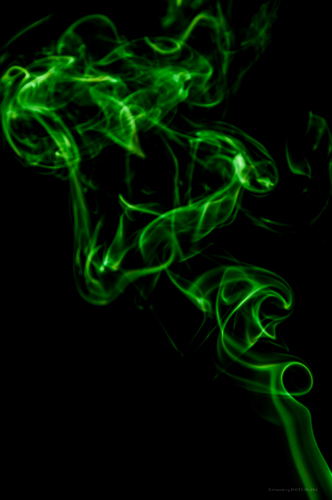
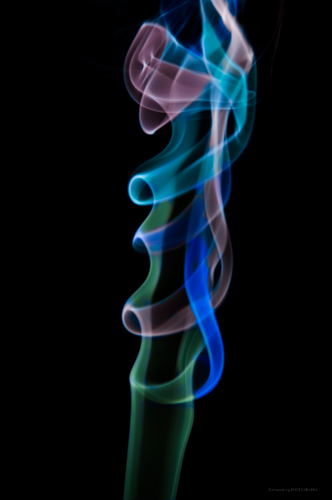
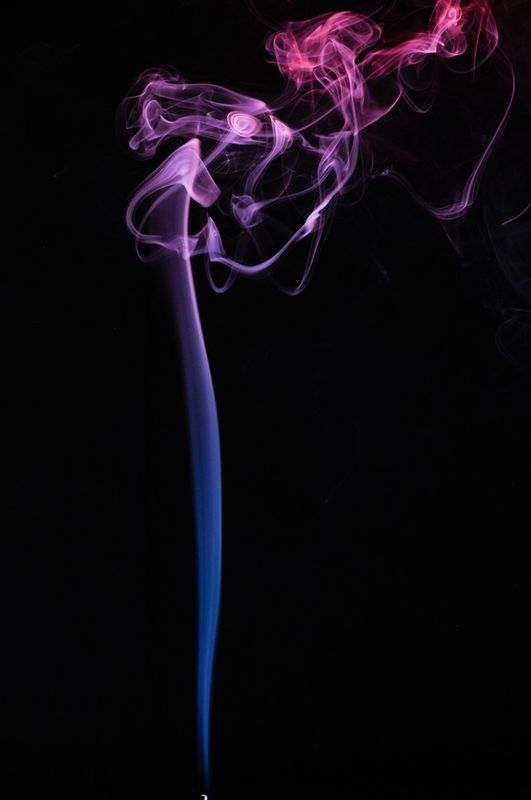
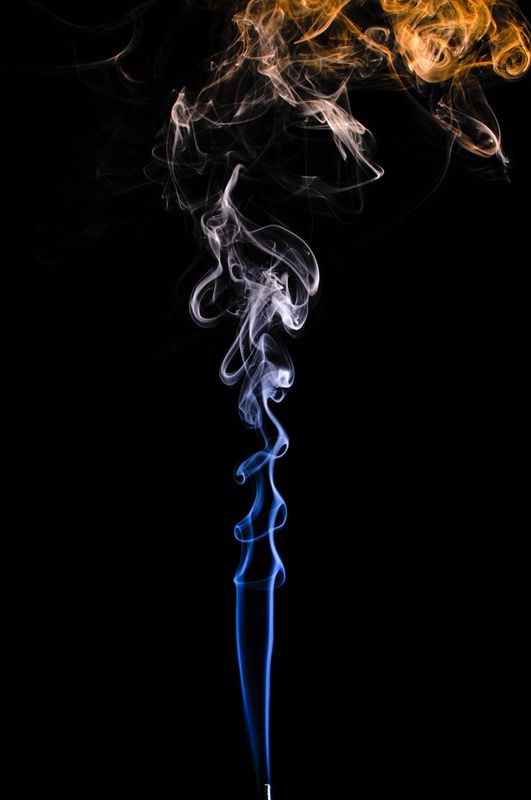
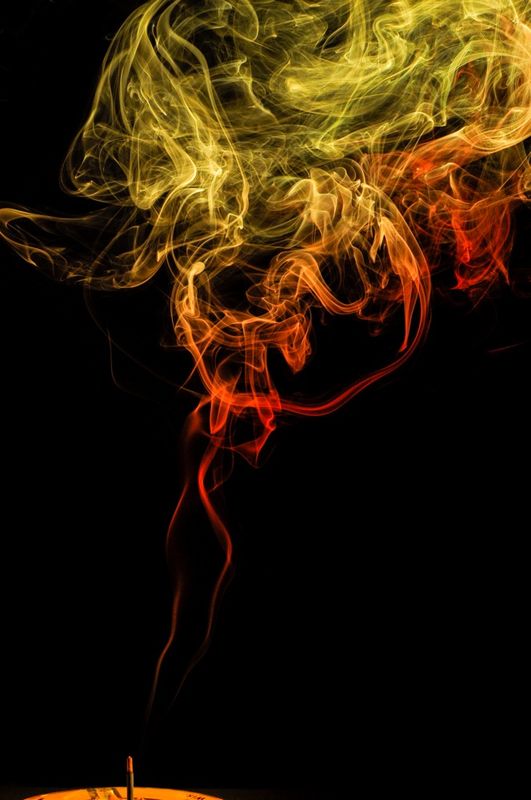
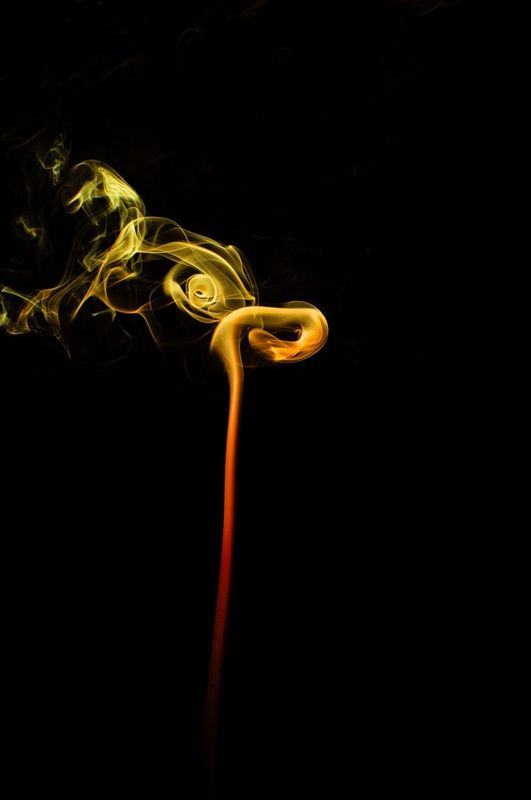
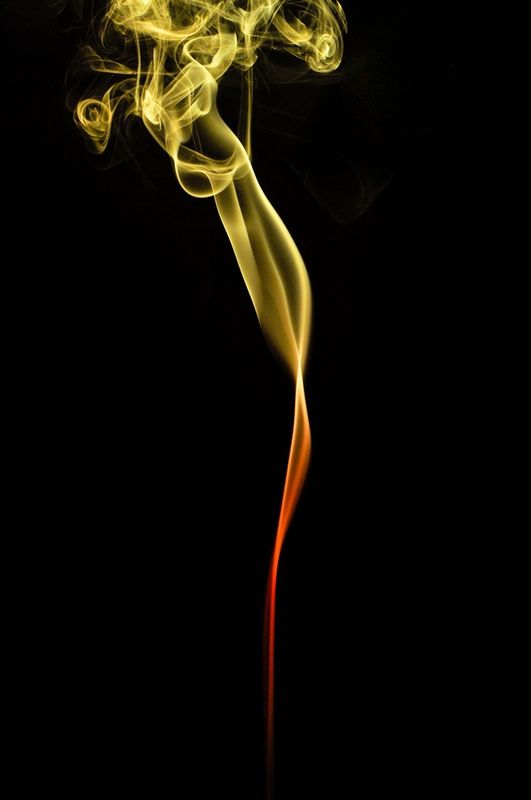
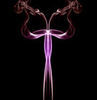
I set up a black backdrop, then I use incense to create the smoke. I had never used it before so I just stuck horizontally into an apple, you could use almost anything (orange, potato..etc.) or a proper incense holder! LOL! I placed tinfoil under the stick to catch the ashes. You place it approx. 3 feet in front of the backdrop. I then placed a bright (white) light in line with the stick and about 15 inches to the left. I also placed a white reflector (Bristol board) behind the lamp to help direct the light away from the backdrop and towards the smoke. I also placed my off camera flash on the right of the smoke...about 12 inches. If you don't have an off camera flash get a bright light or LED flashlight and direct it at the smoke. Also place something behind the flash/flashlight to keep light from getting to the backdrop. Now set up your camera about 2 1/2 - 3 feet in front of the smoke. Light the incense and make sure you have focused on where the smoke will rise. I used the tip of the stick to focus on, set the focus to manual so it won't change and then move the lens up slightly to get the stick out of the frame.
My camera settings were Shutter Priority, 1/160 sec., ISO 100 and I used my 28-250 lens set at aroun 60 - 80 mm.
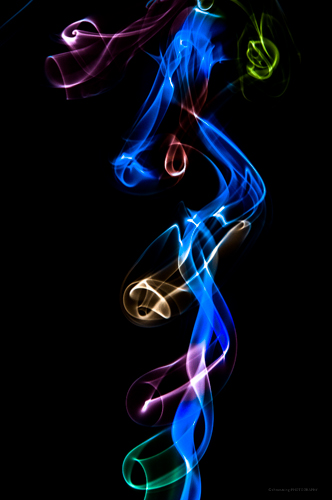
I also tried it with pink cellophane over the flash to give it a pink shade. You can, of course, just change the colors in PP. Also try using "invert" to see what happens to the colors, etc.
I hope I have not forgotten anything. If this does not make sense please let me know.
Here are a couple of links that give alternate ways to set it up, use whatever works best for you!
http://121clicks.com/tutorials/smoke-art-photography-tips-tricks-and-tutorials
http://masteringphoto.com/how-to-photograph-smoke-trails/
There are many places on the internet to find out how to set up your work station, but this is what I have come up with:
I set up a black backdrop, then I use incense to create the smoke. I had never used it before so I just stuck horizontally into an apple, you could use almost anything (orange, potato..etc.) or a proper incense holder! LOL! I placed tinfoil under the stick to catch the ashes. You place it approx. 3 feet in front of the backdrop. I then placed a bright (white) light in line with the stick and about 15 inches to the left. I also placed a white reflector (Bristol board) behind the lamp to help direct the light away from the backdrop and towards the smoke. I also placed my off camera flash on the right of the smoke...about 12 inches. If you don't have an off camera flash get a bright light or LED flashlight and direct it at the smoke. Also place something behind the flash/flashlight to keep light from getting to the backdrop. Now set up your camera about 2 1/2 - 3 feet in front of the smoke. Light the incense and make sure you have focused on where the smoke will rise. I used the tip of the stick to focus on, set the focus to manual so it won't change and then move the lens up slightly to get the stick out of the frame.
My camera settings were Shutter Priority, 1/160 sec., ISO 100 and I used my 28-250 lens set at aroun 60 - 80 mm.
I also tried it with pink cellophane over the flash to give it a pink shade. You can, of course, just change the colors in PP. Also try using "invert" to see what happens to the colors, etc.
I hope I have not forgotten anything. If this does not make sense please let me know.
Here are a couple of links that give alternate ways to set it up, use whatever works best for you!
http://121clicks.com/tutorials/smoke-art-photography-tips-tricks-and-tutorials
http://masteringphoto.com/how-to-photograph-smoke-trails/
Mar 2, 2014 22:35:25 #
Beautiful and fascinating, clicker.
I will be watching ....if nothing else. :lol:
I will be watching ....if nothing else. :lol:
Mar 2, 2014 22:36:53 #
Great start Clicker2014.
Clicker2014 wrote:
This challenge should be fun. I am giving instruc... (show quote)
Mar 2, 2014 22:42:03 #
Clicker2014 wrote:
This challenge should be fun. I am giving instruc... (show quote)
Very good directions and wonderful photos. :-D :thumbup:
Mar 2, 2014 22:44:23 #
I used 2 flash units with different colored filters. Processed in Lightroom 4. ISO 400 1/200 f10.
Mar 2, 2014 23:10:13 #
jimber wrote:
I used 2 flash units with different colored filters. Processed in Lightroom 4. ISO 400 1/200 f10.
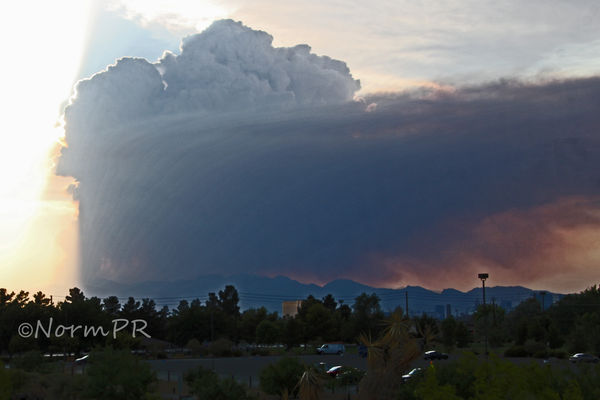
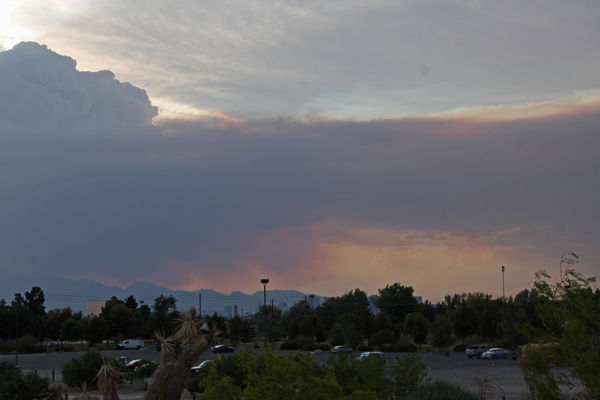
Here are a couple of pictures of a fire in the Spring Mountains around Las Vegas in July of 13. They are all smoke, not storm clouds.
Mar 2, 2014 23:26:29 #
markar wrote:
Beautiful and fascinating, clicker.
I will be watching ....if nothing else. :lol:
I will be watching ....if nothing else. :lol:
Thanks Markar! You don't have to do this setup. I am sure you will have some pics of smoke from somewhere! :-) :thumbup:
Mar 2, 2014 23:28:19 #
Beautiful Bushido! Love the effects you used. Very nicely done!
Bushido wrote:
Great start Clicker2014.
Mar 2, 2014 23:28:56 #
Thank you Jimber! Much appreciated. Should be a fun challenge.
jimber wrote:
Very good directions and wonderful photos. :-D :thumbup:
Mar 2, 2014 23:29:54 #
Really beautiful Jimber! These will spur me on to play some more!
jimber wrote:
I used 2 flash units with different colored filters. Processed in Lightroom 4. ISO 400 1/200 f10.
Mar 2, 2014 23:30:21 #
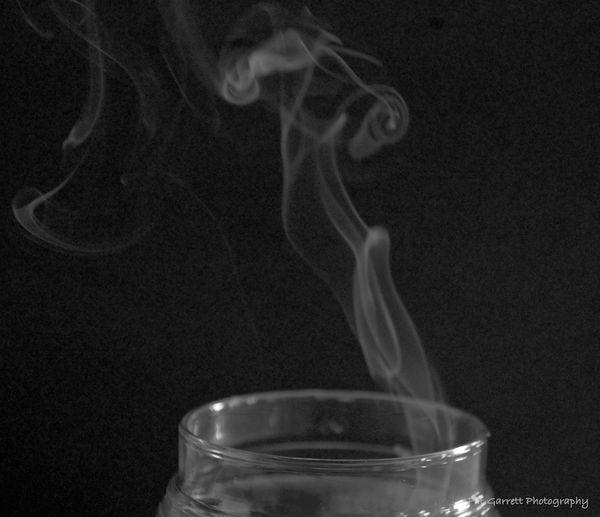
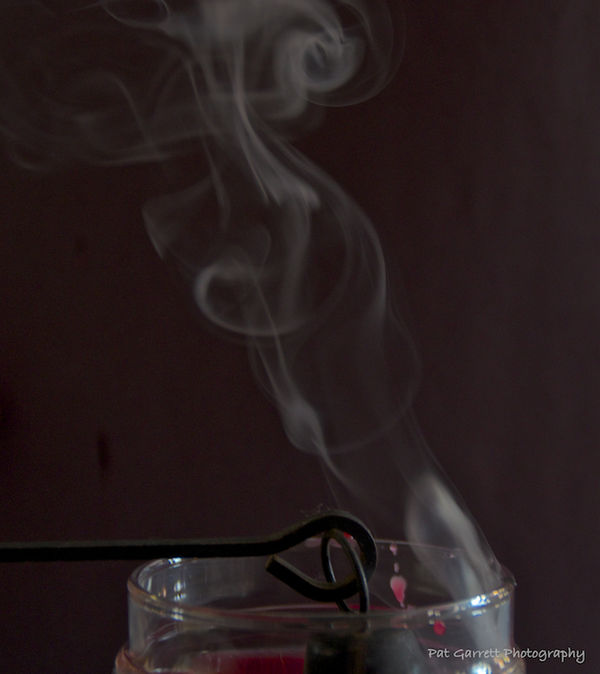
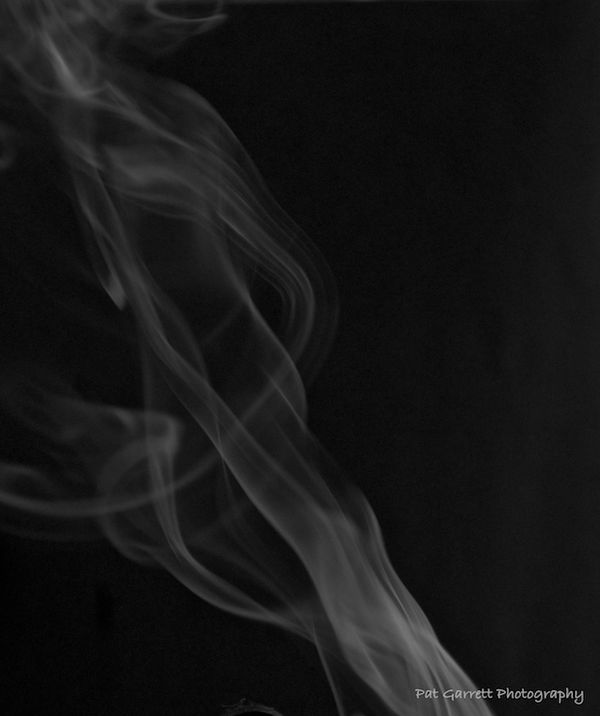
Great explanation, Clicker. I am way up past bedtime, Here are some attempts before I had any incense and some lighting. Had a candle, a snuffer and a flashlight. Plan to try tomorrow. Been looking forward to this.
Mar 2, 2014 23:31:22 #
Wow! Must have been a huge fire! I hate to say it, but #1 turned out beautiful! Thanks for sharing!
NormPR wrote:
Here are a couple of pictures of a fire in the Spring Mountains around Las Vegas in July of 13. They are all smoke, not storm clouds.
Mar 2, 2014 23:33:12 #
Unique way of doing it Pat! I look forward to seeing what you do tomorrow!... Past my bedtime too...see you all tomorrow!.....zzzzzzzzzz
PAToGraphy wrote:
Great explanation, Clicker. I am way up past bedtime, Here are some attempts before I had any incense and some lighting. Had a candle, a snuffer and a flashlight. Plan to try tomorrow. Been looking forward to this.
Mar 2, 2014 23:49:46 #
Clicker2014 wrote:
This challenge should be fun. I am giving instructions for setting up a work station to capture smoke.
Clicker Great Start Clicker I really like the mirror effect :thumbup:
Mar 3, 2014 00:24:47 #
We did this in school. As soon as my laptop is back I will upload some
If you want to reply, then register here. Registration is free and your account is created instantly, so you can post right away.