Rockin' What You Got - Lesson 2 (May 25th)
Jun 2, 2012 03:13:10 #

MWAC wrote:
The goal of this weekly challenge is to get comfor... (show quote)
Is there going to be a lesson 3? I looked for it all day... I am not posting photos but I am following your lessons - thank you.
Jun 2, 2012 08:35:47 #
Jun 2, 2012 11:16:39 #

Kathiehum wrote:
Wondering the same thing. Please don't stop.
Heaven forbid! Please, please MWAC... keep our lessons coming.
Jun 2, 2012 20:44:11 #

Jun 2, 2012 21:37:01 #
My first try at uploading a photo. I had a lot of fun with this after I figured out how to get not so dark. I wanted to try this outside, but it has been raining every day.
Jun 2, 2012 22:54:52 #
unanchored wrote:
add my voice to those awaiting our next adventure
Sorry we had some unexpected (but welcome) house guests. I will have lesson 3 up tomorrow afternoon.
Jun 2, 2012 22:54:57 #
Okay, I had a hard time getting a chance to do the water assignment, but I did manage to apply the principle, for the first time, to fireworks shots, and finally got ones I liked...
Sorry for not sticking to the assignment... I'll do better next week....
Sorry for not sticking to the assignment... I'll do better next week....


Jun 2, 2012 23:10:10 #

I may be puting my foot in mouth, but how do I keep up with any new posts and the next assignment in this thread
Joe :hunf:
Joe :hunf:
Jun 2, 2012 23:15:08 #
Jusoljoe wrote:
I may be puting my foot in mouth, but how do I keep up with any new posts and the next assignment in this thread
Joe :hunf:
Joe :hunf:
you can click watch to get email notification or once you comment you get them automatically - for the next lesson you will probably need to go to MWAC profile and click on her topics started - when she starts it , it will be on her list, hope that helps
Jun 2, 2012 23:20:49 #

MWAC wrote:
The goal of this weekly challenge is to get comfor... (show quote)
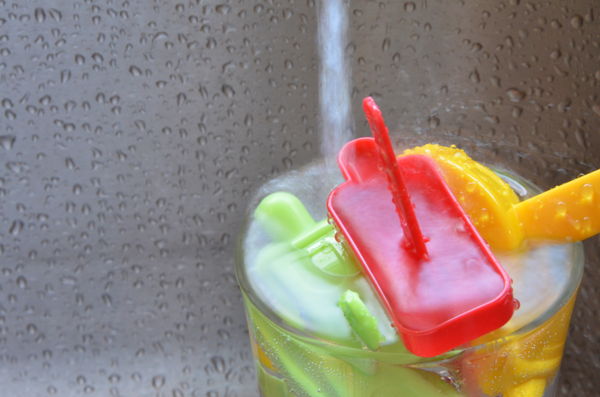
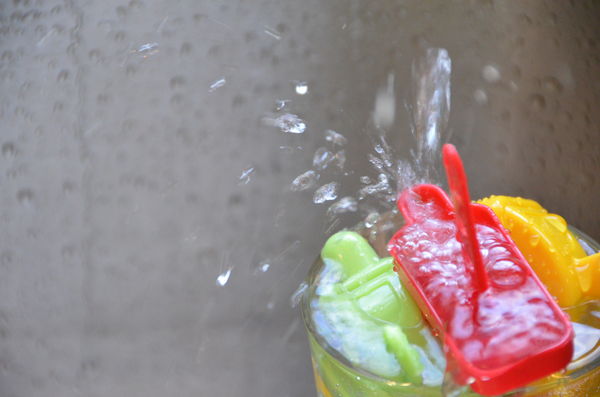
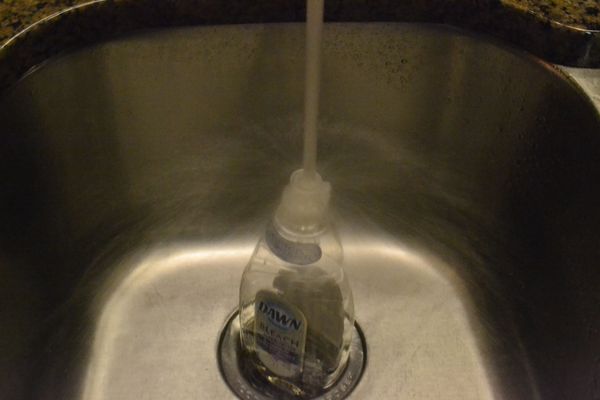
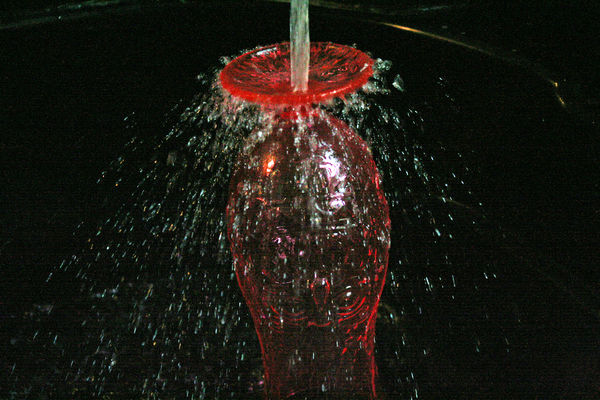
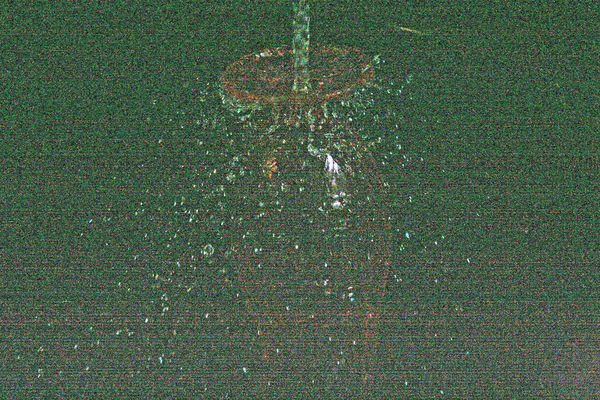
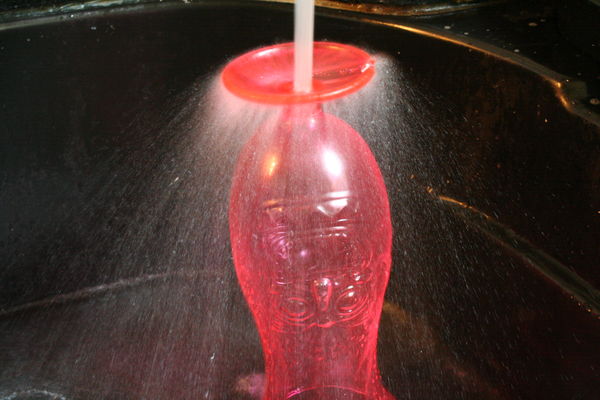
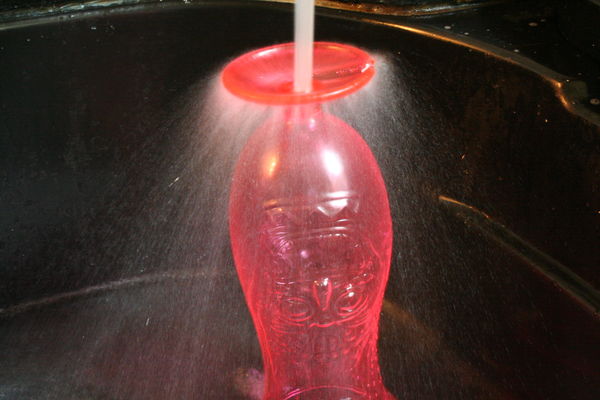
Here is my homework for shutter speed. Shot at the kitchen sink, no PP, water running consistently.
1/600
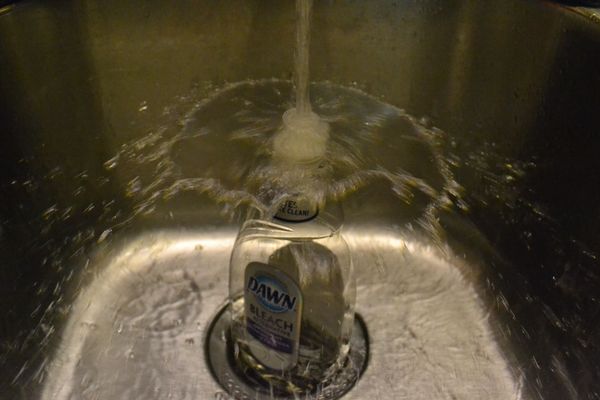
1/1000 - Next time, I will know to adjust the exposure for 1/1000.
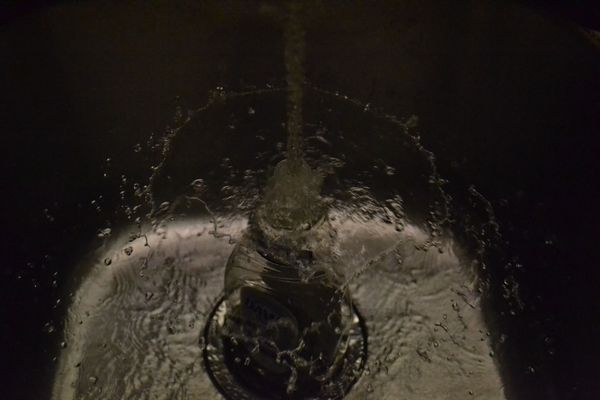
1/5
Jun 2, 2012 23:23:14 #
Double post - it looked like nothing posted for a few minutes! sorry ~ I also didn't mean to re-quote the entire lesson on the post above! Whew!
Jun 3, 2012 08:57:51 #
Jusoljoe wrote:
I may be puting my foot in mouth, but how do I keep up with any new posts and the next assignment in this thread
Joe :hunf:
Joe :hunf:
What Janice said. Click watch on this forum. But usually at the bottom of this forum she will link the next lesson. She will title it "Rockin' What you Got - Lesson 3". Then you can do a Search from the options at the top of this page under the title.
Jun 3, 2012 13:51:37 #

Vlb wrote:
Okay, I had a hard time getting a chance to do the water assignment, but I did manage to apply the principle, for the first time, to fireworks shots, and finally got ones I liked...
Sorry for not sticking to the assignment... I'll do better next week....
Sorry for not sticking to the assignment... I'll do better next week....
Fireworks looks like as much fun as waterfalls!
Jun 3, 2012 15:39:08 #

Better late than never~these are very dark, I have a black sink and only some window light, but I do see the changes in the water drops. Very good exercise to try!
ISO 1600 focal length 47 f 5.6 ss 1/160
ISO 1600 f 5.6 ss 1/1000 slightly lightened in PP
ISO 1600 f/13 ss 1/2
ISO 1600 f/18 ss 1sec
Jun 3, 2012 22:53:39 #
Way to go everyone~
Sorry about being behind this week, but here it is... Rockin' What you Got Lesson 3. http://www.uglyhedgehog.com/t-44193-1.html#707663
Sorry about being behind this week, but here it is... Rockin' What you Got Lesson 3. http://www.uglyhedgehog.com/t-44193-1.html#707663
If you want to reply, then register here. Registration is free and your account is created instantly, so you can post right away.