Day 54 - Photo A Day Challenge - 2-23-2012
Feb 23, 2012 02:06:18 #
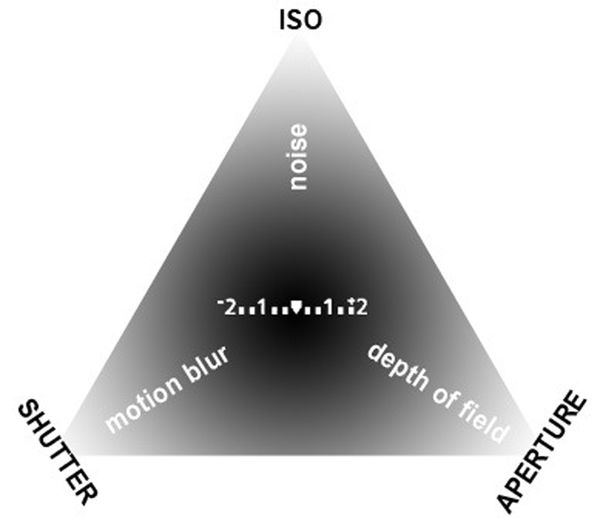
Welcome to Day 54 :) Today we are going to have to work for it. One of the most important parts of photographic composition is Exposure Compensation. To accommodate the huge variety of brightness levels we see in the real world, we need to be able to control how much light gets to the cameras sensor. We do this by adjusting one or more of the three points of the exposure triangle. These three points are ISO, Shutter and Aperture.
I could go into some long boring paragraph about all these settings ... but I feel it's better to just get to the point.
So here's the easiest way I know of to learn about exposure compensation.
Put your camera in P (program mode) this is going to allow the camera to adjust the ISO, shutter speed, and aperture for each photo. This will free up your mind to just concentrate on exposure adjustments.
I use a Canon (I can't offer any advice on Nikon) but on my camera there is an info button. Once you take a photo press that info button and it should show you
the histogram (if not press it again and it will)
The histogram is not that important for this challenge... but on that same screen it will still show your photo.
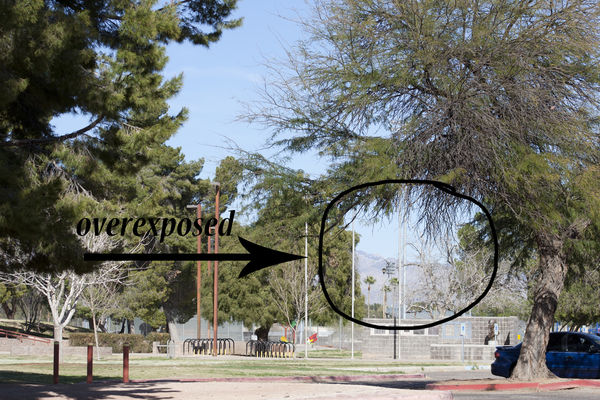
Any parts that are over exposed (or underexposed) will be blinking. That is the part we want to compensate for.
If its the light colors (like the sky) that are blinking it's overexposed and you will need to turn the dial to the negative side. My camera allows for 1/3 or 1/2 increments. I use 1/3 but either is fine.
If the photo is really dark then obviously you will need to turn the dial to the right.
Take another photo ... adjusting the exposure compensation until it's no longer blinking.
If you want to ... shoot in RAW.... but I have found that with proper exposure compensation no adjustments in the RAW editor are necessary.
Each time you start a new set of photos turn the dial back to the base setting. The more comfortable you become with this technique the better your photos will turn out.
For anybody that is familiar with shooting in manual already ... try to find difficult, high contrast scenes.. such as a wall with an outside window, or under a shady tree on a sunny day.
Shoot the scene in the base exposure then just by looking at the screen .. try to guess how much you need to adjust the exposure manually to see detail in the over and under exposed areas.
Practice to see how close you can get just by estimating.
For anybody who's camera does not allow for exposure adjustments .. don't worry about it .... just get out there and shoot at whatever interests you....
we are still interested in whatever floats your boat :)
The first photo is an exposure card I put together to help you see the differences in the settings. The second one is the exposure triangle .. the center part is the numbers you will be adjusting.
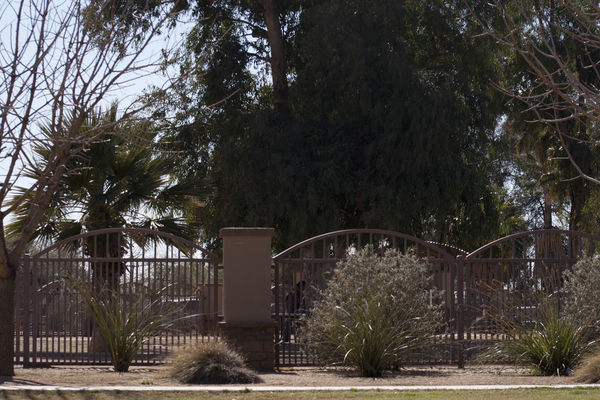
The other one's are examples to get us started.
Just so you know I didn't do any other pp work on these photos ... in order to better show the difference in just this one change in settings :)
P.S. It's ok to just post the final adjusted photo but be sure to let us know how much you had to compensate.
I could go into some long boring paragraph about all these settings ... but I feel it's better to just get to the point.
So here's the easiest way I know of to learn about exposure compensation.
Put your camera in P (program mode) this is going to allow the camera to adjust the ISO, shutter speed, and aperture for each photo. This will free up your mind to just concentrate on exposure adjustments.
I use a Canon (I can't offer any advice on Nikon) but on my camera there is an info button. Once you take a photo press that info button and it should show you
the histogram (if not press it again and it will)
The histogram is not that important for this challenge... but on that same screen it will still show your photo.
Any parts that are over exposed (or underexposed) will be blinking. That is the part we want to compensate for.
If its the light colors (like the sky) that are blinking it's overexposed and you will need to turn the dial to the negative side. My camera allows for 1/3 or 1/2 increments. I use 1/3 but either is fine.
If the photo is really dark then obviously you will need to turn the dial to the right.
Take another photo ... adjusting the exposure compensation until it's no longer blinking.
If you want to ... shoot in RAW.... but I have found that with proper exposure compensation no adjustments in the RAW editor are necessary.
Each time you start a new set of photos turn the dial back to the base setting. The more comfortable you become with this technique the better your photos will turn out.
For anybody that is familiar with shooting in manual already ... try to find difficult, high contrast scenes.. such as a wall with an outside window, or under a shady tree on a sunny day.
Shoot the scene in the base exposure then just by looking at the screen .. try to guess how much you need to adjust the exposure manually to see detail in the over and under exposed areas.
Practice to see how close you can get just by estimating.
For anybody who's camera does not allow for exposure adjustments .. don't worry about it .... just get out there and shoot at whatever interests you....
we are still interested in whatever floats your boat :)
The first photo is an exposure card I put together to help you see the differences in the settings. The second one is the exposure triangle .. the center part is the numbers you will be adjusting.
The other one's are examples to get us started.
Just so you know I didn't do any other pp work on these photos ... in order to better show the difference in just this one change in settings :)
P.S. It's ok to just post the final adjusted photo but be sure to let us know how much you had to compensate.
exposure card

base exposure setting

-2 full stops compensation .. much better
base exposure
- 2/3 exposure compensation .. better but I think I could have gone -1 full stop
Feb 23, 2012 03:19:06 #
Good Morning, to all my UHH friends.
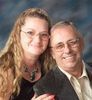
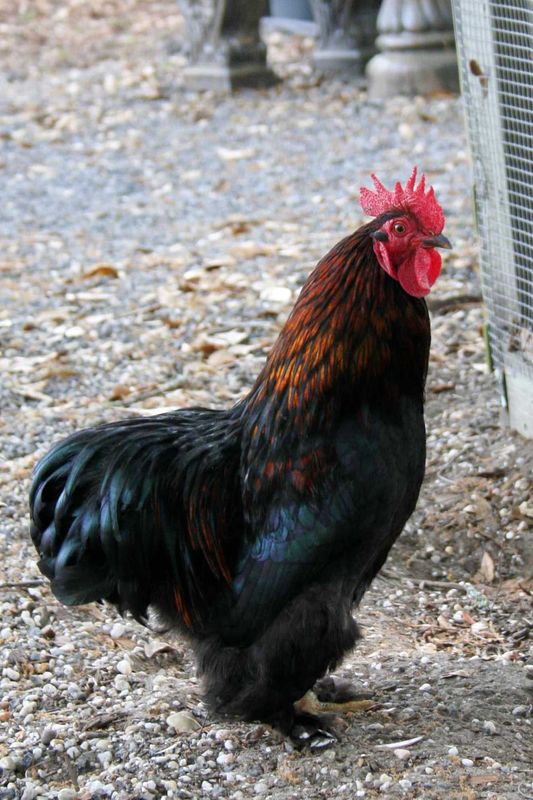
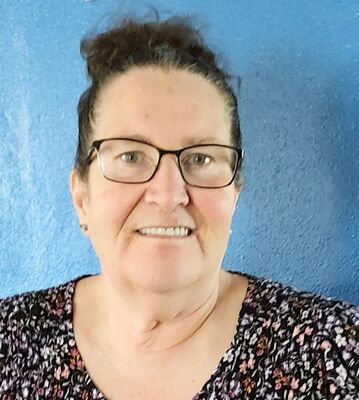
Sherrie, this is Augustus' friend I was telling you about. He is quite handsome too. :D
Sherrie, this is Augustus' friend I was telling you about. He is quite handsome too. :D
He's just a little shy
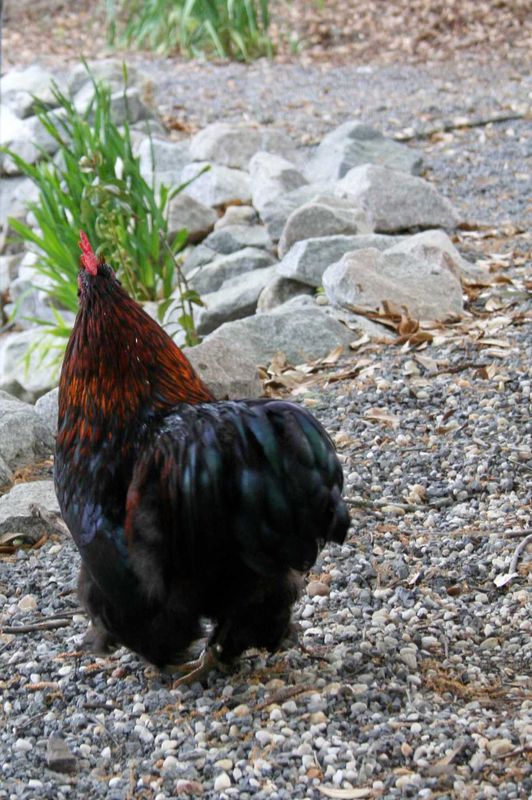
Now, that's much better
Feb 23, 2012 04:29:44 #
I'm a day late on my door but I will use it for this also. My Bible is my door to everlasting life.
starting with ISO 200 , 0. F/stop 16, I think
ISO 200, WB tungston, -2, F/stop 16
Feb 23, 2012 05:54:21 #
Essentially what you are doing is bracketing, right?
photogrl57 wrote:
Welcome to Day 54 :) Today we are going to have to... (show quote)
Feb 23, 2012 07:15:59 #

Thank you for the lil' triangle thing - that is helpful.
Can you bracket with a P&S? I have no idea? Maybe I'll just find a picture & you can tell me if the colors are ok & the WB looks good. lol. :D
Depends on work, if I can play or not, we'll see ;) giggle.
Can you bracket with a P&S? I have no idea? Maybe I'll just find a picture & you can tell me if the colors are ok & the WB looks good. lol. :D
Depends on work, if I can play or not, we'll see ;) giggle.
Feb 23, 2012 07:21:09 #
Skip T
Loc: Northwestern Pennsylvania
photogrl57 wrote:
Are we to post the before and after photos?Welcome to Day 54 :)
Feb 23, 2012 07:45:06 #
???
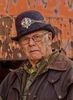
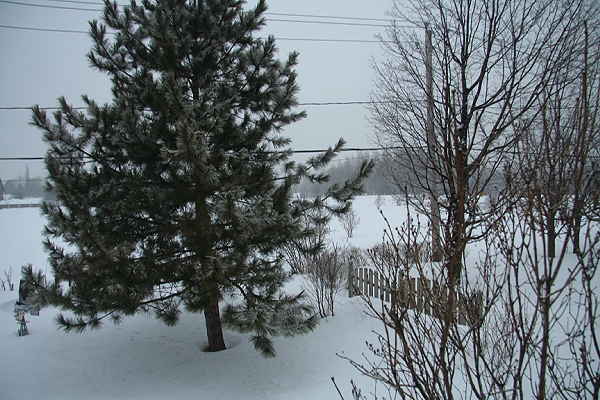
1/80, f.6.3, -1, ISO:200
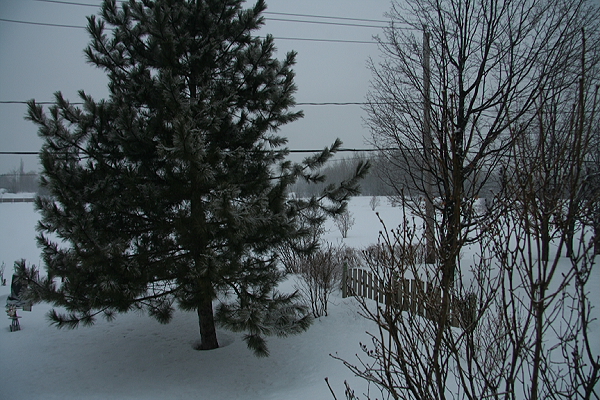
1/100, f.7.1, -1 2/3 ISO:200
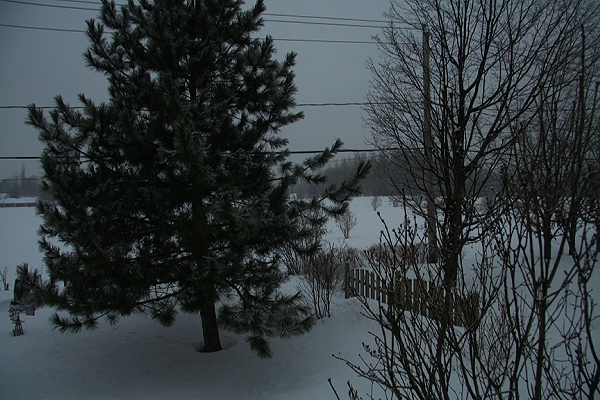
1/60, f. 5.6, 1 1/3, ISO 200
Feb 23, 2012 07:46:09 #

Skip T wrote:
photogrl57 wrote:
Are we to post the before and after photos?Welcome to Day 54 :)
Hi photogrl said it is ok to post just the final photo but tell what you did to compensate - it is in a PS right above the photos she posted.... my camera has a histogram but nothing on it blinks and I don't know how to read it - even after reading about histograms I don't understand it. :cry:
Feb 23, 2012 07:46:37 #
Feb 23, 2012 07:46:55 #
Feb 23, 2012 07:47:34 #
Feb 23, 2012 07:48:30 #

Frankie wrote:
Good Morning, to all my UHH friends.
Sherrie, this is Augustus' friend I was telling you about. He is quite handsome too. :D
Sherrie, this is Augustus' friend I was telling you about. He is quite handsome too. :D
I am really enjoying these rooster shots as well!
Feb 23, 2012 07:50:54 #
Yeah, she is sure putting us to the test...
That's all right, as we say around here (translated into English)
''I'll go to sleep tonight a bit less dumb''
That's all right, as we say around here (translated into English)
''I'll go to sleep tonight a bit less dumb''
Janice wrote:
LOL - I know what ya mean...
rivernan wrote:
dang girl...did ya have to?
LOL - I know what ya mean...
Feb 23, 2012 07:51:50 #
photogrl57 wrote:
Welcome to Day 54 :) Today we are going to have to... (show quote)
Great challenge and something that I have been studying, but I still find myself on 'auto.' No Grandbabies today, so I have a much needed break! But, I am really needing to dust, etc. Lol!
Feb 23, 2012 07:53:23 #
Roadrunner wrote:
Yeah, she is sure putting us to the test...
That's all right, as we say around here (translated into English)
''I'll go to sleep tonight a bit less dumb''
That's all right, as we say around here (translated into English)
''I'll go to sleep tonight a bit less dumb''
Janice wrote:
LOL - I know what ya mean...
rivernan wrote:
dang girl...did ya have to?
LOL - I know what ya mean...
Maybe I will too because i am hoping by days end I will understand my histogram a little :-)
If you want to reply, then register here. Registration is free and your account is created instantly, so you can post right away.