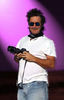
Portrait of a Friend
Aug 13, 2013 05:57:05 #

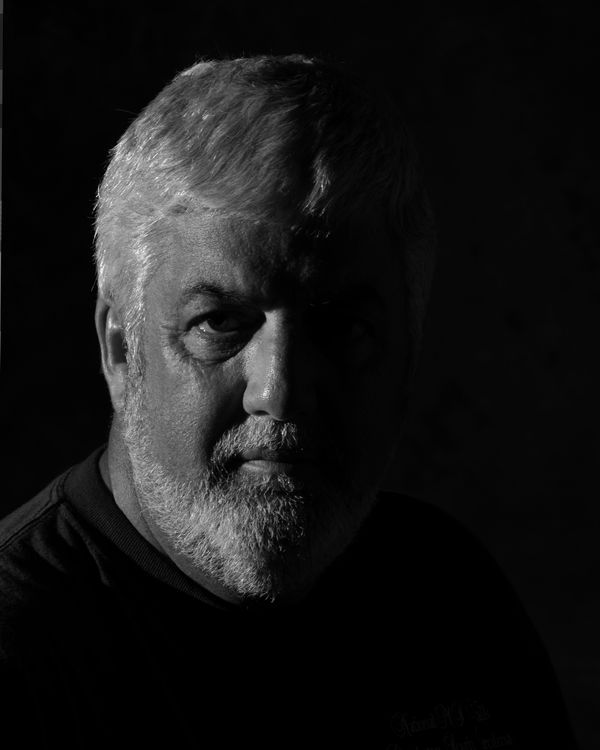
Working with lighting...This was shot with single lighting and a snoot for dramatic.
Aug 13, 2013 06:04:24 #
Aug 13, 2013 06:17:23 #

Aug 13, 2013 06:40:37 #

Aug 13, 2013 06:44:53 #
Aug 13, 2013 07:12:16 #
Very dramatic, and I like it, but agree a touch more light to the left side of his face wouldn't hurt. Nice work.
Aug 13, 2013 08:55:56 #

I like it as is. Very dramatic.
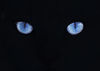
The only suggestion I have is to add catch lights in his eyes--both of them.
The only suggestion I have is to add catch lights in his eyes--both of them.
Aug 13, 2013 09:27:28 #
hlmichel wrote:
I like it as is. Very dramatic.
The only suggestion I have is to add catch lights in his eyes--both of them.
The only suggestion I have is to add catch lights in his eyes--both of them.
I agree. Adding some catch light to both eyes would make this photo a little better.
Aug 13, 2013 17:13:17 #

Your friend has a great, dramatic and interesting face for you to practice on. This is a nice shot. Thanks for sharing.
Aug 13, 2013 23:51:02 #
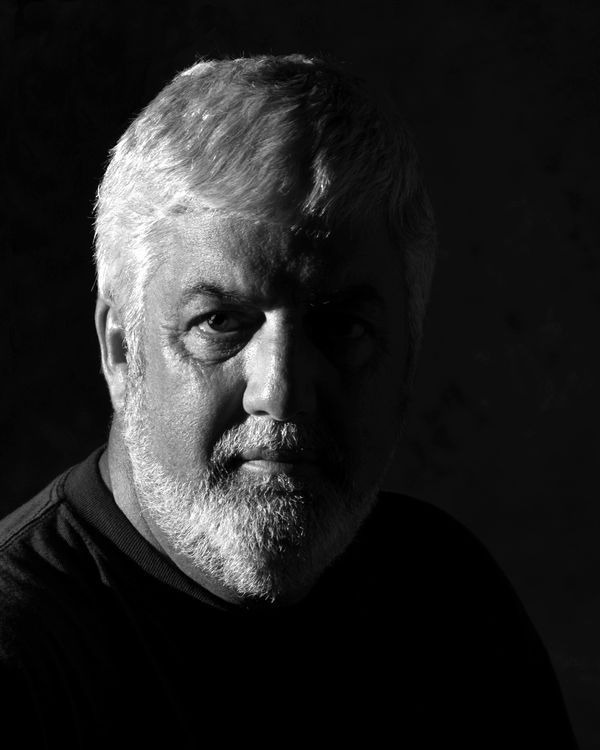
Thanks for the comments. I edited the lighting and I agree, much better. However I would appreciate advise on how to add catch light to the eyes. I have not learned how to do that in post production.

Aug 14, 2013 00:36:06 #

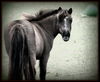
Hi, It's a nice photo but as mentioned by others, looks lifeless due to the lack of catch light in the eyes. The light in this shot is coming in hard from the left side, making a very dramatic effect. Think of the eyes as spheres. The catch light would just hit the side of his eyeball, as shown in my example. I've added light in the left side only because the actual light source wouldn't reach his other eye. As for technique, it begins with observing the way eyes are lit under various lighting conditions. With practice, you'll be able to paint in the right shape and amount of catch light. However, I always try to capture the right amount of light in the eyes when shooting to minimize time consuming touch-ups. Also, when adding details, I always work on a separate layer which allows me to vary the opacity of the edits. Good luck.
Aug 14, 2013 02:01:59 #

Great photo, but needs a little more light on the right side to get the eyes.
Aug 14, 2013 07:42:34 #
I think it's a good picture but to really work perhaps crop it it in extremely tight so there is no unnecessary black (just my view). It's got the potential to be quite a striking image and it's great that you've had the insight to try something so bold.
Aug 14, 2013 08:11:40 #
spectraflash wrote:
Hi, It's a nice photo but as mentioned by others, ... (show quote)
You have given me a lesson, too. I appreciate the quality of your comments as you have taught some of us how to
"see" and what to fix. I do love the original photo, but you are right, it is more like a carving. The subject is a handsome man and you are helping the original poster make this a more wonderful photograph.
OK, YOU are now on my buddy list! :mrgreen: :-D :mrgreen:
Oh, spectraflash, you are new here. Welcome. I will be watching for more of your contributions. Good way to jump in and become an asset for us all.
Aug 14, 2013 08:43:50 #
Actually, I like the first one. You got exactly what you where looking for. Something to try next time might be to place a reflector at the 2 o'clock position (with camera at 6 and model in center of clock) to give a little rim separation between model and BG but leave the face the way you have it in shadow. Nice shot...well done. Want to see more. ;-)
If you want to reply, then register here. Registration is free and your account is created instantly, so you can post right away.