Check out Photo Critique Section section of our forum.
Old Photo Restoration/Repair
Apr 23, 2023 14:26:43 #
dcearls
Loc: Long Island, NY
If this is not the appropriate forum please let me know, I didn't see one that looked appropriate.
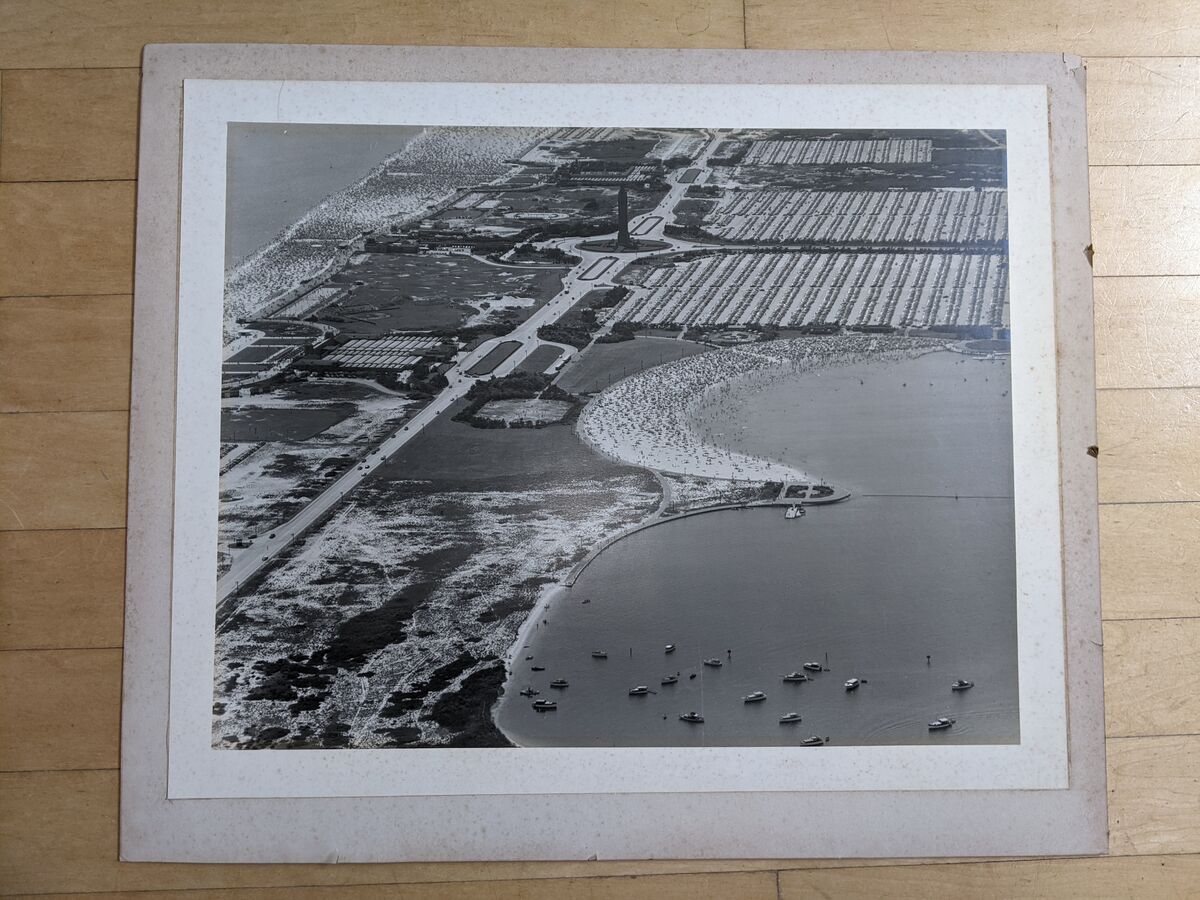
I picked up an old black and white photo, don't think it's particularly valuable but I like it. It came in a frame and appeared to have been professionally mounted/framed. Simple frame, matted and the photo appears to be mounted to a thin fiber board backing of some kind. Brown paper enclosing the rear of the frame.
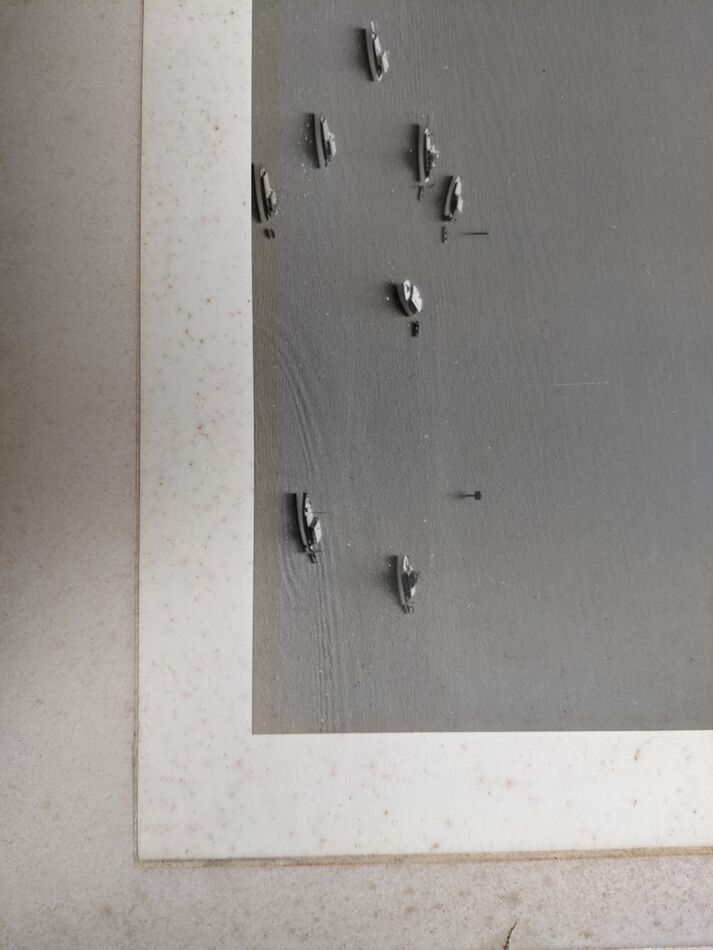
All the matting and fiber board is mottled with mold? fungus? not really sure what and it is also on the white border of the photo.
If anyone has any experience with handling old photos such as this I would appreciate any advice as far as removing it from the backing, what the mottling is and how I might clean/prevent it or if any of that is advisable at all.
Attached are a few photos to illustrate the condition
Thanks in advance for any assistance
I picked up an old black and white photo, don't think it's particularly valuable but I like it. It came in a frame and appeared to have been professionally mounted/framed. Simple frame, matted and the photo appears to be mounted to a thin fiber board backing of some kind. Brown paper enclosing the rear of the frame.
All the matting and fiber board is mottled with mold? fungus? not really sure what and it is also on the white border of the photo.
If anyone has any experience with handling old photos such as this I would appreciate any advice as far as removing it from the backing, what the mottling is and how I might clean/prevent it or if any of that is advisable at all.
Attached are a few photos to illustrate the condition
Thanks in advance for any assistance
Apr 23, 2023 15:02:35 #
I would attempt to take an accurate sharp photo of the picture before I did anything else. This will give basically give you another print of the picture.
Apr 23, 2023 15:21:41 #
therwol
Loc: USA
letmedance wrote:
I would attempt to take an accurate sharp photo of the picture before I did anything else. This will give basically give you another print of the picture.
I agree with that. Line the photos up a bit straighter and use the best camera, hopefully with a macro lens, that you have. Pay attention to even lighting. I would almost go as far as saying you should do the image restoration on the images you take and not even attempt to clean up the old photos. There would be some risk of damage.
One other idea. Use a high quality flatbed scanner to scan the photos if you can get them to lie flat without damaging them.
Check out Astronomical Photography Forum section of our forum.
Apr 23, 2023 18:21:06 #
13
Loc: I am only responsible to what I say..not what
dcearls wrote:
If this is not the appropriate forum please let me... (show quote)
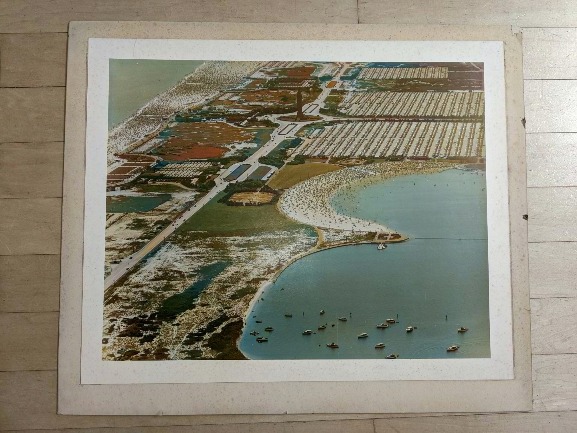
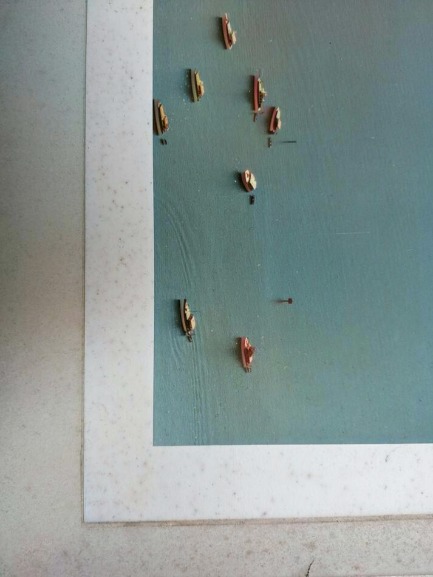
The condition looks OK but, I tool the liberty to colorized it. Hope you don't mind. lol
Apr 23, 2023 19:35:11 #
dcearls
Loc: Long Island, NY
13 wrote:
The condition looks OK but, I tool the liberty to colorized it. Hope you don't mind. lol
The condition is good, just foxing(?) which I believe is a fungus. Was all over the mat also. When you search the web you mainly get results for restoration companies.
I figured someone on here might have some experience
Apr 23, 2023 19:36:52 #

Apr 23, 2023 19:46:44 #
Check out AI Artistry and Creation section of our forum.
Apr 24, 2023 07:28:01 #
dcearls wrote:
. . .All the matting and fiber board is mottled with mold? fungus? not really sure what and it is also on the white border of the photo.
If anyone has any experience with handling old photos such as this I would appreciate any advice as far as removing it from the backing, what the mottling is and how I might clean/prevent it or if any of that is advisable at all. . .
For most people it isn’t advisable. They will make a copy of this and make new prints from that copy.
For a few people who are willing to do a lot of work, and who have some obsolete photo/darkroom equipment, it is possible.
In many cases, trying to treat the affected areas will mean using liquids, and that means that the photo will eventually need to be dried. And there is your problem. If the original print was made on a glossy, fiber-based paper, and you want it to remain glossy, it needs to dry with the surface in contact with a ‘ferrotyping’ surface, usually a polished, mirror-like metal surface. It is hard to find, as the newer, resin-based photo ‘papers’ made ferrotyping obsolete in the mid 1970s, and not much equipment has been made since 1990.
Without a ferrotype tin or a dryer with a similar surface you can dry the print to a matte or lustre finish, but not glossy.
The brown paper was just to keep out dust. The mounting board may be destroyed, but no loss there, during restoration.
I suspect mold grew under the mat, where it was in contact with the print’s border and the mounting/ backing board.
The steps involved would be removing the print from the backing, and removing any residual glue or adhesive.
Chemically treating the print to kill any mold, to stabilize it for future years, and possibly bleaching away the mold stain.
Then the print would be washed to remove any traces of these chemicals and dried.
Finally the print would be remounted in a similar fashion (mount board, mat, frame, dust cover) using modern archival materials (sulfur free, acid free).
Two time consuming areas would be separating the print from its mounting and bleaching the mold areas. The cardboard backing will deteriorate in warm water, with some physical action. The print is much tougher and should stay intact. The print was probably bonded to the backing with a liquid glue or a heat activated ‘dry mount’ adhesive. Once the bulk of the cardboard is removed you can try removing the glue with heat or solvent. This may be tedious work, as you want to avoid having any solvents soak into the paper fibers and stain them with dissolved glue.
The most common bleach for removing mold discoloration on many items is household laundry bleach. Unfortunately you don’t want that anywhere near photos. It destroys the emulsion and the image.
Borax (sodium metaborate) has antifungal properties, which will stop future mold growth, and it had a long history of compatible use with photos. It is used to maintain the alkalinity in many photographic developers. After treatment it will wash out easily. But that might not remove the discolorstion. Personally, I would try oxalic acid ( a wood bleach) or sodium thiosulfate (hypo, or a photographic fixing agent) as my next options—testing them on areas of the border.
Another possibility would be to cover the image area with an opaque cardboard and use high intensity UV light to (possibly) bleach the white areas of the borders. This would also destroy any mold spores there, and since it is a dry process you could leave the print mounted. (I haven’t tried this)
So, there is a possible process. But how much effort do you want to put into this? Paying someone to do it for you could easily cost hundreds of dollars for their time, while a clean, high quality copy would be a small fraction of the time and cost of preservation and actual restoration of the original.
Apr 24, 2023 07:46:53 #

Without using a magnifying glass, one cant really be certain it is or isnt mold, although it doews appear to be. One thing you may want to think about if this photo is of value to you, is having it remounted, i.e. taken off the backing & placed on new backing. There is a small company I have used for years that specializes in this work, in addition, they will clean the image & remove any/all mold. http://www.postermountain.com/contact.html For years I collected old racing posters which were "stored" in closets, attics, garages. I've had to send a few to Poster Mountain (ball park price quote B4 shipping). Once they physically see the image, they will call & give an exact price. Typically a quick turn around.
Apr 24, 2023 08:36:11 #
letmedance wrote:
I would attempt to take an accurate sharp photo of the picture before I did anything else. This will give basically give you another print of the picture.
Definitely!
Apr 24, 2023 12:28:04 #

Dcearls, from my colleagues where I teach, I've been asked many times to "repair" a print. I'll be glad to work on your two prints. In two weeks, I'll have some spare time.
Bill
Bill
Apr 24, 2023 12:31:24 #
cahale
Loc: San Angelo, TX
letmedance wrote:
I would attempt to take an accurate sharp photo of the picture before I did anything else. This will give basically give you another print of the picture.
I agree. And don't use a Pixel 3A to do the taking. Mount the picture securely on a wall out of direct sunlight or glare, us a (good) camera on a tripod, and take several shots at different apertures. Wider aperture is best, but not knowing which camera you will use, wide open may not be best. Make sure you center the camera lens and picture so you have no vertical or horizontal distortion. Get as close as possible to the picture without losing any of the picture itself. Then use a good editor to clean, sharpen, crop any remaining backing, and de-blemish the picture. Print the results, and you have the same picture, but in much better quality. Mold gone, bad backing gone, blemishes gone, everything lovely. Mount as you desire. Good luck.
Apr 24, 2023 13:57:22 #
fetzler
Loc: North West PA
cahale wrote:
I agree. And don't use a Pixel 3A to do the takin... (show quote)
I would take the above with a huge grain of salt.
1. You could use a professional restoration company to clean up the original photograph. The George Eastman House in Rochester, NY is a good place for information. Store what you have under archival conditions.
2. Most folks would be satisfied with a quality copy. Indeed, it is possible to make copies of the photo that are better than the original.
To make a good copy you will need to support the photo in a manner that holds the photo perfectly flat. Drafting tape can be used to hold down the photo. You could consider push pins but they will leave small holes. A glass cover can also be used.
The photo can be mounted vertically or horizontally. If horizontal, use a copy stand. If the photo is small enough horizontal is the easiest. For vertical mounting tape to a wall or use an easel that allows for perfectly vertical mounting. Use a level. Wall mounting is probably best for large works.
If your photo is small enough consider using a photo scanner. A photo rarely has more than 600 dpi of information.
The scanner provide for flat horizontal mounting.
In order to make a copy using a camera you will need to provide even lighting. Two lights placed at a 45 degrees from the wall should do this. Check with a light meter for even lighting. 45 degree mounting minimizes glare.The camera mounted to a tripod or copy stand needs at the same position as the center of the photo. The camera film plane must be parallel to the wall or copy stand surface. Obviously, fill the frame as much a possible with the photo. You want as many pixels as possible on the image.
Use a macro lens to make the copy. Macro lenses are designed to have a flat field of focus and have no pincushion
or barrel distortion. The focal length to use depends on the height of the copy stand, the size of the room if wall mounted but is not so important FF lenses of 80-120mm will likely work nicely on a FF camera.
Use a modest aperture, not so small as diffraction is important but stopped down a bit for edge sharpness. f8 is not a bad place for many lenses.
You are photographing a B&W photo but make the photo in color. In post processing, you can use the color channels to minimize any stains. Photos that have faded to yellow can be brought back to life by using only the blue channel or the blue channel mixed with the green channel. Other stains benefit from use of the red channel.
Experiment. In post processing, you can also remove and dust sports or other small blemishes.
I have made many copies of 80-150 year old photos. Many copies are better than the original.
Apr 24, 2023 15:57:32 #
dcearls
Loc: Long Island, NY
[quote=MrPhotog]For most people it isn’t advisable. They will make a copy of this and make new prints from that copy.
Thank you, a lot to digest, but i appreciate the info
Thank you, a lot to digest, but i appreciate the info
Apr 24, 2023 15:58:58 #
dcearls
Loc: Long Island, NY
[quote=fetzler]I would take the above with a huge grain of salt.
Thanks for the alternative methods
Thanks for the alternative methods
If you want to reply, then register here. Registration is free and your account is created instantly, so you can post right away.
Check out Underwater Photography Forum section of our forum.