Portrait Photography Practice Round 2
Oct 28, 2012 18:23:26 #

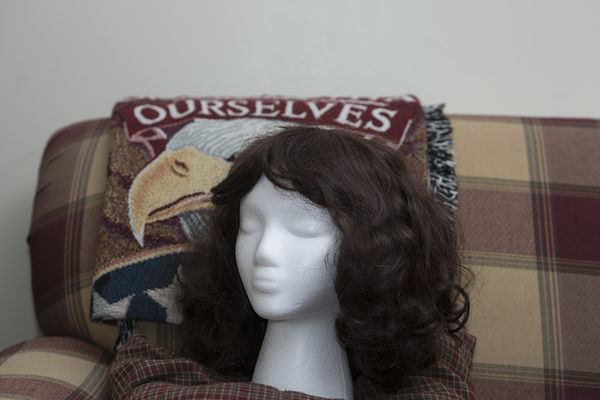
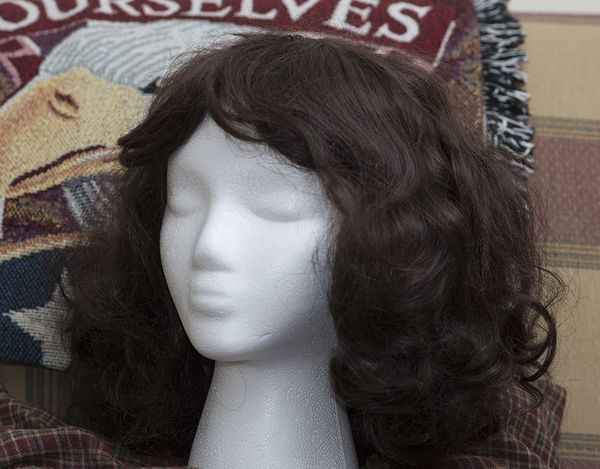
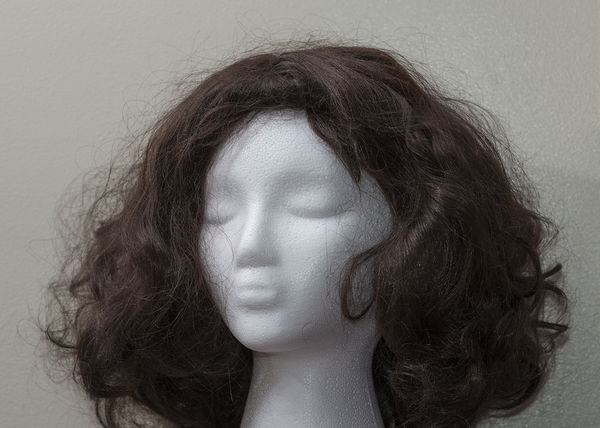
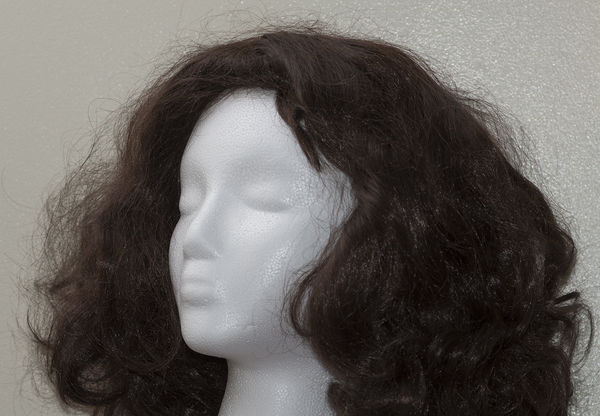
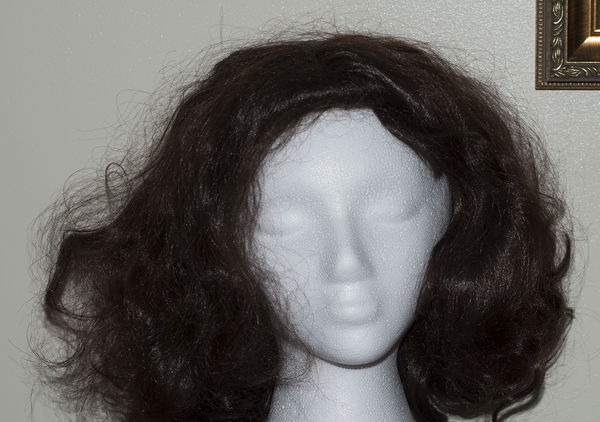
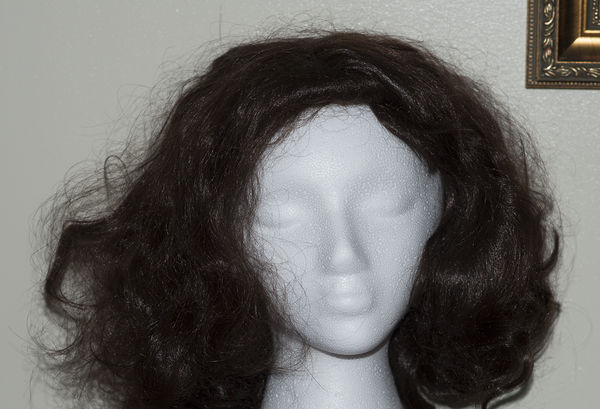
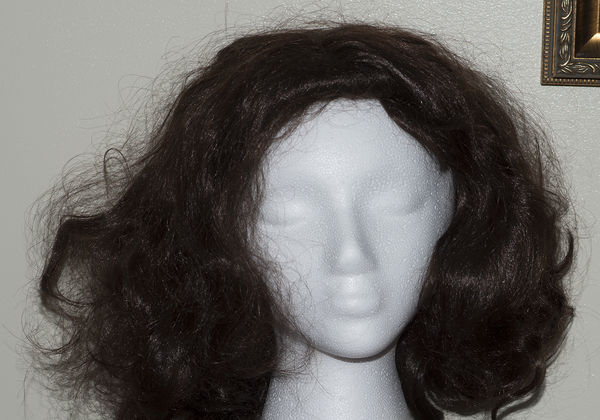
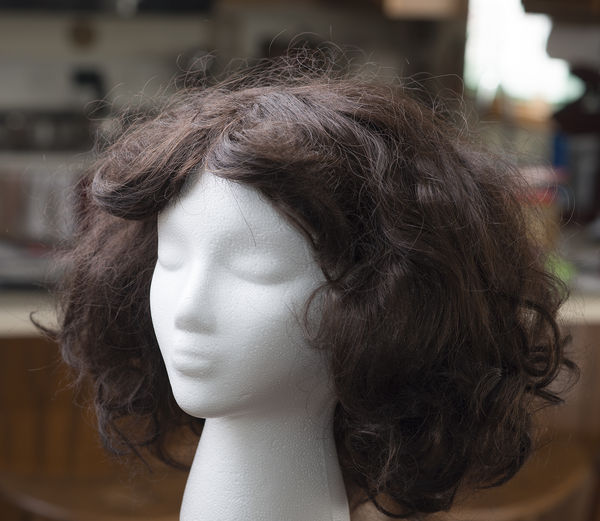
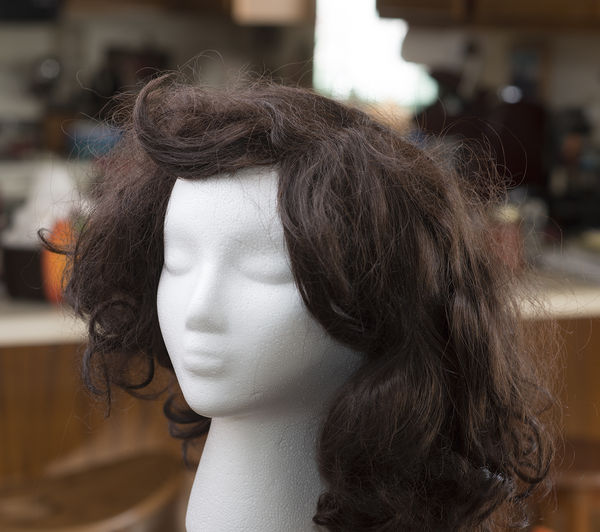
This time I am using a styrofoam female head with a Halloween medium-dark brown Wig for my 'Portrait Subject.' This is a much more cooperative subject!
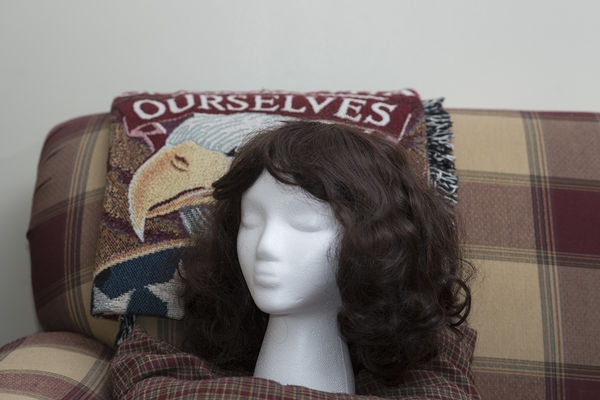
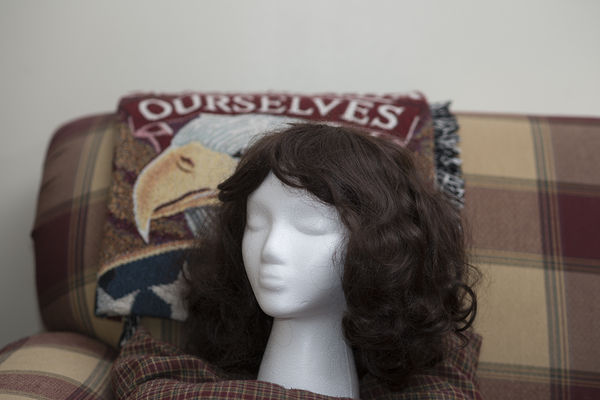
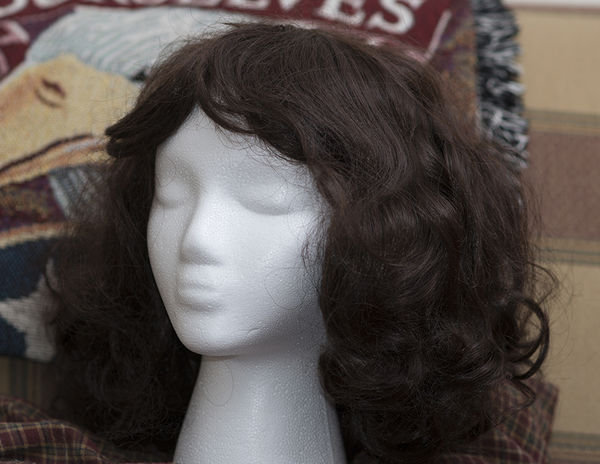
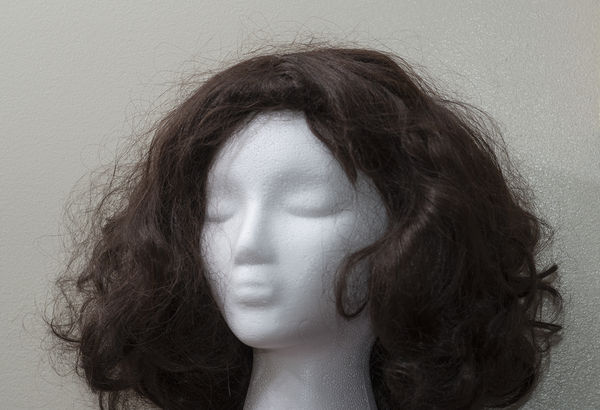
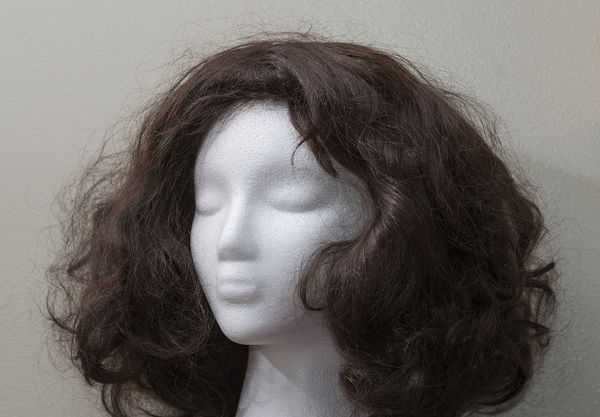
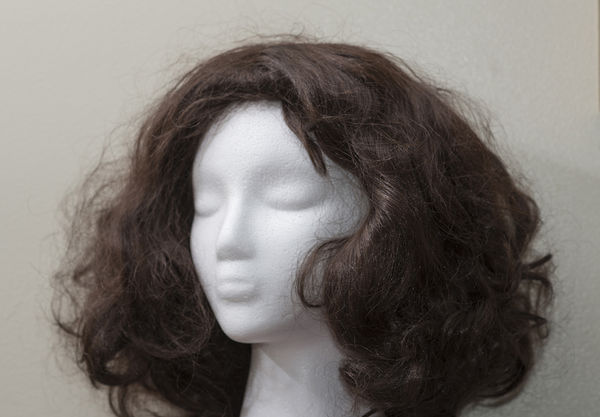
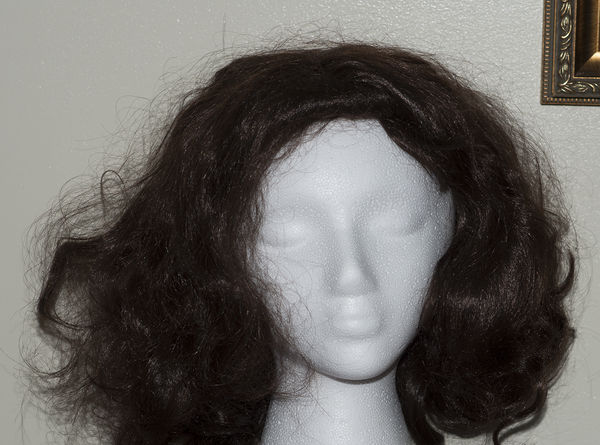
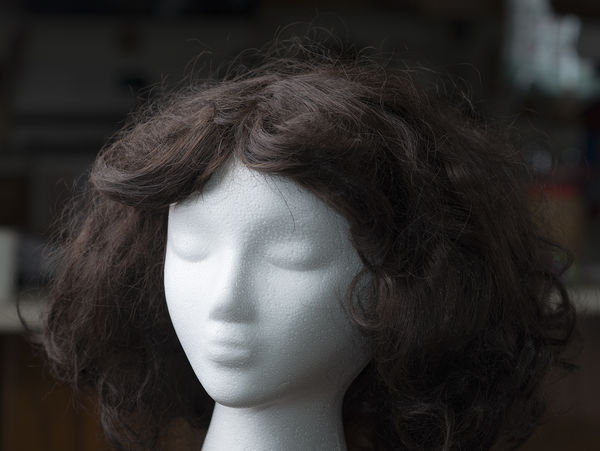
All 3 pictures were originally taken in RAW using a Nikon D800, Nikkor 85mm 1.8D lens, ISO 200, Pop-Up Flash as the Commander (Master) set to TTL with Comp. = -1.0, and a Nikon SB-800 Flash as a Remote set to TTL with Comp. = 0.0, bouncing off the ceiling with the wide-angle flash adapter over the flash (to soften the light) and mounted on my tripod to the right and slightly in front of the head. Pictures are all Hand-Held due to no other tripod available.
Picture #1 ----- f/4.0, 1/80sec
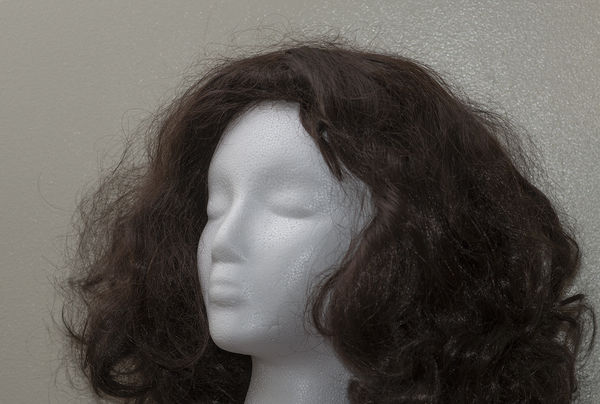
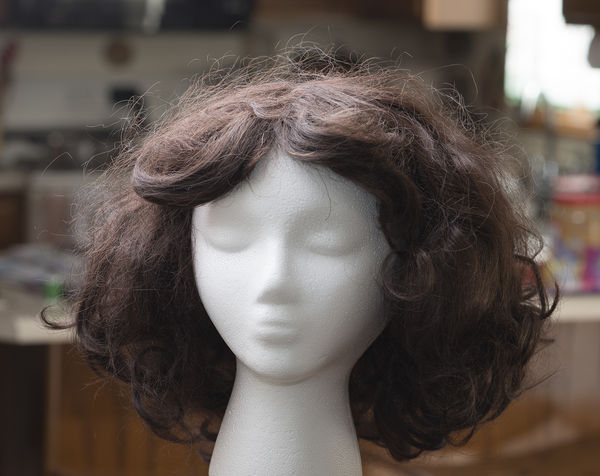
Picture #2 ----- f/4.5, 1/60sec,
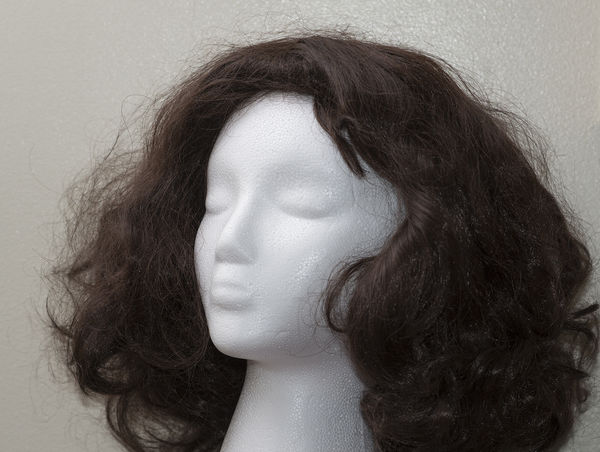
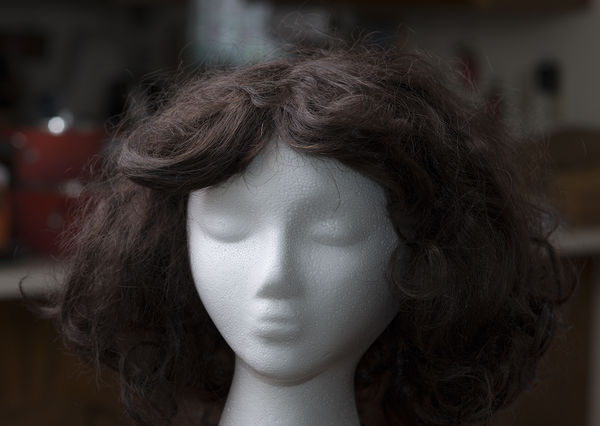
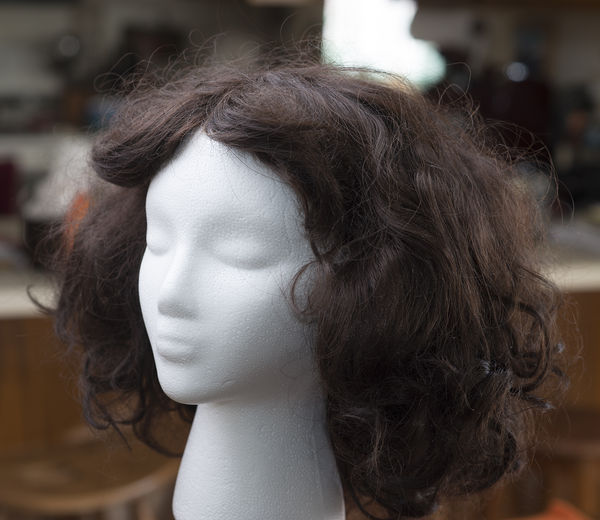
Picture #3 ----- f/3.2, 1/60sec, Remote Comp. = +1.0
Once again everyone, have at it with your suggestions for improvements, criticisms, and anything else you may want to say about the shots. Thanks very much.
Tom ;-) :thumbup:
All 3 pictures were originally taken in RAW using a Nikon D800, Nikkor 85mm 1.8D lens, ISO 200, Pop-Up Flash as the Commander (Master) set to TTL with Comp. = -1.0, and a Nikon SB-800 Flash as a Remote set to TTL with Comp. = 0.0, bouncing off the ceiling with the wide-angle flash adapter over the flash (to soften the light) and mounted on my tripod to the right and slightly in front of the head. Pictures are all Hand-Held due to no other tripod available.
Picture #1 ----- f/4.0, 1/80sec
Picture #2 ----- f/4.5, 1/60sec,
Picture #3 ----- f/3.2, 1/60sec, Remote Comp. = +1.0
Once again everyone, have at it with your suggestions for improvements, criticisms, and anything else you may want to say about the shots. Thanks very much.
Tom ;-) :thumbup:
Picture #1
Picture #2
Picture#3
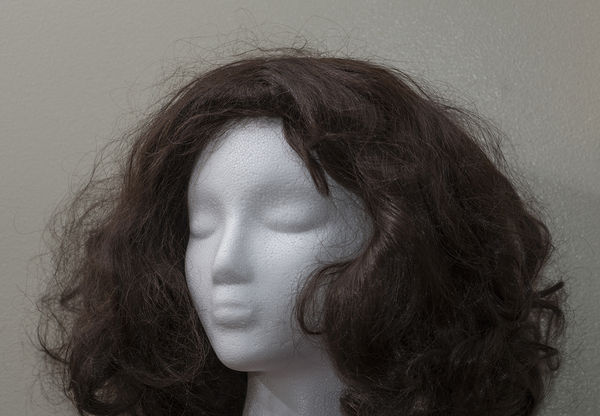
Picture #1 Cropped
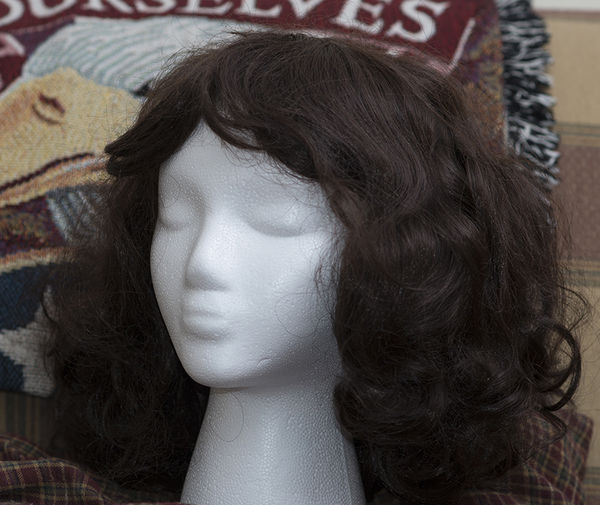
Picture #2 Cropped
Picture #3 Cropped
Oct 28, 2012 21:37:48 #
By the way, I did not do any PP except when I cropped the images in the last 3 'cropped' images I posted to this Topic. That way UHH people can see how the actual images turned out as a result of clicking the shutter release button on the Nikon D800.
Tom
Tom
Oct 29, 2012 08:10:05 #
I think that if you zoom or move in closer to your subject then you will have less or no crop in PP. Basically you get rid of the clutter around your subject.
Quicktee
Quicktee
Oct 29, 2012 09:03:21 #
Quicktee - Good point if I was using a telephoto lens, but the 85mm lens is a prime lens and has a minimum focus distance, therefore, I can only get so close and automatically get surrounding items in my image.
Also, I obviously don't have the best 'set-up' area in my house and have to make due with my shooting environment. Thanks.
Also, I obviously don't have the best 'set-up' area in my house and have to make due with my shooting environment. Thanks.
Oct 29, 2012 10:02:54 #
Oct 29, 2012 20:37:26 #
6 more Portrait Practice pictures taken in RAW using a Nikon D800, Nikkor 85mm 1.8D lens, ISO 200, Pop-Up Flash as the Commander (Master) set to TTL with Comp. = -2.0, and a Nikon SB-800 Flash as a Remote set to TTL with Comp. = 0.0, bouncing off the ceiling with the wide-angle flash adapter over the flash (to soften the light) and the bounce card extended and mounted on my tripod to the left and very slightly in front of the head. Pictures are all Hand-Held due to no other tripod available.
Picture #7 ----- f/5.6, 1/125sec
Picture #8 ----- f/5.6, 1/125sec,
Picture #9 ----- f/5.6, 1/125sec
Picture #10 ----- f/5.6, 1/250sec
Picture #11 ----- f/5.6, 1/250sec
Picture #12 ----- f/5.6, 1/250sec
All the PP I did on these was crop them a little in Photoshop Extended CS6 and reduce the image size; I increased the detail and sharpening just a bit, and lightened some shadows just a tad or so using LR 4. All PP was used on a MacBook Pro.
Once again everyone, have at it with your suggestions for improvements, criticisms, and anything else you may want to say about the shots. Thanks very much.
Tom
Picture #7

Picture #8
Picture #9
Picture #10
Picture #11
Picture #12
Oct 30, 2012 09:42:34 #
I would suggest now, that if you are into portrait photography, get used to portrait orientation. ie, turn your camera 90 degrees. You will rarely use landscape orientation.
Also, the camera level should be level with the eyes, or just a tad above. You will get a more flattering effect.
I'm more interested in your lighting than your settings, without eyes (for catch lights) it is hard to read exactly where your lights are.
Also, the camera level should be level with the eyes, or just a tad above. You will get a more flattering effect.
I'm more interested in your lighting than your settings, without eyes (for catch lights) it is hard to read exactly where your lights are.
Oct 30, 2012 17:56:22 #
bkyser - I finally am able to reply to your reply. Thanks for the information/tips. I will keep everything you said in mind and hopefully remember when I take more pictures. In fact, I am posting 2 or 3 in this posting, and I did try to keep my camera level with the subjects eyes (probably just a tad below I think) in these 3 shots - but next time I will remember for sure! I will also shoot in portrait orientation as well, next time. I am used to shooting actual landscape shots a lot, so I just naturally hold the camera in landscape orientation.
As far as the catch lights are concerned, it's difficult to get a catch light with the bright white styrofoam model I'm using, unless you hopefully have some suggestions, perhaps?
Everyone:
I used a D800, Nikkor 85mm 1.8D lens, 200 ISO, f/5.6, 1/250s, hand held, manual mode, TTL for Pop-Up - Commander and SB-800 - Remote, and I went out, bought, and used a 43" umbrella on a 7 foot stand for these 3 shots. All original pictures were shot in RAW format. I used LR 4.2 for PP - cropped, lightened the shadows, and increased the clarity just a tad and exposure a little. The Umbrella was well above the subject and pointed down at an angle.
Picture #13 - Remote Comp. = 0.0 The Umbrella stand was to the left slightly in front of subject, EV=0.0
Pop-Up Comp. = +0.3
Picture #14 - Remote Comp. = -0.7 The Umbrella stand was to the left slightly in front of subject, EV=0.0
Pop-Up Comp. = -1.0
Picture #15 - Remote Comp. = +0.3 The Umbrella stand was to the left slightly in front of subject, EV=0.0
Pop-Up Comp. = -0.3 (I was a little closer to subject when shot)
Give me your suggestions and opinions, once again. Thank you.
Tom
Picture #13
Picture #14
Picture #15
Oct 31, 2012 13:29:35 #
trc wrote:
bkyser - I finally am able to reply to your reply.... (show quote)
It is true that catchlights are one of the most important - and obvious - indicators of light placement, we can also look at shadows. In these examples, the lighting does not vary in any significant manner among the the three examples.
Here is what I would like to see:
- point the model's nose at the camera - not off to the side.
- Do NOT point the umbrella at the model, but point it out in front - roughly perpendicular to the camera-model axis.
- shoot in a room large enough to mitigate reflection from white walls - your lighting in these is very flat and I am guessing it is because light is bouncing all over the room giving you excess fill.
By placing the model nose AT the camera, we can see where the nose shadow falls as well as how and where shadows cause by the hair fall.
I have attached a simplified graphic of how to place the umbrella/model
Oct 31, 2012 15:09:03 #
No PP other than cropped in LR 4.2
Picture #16 & #17 - f/5.6, 1/60s, ISO 200
I used the exact set-up you sent a picture of except I had to move the umbrella to the right side as looking at the model, due to furniture in the room. The head is turned just a very, very little to the right as looking at it from the camera with the nose pointed right at the camera. The umbrella is at approximately a 45 degree angle pointing down and is a little higher than the model head and 6 feet away at a 90 degree angle to the head/camera.
Picture #16
Picture #17

Oct 31, 2012 15:25:13 #
trc wrote:
No PP other than cropped in LR 4.2 br br Picture ... (show quote)
If a real person were there, this might be OK except for being flatter than ideal. I think you are getting too much ambient - either that or too much "room bounce fill." It is the bane of most home studios - too much light bouncing around and off white walls. Makes it impossible to get good lighting ratios. The easy solution is to paint the room black!
For one light, the side away from the light should be darker and it appears both sides of the face are pretty close to the same.
One of the things I do is set my shutter to the fastest speed I can - which for Nikon is 1/250. Then set my aperture to at least f5.6 - maybe f8. In most rooms, this effectively kills ALL the ambient. I take an image with the flash turned off to be sure that gets me a black frame. That way I know all the exposure comes from the flash/strobe.
These are showing no shadows at all and we NEED shadows. And 6 feet away is on the far side for a single-person head and shoulder image. I would have it so close that it just barely out of the frame.
Oct 31, 2012 16:05:12 #
No PP other than cropped in LR 4.2
Picture #18 & #20 - f/5.6, 1/250s, ISO 200
Pictures #19 & #21 - f/8.0, 1/250s, ISO 200
I moved the umbrella within about 1.5-2 feet. It is 90 degrees to the head and camera plane, but is out in front of the head by about 1 feet. The room is fairly dark - no lights and curtains drawn shut, but it's not dark per se.
I have to leave so I probably won't be able to take any more pictures until tomorrow, in case you send other adjustments. Thanks very much.
Tom
Picture #18
Picture #19
Picture #20
Picture #21

Nov 1, 2012 10:55:28 #
OK - Here we go again! This time I changed locations (rooms) and the set-up so the umbrella is closer and to the left side and slightly behind and above the model. There is a little ambient light from a large door window to the right of the model about 5 feet away. Photos were taken with a Nikon D800, Nikon SB-800 OCF, Nikkor 85mm 1.8D lens, f/5.6, 1/60s, ISO 200. No PP except for cropping in LR 4.2 and image reducing in Photoshop Extended CS6 for UHH uploading.
Picture #22 & #23 - Remote Comp. +0.7, Pop-Up Comp. -1.7, EV =0.0
Persistence, thought, lots of trial and error, the desire to learn and improve, and a lot of patience are my driving forces in photography as well as everything else I have learned to accomplish. I might add that I really enjoy photography and like to see the end product when I'm finished - it is self rewarding and gives me great pleasure. I also had an abundance of help from professional photographers who donated their time and effort out of their busy schedules. They have been especially beneficial to me on this UHH site, so thank you very much. I just remembered I forgot one thing to do, but next time I will invoke that tidbit of knowledge as well.
So, everyone, have at it again. Your comments and help are much appreciated.
Tom
Picture #22
Picture #23
Nov 1, 2012 12:06:20 #
trc wrote:
b OK - Here we go again! /b This time I changed ... (show quote)
FINALLY! :-)
You are in a room that is dark enough or at least is big enough to stop all the unwanted fill that comes from bouncing off walls.
NOW we can see lighting ratios and patterns. These look pretty good - In both cases #22 & #23 - you have a nice triangle of light on the shadow side of the face just under the eye. This is often called Rembrandt lighting as it mimics the lighting for which he is known.
In #22, you also have "her" short-lit. The ear toward the camera is in shadow and this is a very flattering light on most people as it tends to give the appearance of a thinner face.
Our girl here looks to have a nose that is shorter and more turned up than real people, but from what I can see, the nose shadow appears to fall away and down toward the corner forming what is known as "loop lighting."
Nov 1, 2012 15:10:06 #
OK - This time there is much more natural light in the room since it is about 4 1/2 - 5 hours later and the sun is shining strongly through the windows. The immediate ambient light shining onto the head from her left and rear is purposely stronger in pictures #26-28 to see what effect resulted. I raised the blinds letting more light into the room right there. I also positioned the head differently in some shots by either making it more direct to me or by rotating it so 'she' is looking more to her right to see what changed in shadows and general lighting.
Photos were taken once again with a Nikon D800, Nikon SB-800 OCF, Nikkor 85mm 1.8D lens, f/5.6, 1/60s, ISO 200. No PP except for cropping in LR 4.2 and image reducing in Photoshop Extended CS6 for UHH uploading.
Pictures #24 & #28 - Remote Comp. +0.7, Pop-Up Comp. -1.7, EV =0.0
Perseverance has seemed to pay off a little for me, possibly? Now I need to know if these shots are as good or how they are different, being better or worse and why, perhaps? I personally prefer when 'she' is looking to her right (Rembrandt Lighting) much more than when she is looking straight into the camera. I do like the thinning effect in 'her' face.
Is the loop lighting something that is preferred? What difference would it make if her nose was shaped more light a real person, I'm wondering. Is there a pose or type of lighting that is preferred for portraiture photography? Now that I have merely scratched the surface in portraiture, I need to learn more types of lighting and the effects that they bring about as well as when to use them and to avoid them.
Thanks to all who offer their comments, criticisms, and suggestions.
Tom
Picture #24
Picture #25
Picture #26
Picture #27
Picture #28
If you want to reply, then register here. Registration is free and your account is created instantly, so you can post right away.