CS4 Backgroungd Help Needed
Dec 26, 2012 16:41:52 #

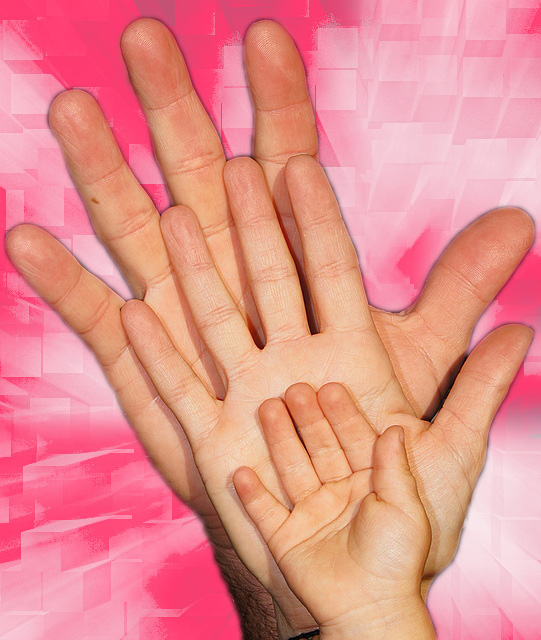
How do I eliminate the background in the picture below using Photoshop 4? I'd like to replace it with a different background, too. Any help with that? Thanks in advance for your suggestions.

Dec 26, 2012 17:47:16 #

Not sure with photoshop 4, but am guessing this procedure is quite the same.
Make a duplicate layer. Use your "Quick selection tool" to pick out the hands...use +/- to get all the edges you need. Click on "select" and then "inverse" which will switch the selection to the background area. Click on "Edit" and "cut" Now open up the background you wish to use. Go down to the "project bin" and click once to highlight the hands and slide it into the background picture. From there you can play with it...change positions, make it bigger, smaller, tilt it etc.
Hope this helps!
tschmath wrote:
How do I eliminate the background in the picture below using Photoshop 4? I'd like to replace it with a different background, too. Any help with that? Thanks in advance for your suggestions.
Dec 26, 2012 17:49:30 #

Use the selection tools to select the hands. Under the selection menu choose Select Inverse. Then under the edit menu choose Clear. Paste the new background on a new layer and make sure it is under the Hands layer. You will have to play with the refine edge when you first make the selection of the hands. To get them to feather so it will look natural.
Dec 26, 2012 22:04:27 #

So, is this what you are trying to do?
Steps:
1. Create a copy of your photo, so as not to damage the original. I use "Cont +J"
2. Working on the copy layer, make your selection of the hands, by using the Quick selection tool, the magic wand, or the pen tool. The Quick selection tool is the fastest and easiest, the pen tool can be precise but is rather tedious, and the Magic wand is so-so if what you want to select has a high contrast from the background.
3. I put a feather of 2 on my selection at this point. You need to have a little feather to make it look realistic.
4. Use "Cont +J" to move the selection of the hands without the background to a new layer, then turn off the layer with the background.
5. Open up your new Background photo/layer.
(I prefer to drag my background layer to my (hand layer in this case) . I use to drag my hand layer to the background, but I found myself saving my work at the end the wrong way, and ended up with a background with hands in it. In other words my background photo was ruined for any other use.
6. Tile the 2 photos so you can see them both on the screen, and make the background one the active one so that you can see it's layer panel.
7. Drag the background layer (from the layer panel) over on top of the hands photo and let go.
8. Close the background photo, you no longer need it.
9. You should now have one photo open with the background covering the hands. Drag the background layer below the hand layer, and there you have done it. You may have to resize the background layer to fit the hand layer.
A lot of words but it is not as hard as it sounds. Practice and you will do fine.
Hands with new BG
Dec 27, 2012 04:52:03 #
CajonPhotog wrote:
So, is this what you are trying to do? br Steps: b... (show quote)
Cajon, that's a great detailed explanation of the steps. Hope the OP appreciated it as much as I did. Just one point for you to consider, in your step five you mention ending up with a picture that can't be used for anything else once you "drag" it into the other shot. If I understand you correctly you can prevent that by holding down the "Alt" key when dragging. Doing this drags a copy not the original.If I have misunderstood what you meant just ignore me (most people do Ha! Ha! Ha!)
Dec 27, 2012 11:02:50 #
Thanks Infocus for the kind words. What I was referring to was my own stupidity & forgetfulness. I have my photos already in the folder I want to save them in & my backgrounds are in their own folder. When I get done with my editing I flatten it and just save it where it is. If I drag the photo onto the BG, then I am still working IN the BG photo. Then when I am done editing and I flatten and save, I have just saved my BG photo with a hand on it. In the excitment of the moment of having done a good job, I FORGOT what file I was working on. I believe there is a way to open up a copy of a BG image, I may look into that. Thanks again for commenting on the OP as well as me.
If you want to reply, then register here. Registration is free and your account is created instantly, so you can post right away.