I just threw it all away.
May 29, 2023 11:20:55 #
I gave up processing a recent NEF file and trashed it. Then I thought if UHH had a please fix this photo topic it could be posted and learn what the pros do or did to make it presentable? Thing is they're big 80+mb files. How would they be delivered?
May 29, 2023 11:32:11 #

Markag wrote:
I gave up processing a recent NEF file and trashed it. Then I thought if UHH had a please fix this photo topic it could be posted and learn what the pros do or did to make it presentable? Thing is they're big 80+mb files. How would they be delivered?
Put the file in a DropBox and post a link here...
May 29, 2023 11:42:07 #

Alternatively, if a drop in resolution doesn't worry you (for the sake of basic editing it shouldn't) and if your exporter has a "Limit longest edge to..." function you could export it with ~2300 on the longest edge, which I find usually gives ~20-21 MB, and that is uploadable to UHH.
May 29, 2023 12:20:41 #
May 29, 2023 12:22:36 #
Markag wrote:
what section would I post it to?
If it is about post processing your NEF file, this section is suitable.
May 29, 2023 13:24:13 #
bsprague wrote:
If it is about post processing your NEF file, this section is suitable.
The basic "Choose File", "Store Original" and "Add Attachment" commands are sufficient, provided the file size and format are acceptable to UHH.
May 29, 2023 13:25:49 #
Sorry, I forgot to add exporting it in a lossless format such as tif or DNG (both of these are acceptable to UHH).
May 29, 2023 13:32:40 #
May 29, 2023 13:46:58 #
Requests for help is one of the things that keeps the Post Processing section going. There's no shortage of regulars that like the challenges and the opportunity to share tips and know-how.
May 30, 2023 00:01:10 #
R.G. wrote:
Requests for help is one of the things that keeps the Post Processing section going. There's no shortage of regulars that like the challenges and the opportunity to share tips and know-how.
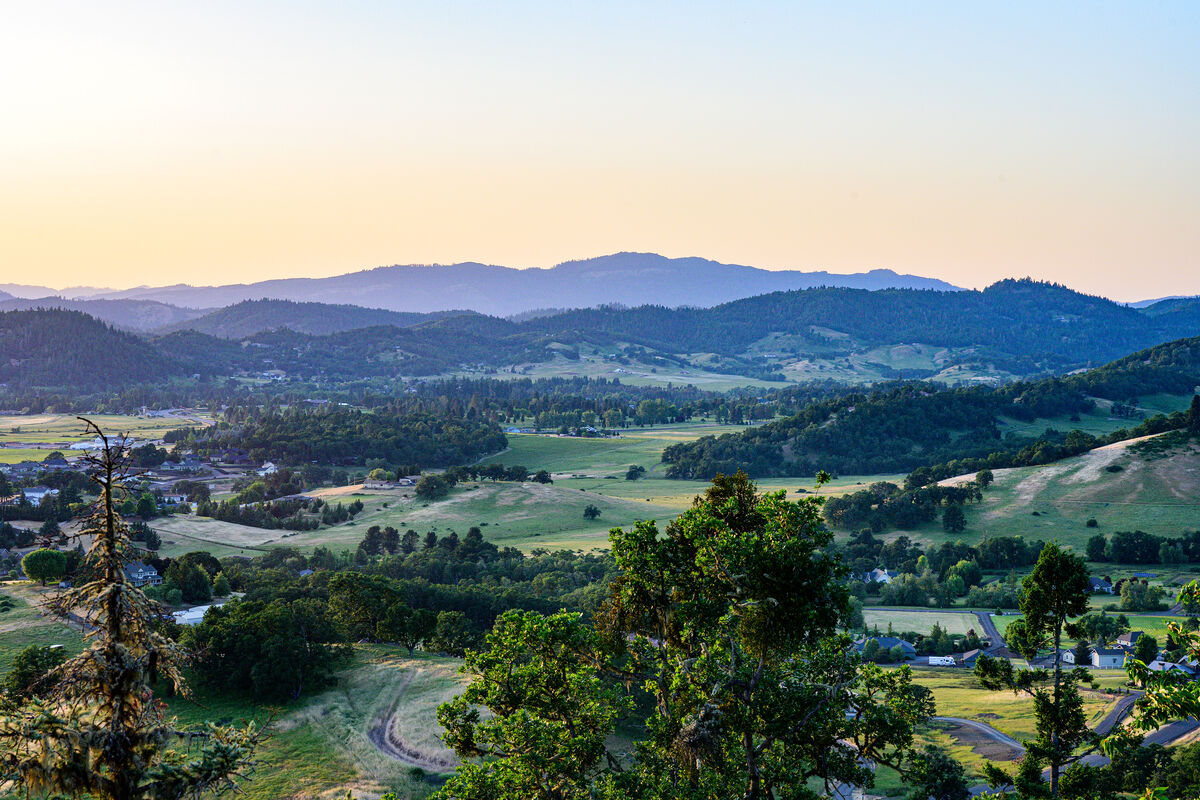
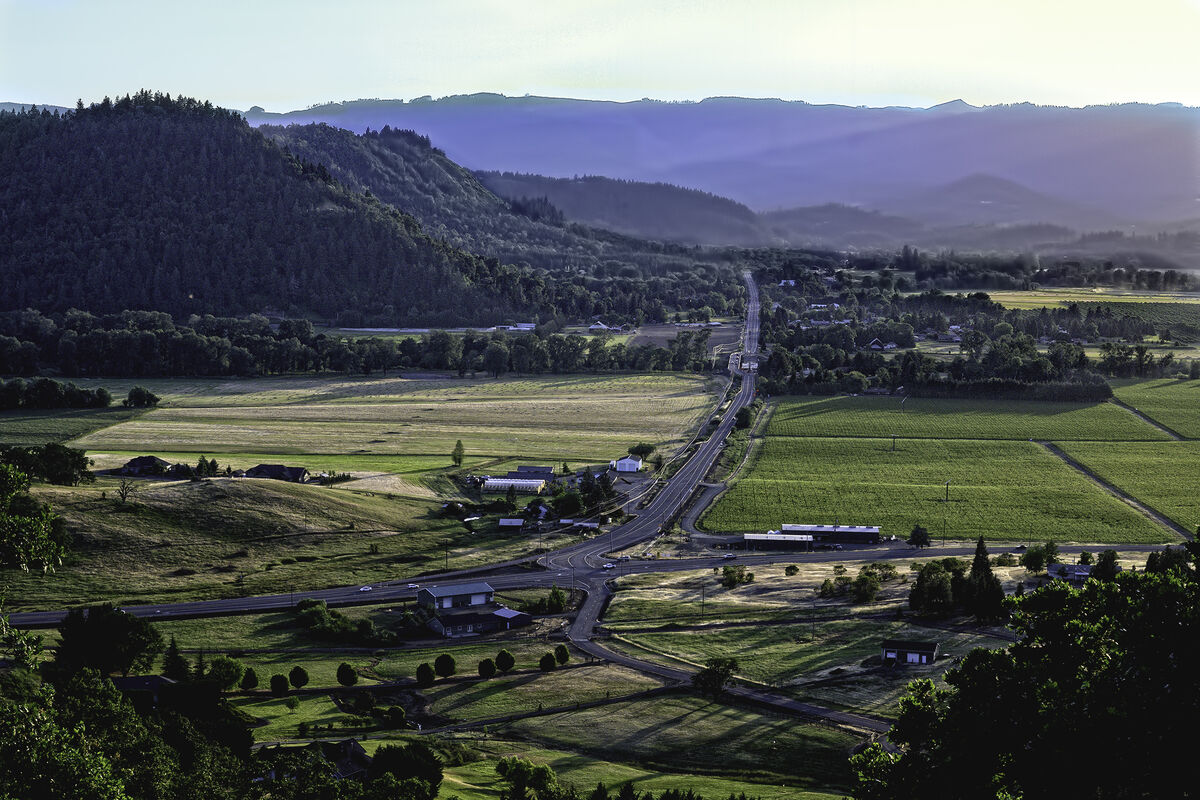
I respectfully submit my roughly processed exported at 50% jpg, together with the unprocessed, long-sided 2300 tif.
these are the types of photos I often discard because of the lack of definition/contrast in the back two tiers of hills.
I will admit beforehand that I'm not very accomplished with layer masks or even adjustment layers.
Thank you to EVERYONE in advance.
May 30, 2023 00:10:27 #
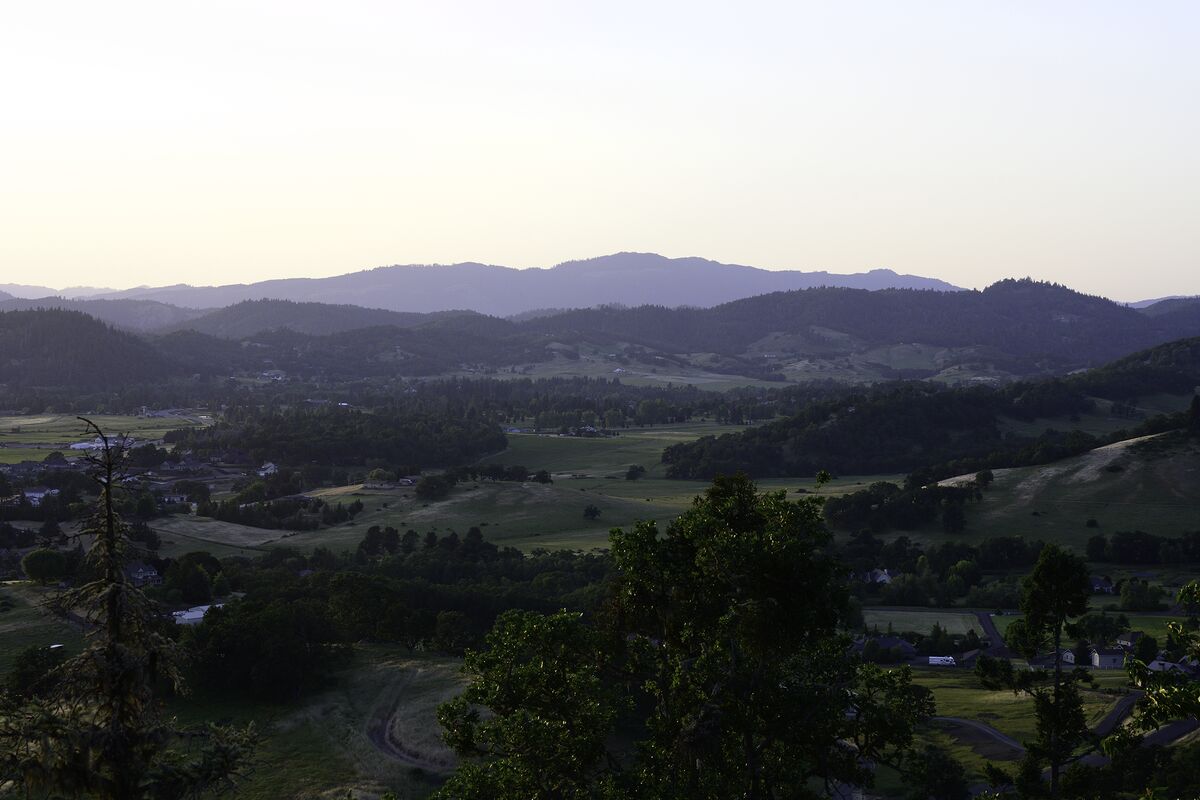
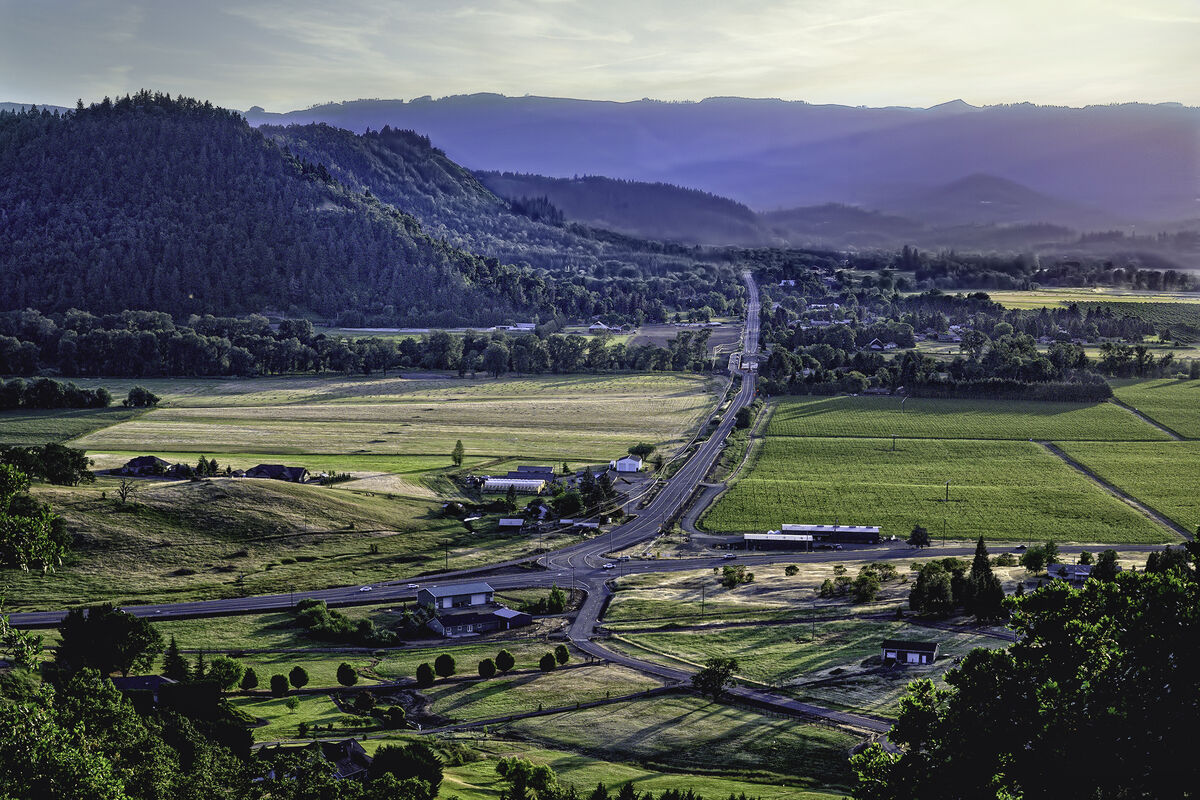
another unprocessed 2300 wide tif.
same issue little or no definition in the back range of hills.
same issue little or no definition in the back range of hills.
May 30, 2023 01:27:26 #
Markag wrote:
another unprocessed 2300 wide tif.
same issue little or no definition in the back range of hills.
same issue little or no definition in the back range of hills.
I just found these Tuesday AM. I'll have a go at them when I get back from work but it might be an idea to start a new thread for them.
May 30, 2023 12:04:22 #

Markag wrote:
same issue little or no definition in the back range of hills.
same issue little or no definition in the back range of hills.
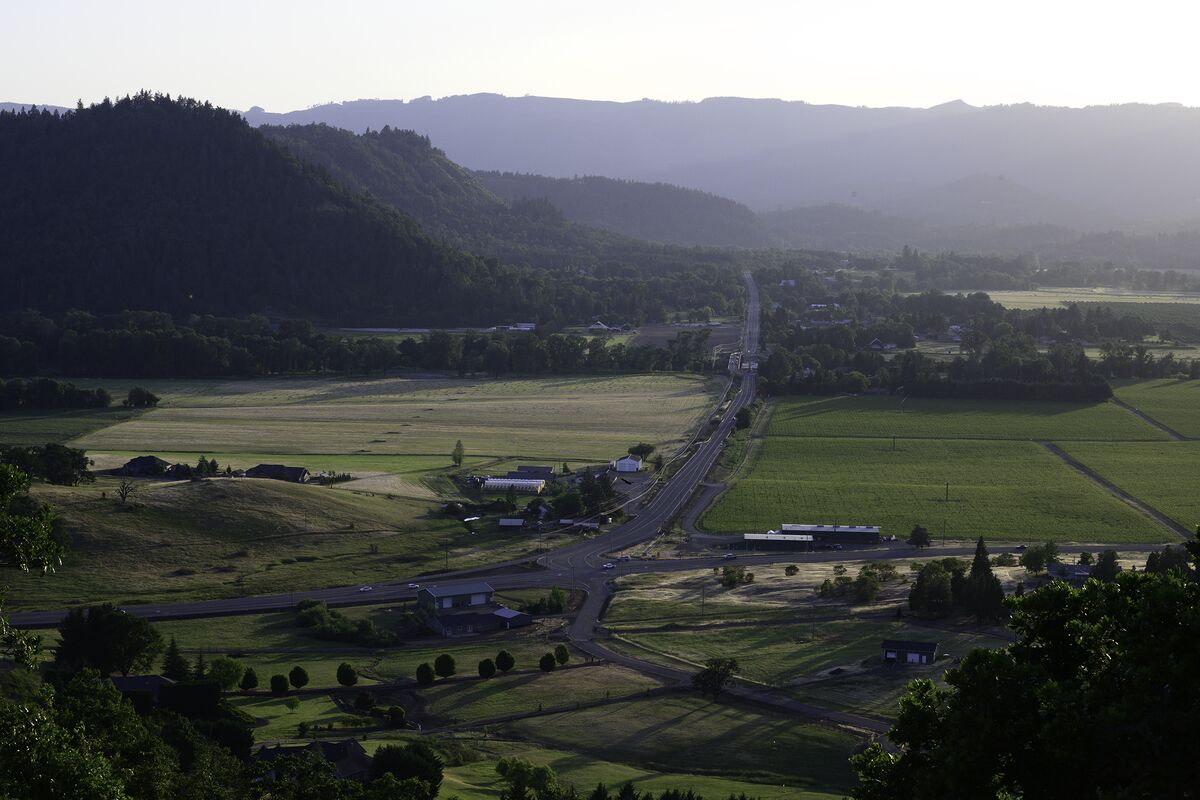
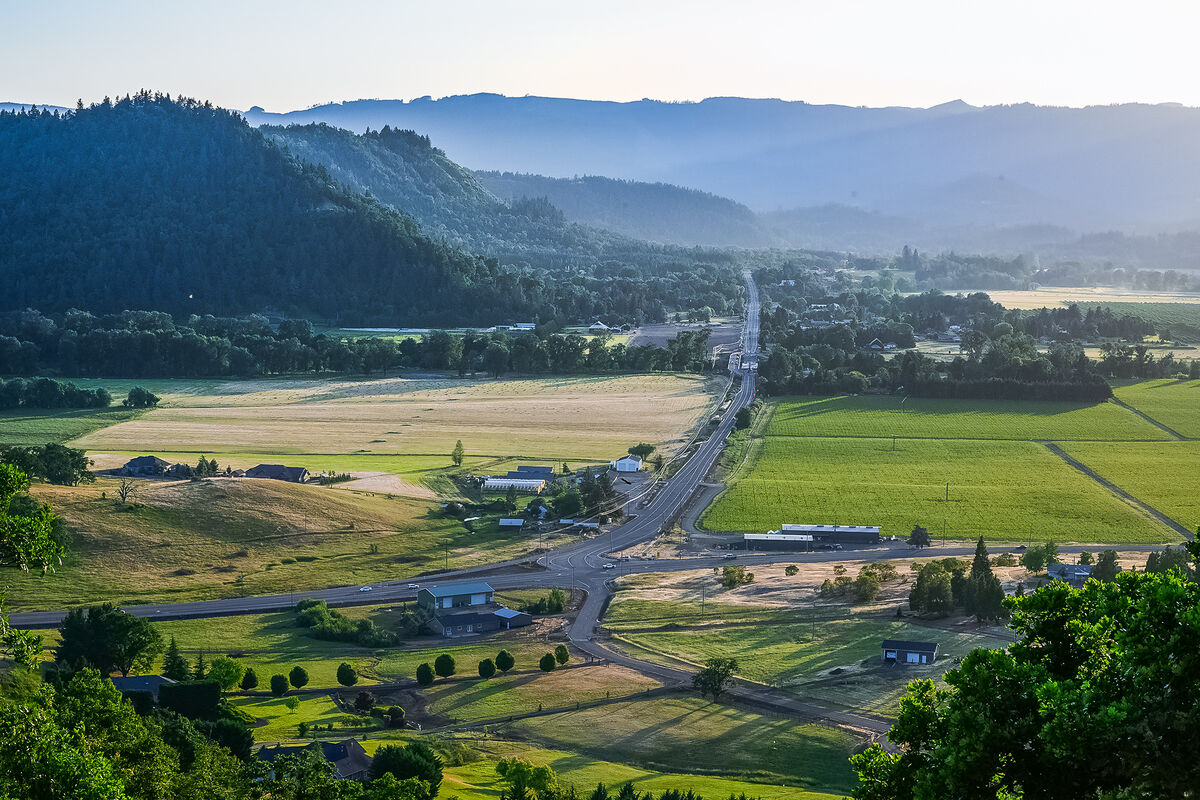
Lots of haze to get through to find detail. Here's an attempt.
May 30, 2023 12:04:33 #
The unfortunate thing about haze is that it robs what's behind it of colour, contrast and detail, and once it's gone, it's gone. The best anybody can do is to make the most of what's left.
Apart from the obvious choice of a dehaze tool (if you have it), you've probably found that Contrast and Clarity are the two most effective tools for reducing haze. Lowering the Highlights is another effective measure. What's perhaps not so obvious is that since haze is typically predominantly blue you can use the HSL tool to target the haze by darkening and desaturating blue.
You want to give the haze more extreme adjustments than the rest of the image, so brushwork is required. If you have a recent version of Lightroom you can add Dehaze via the Adjustments brush, along with extra Contrast and Clarity if it's needed. You can also add a Temp shift from blue to yellow to reduce the blueness of the haze, in addition to using the HSL tool to target blue, as described above. If you darken and desaturate blue a lot you can add some colour back using either an Adjustments brush or perhaps Split Toning if that works for the rest of the image.
Your posted images came late on in a thread that had already run its course. You'll get far more of a response if you start a new thread for them. Below is a quick attempt to make the most of what's behind the fairly extreme haze, all done without a Dehaze tool.
.
May 30, 2023 14:43:54 #
If you want to reply, then register here. Registration is free and your account is created instantly, so you can post right away.