Elements 2020 advice please.
Apr 10, 2022 21:06:45 #

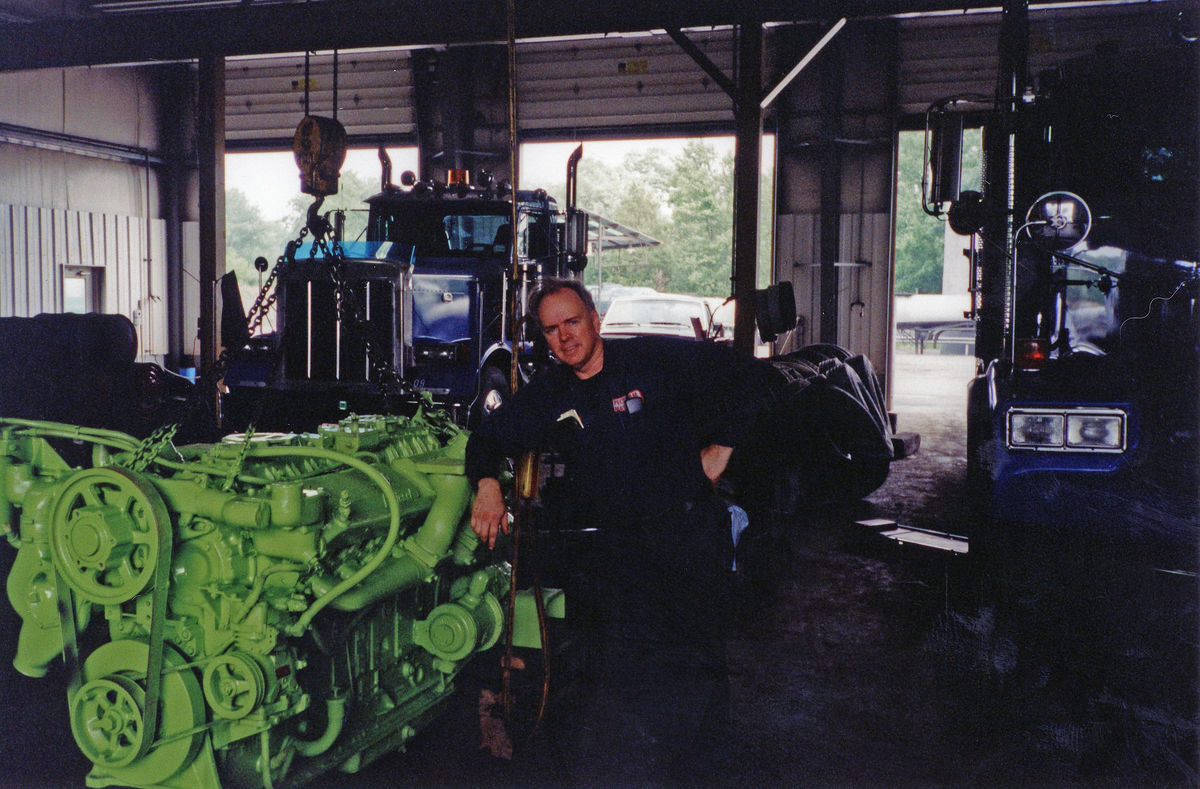
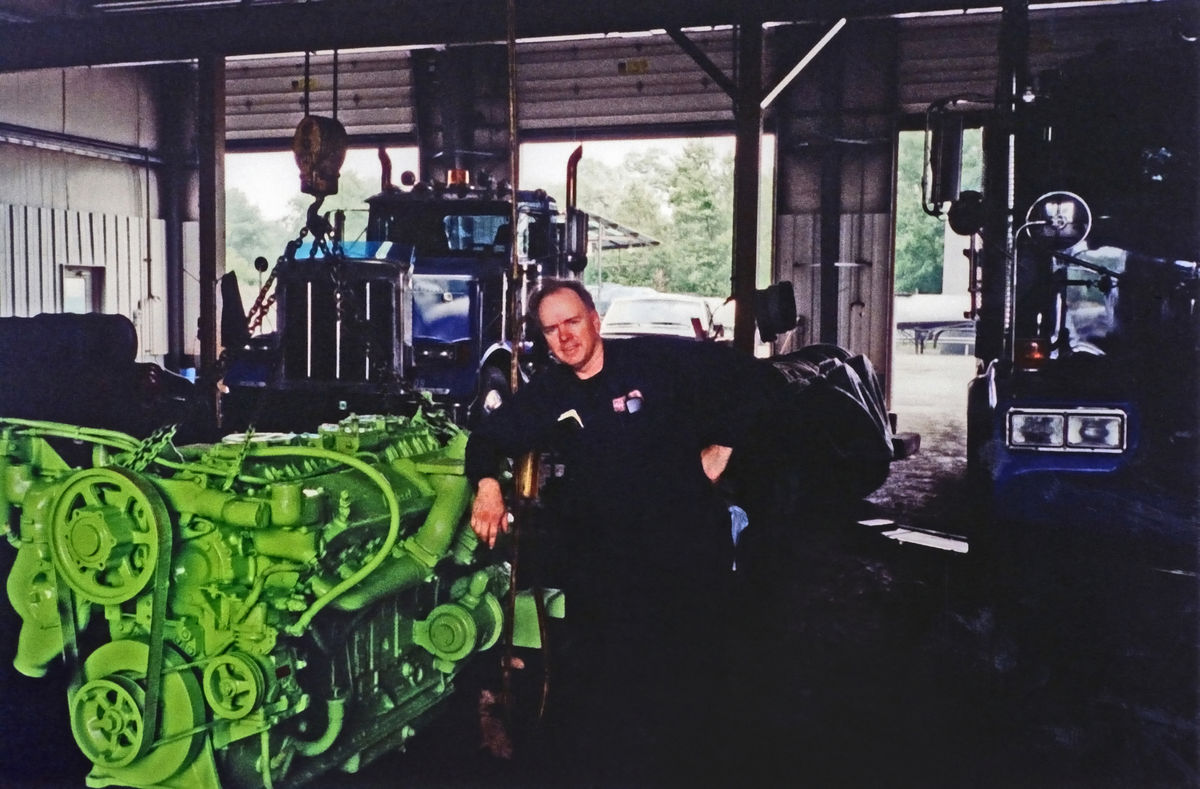
I came across some photos, shot on film, from twenty-some years ago. I scanned them and my wife decided that she likes the way I look in this one. (More hair?) I've never done much photo restoration so I was hoping to get some tips on how to clean this up some and improve it using Elements 2020. I scanned this at 600 dpi on my Epson V600. I could scan it again. I believe it has some restoration capabilities also, but, I have never used them.
BTW, improving it does not include removing me from the photo!
BTW, improving it does not include removing me from the photo!
Apr 10, 2022 21:35:35 #

The attachment shows about an 8MP scan (3521x2321). If you plan to only use as digital, no reason to re-scan. The parameters in this post give a 10MP resolution (see 'target setting - 3888x2592). Part I - Scanning your old film negatives
My LR defaults for a film scan start at:
Auto-Tone
Auto-WB
Clarity - +5
Vibrance - +5
Saturation - +5
Sharpening - 45
Radius - 0.5
Detail - 0
Masking - +100
Luminance Noise - 4
Detail - 15
Contrast - 0
Color Noise - 3
Detail - 20
Smoothness - 50
Looking at this image, you'll need to undo / redo the auto toning and auto WB update. The WB of the image looks good as-is. You'll want to deepen the blacks and mostly clean-up the minor dust specs and the hair squiggle in the upper right. The sharpening and bit of grain clean-up via the noise processing will improve the image a bit.
Apr 10, 2022 22:17:18 #
Apr 10, 2022 22:26:58 #
CHG_CANON wrote:
The attachment shows about an 8MP scan (3521x2321)... (show quote)
I should have mentioned that I scanned it from a print, not a negative, if that makes any difference. Even so, the settings you listed give me a place to start.
Thank You!
Apr 11, 2022 07:05:40 #
bebop22 wrote:
give it a crop, lighten it up and you're good.
Thanks, but, I tried cropping and the IQ just went down noticeably.
Apr 11, 2022 08:30:39 #

LFingar wrote:
I came across some photos, shot on film, from twen... (show quote)
I take constructive criticism well.
Remember that I am color blind . . . so my WB setting really ruined the pic.
So, here is my take on your pic.
A pic of my UHH friend makes me . . .
Smile,
JimmyT Sends


Apr 11, 2022 09:44:18 #
I join another user who sharpened it a bit and with PSE, everything else seemed to make things worse. The only details in the "black" make matters worse when you try and pull them out. To be honest, my best effort was by passing the "download" through Topaz DeNoise.

Apr 11, 2022 10:11:46 #
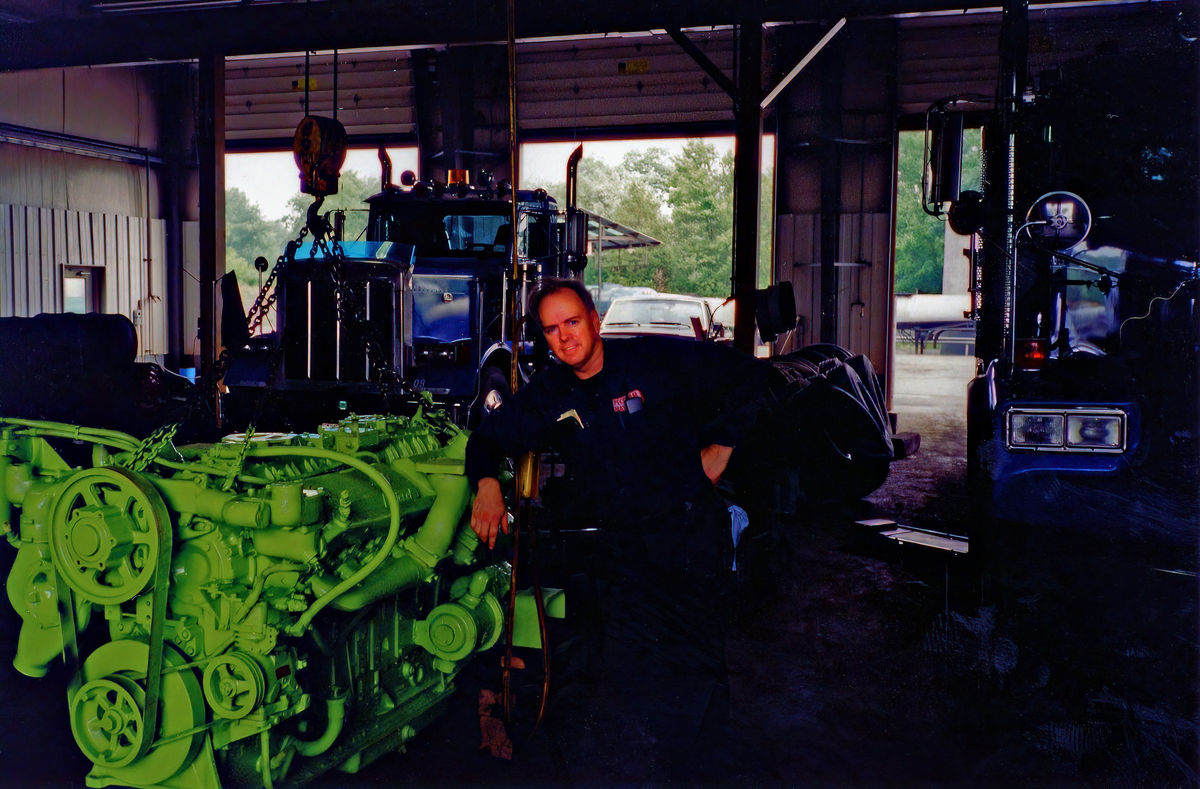
This is with my initial film preset, mentioned above, then edited to what I'd prefer to see. I did a bit of clean-up of the specs and the hair, but there's probably 20 minutes more of clicking in LR to really clean-up the image. The face / around the face is the primary need. If you have the negative, you can see where you might be able to make it seem like a modern digital (still film) capture. This is about 5-minutes effort in LR. Like I said, you can spend more time, but I'd rather spend that time on a scan of the negative in the hope there was less need for the specs clean-up. I upped the sharpening to 55, maybe something not needed if the negative was scanned.
Apr 11, 2022 10:48:01 #
StanMac
Loc: Tennessee
LFingar wrote:
Thanks, but, I tried cropping and the IQ just went down noticeably.
Try De-Speckle and noise removal to help a bit. Your sharpness may suffer a bit, but the image isn’t tack sharp to start with.
Stan
Apr 11, 2022 13:29:36 #

LFingar wrote:
I came across some photos, shot on film, from twenty-some years ago. I scanned them and my wife decided that she likes the way I look in this one. (More hair?) I've never done much photo restoration so I was hoping to get some tips on how to clean this up and improve it using Elements 2020.
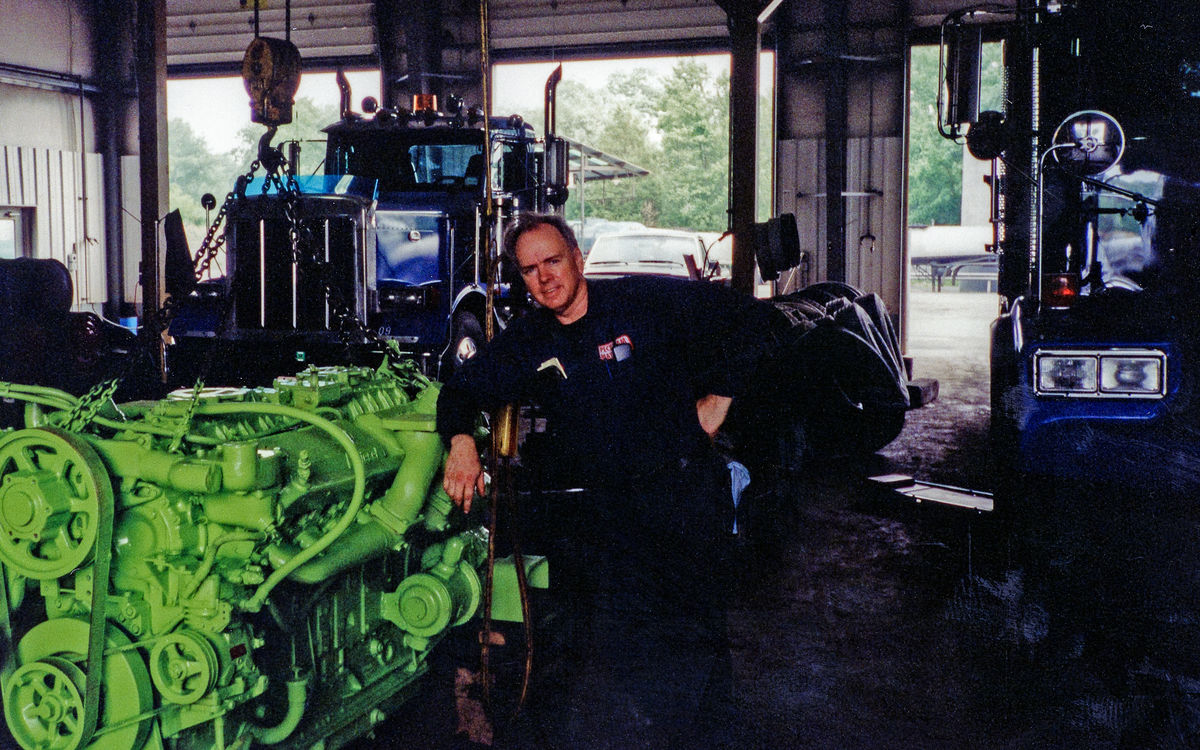
I'll give it a shot! Using Elements 2020, I performed the following:
1. Used "Enhance," then "Adjust Lighting," and "Levels" to get a good overall image.
2. Used "Filter," then "Noise," and "Dust & Scratches," Radius 4, Threshold 33 (a good balance of slight noise removal and sharpness) to remove spots and other debris.
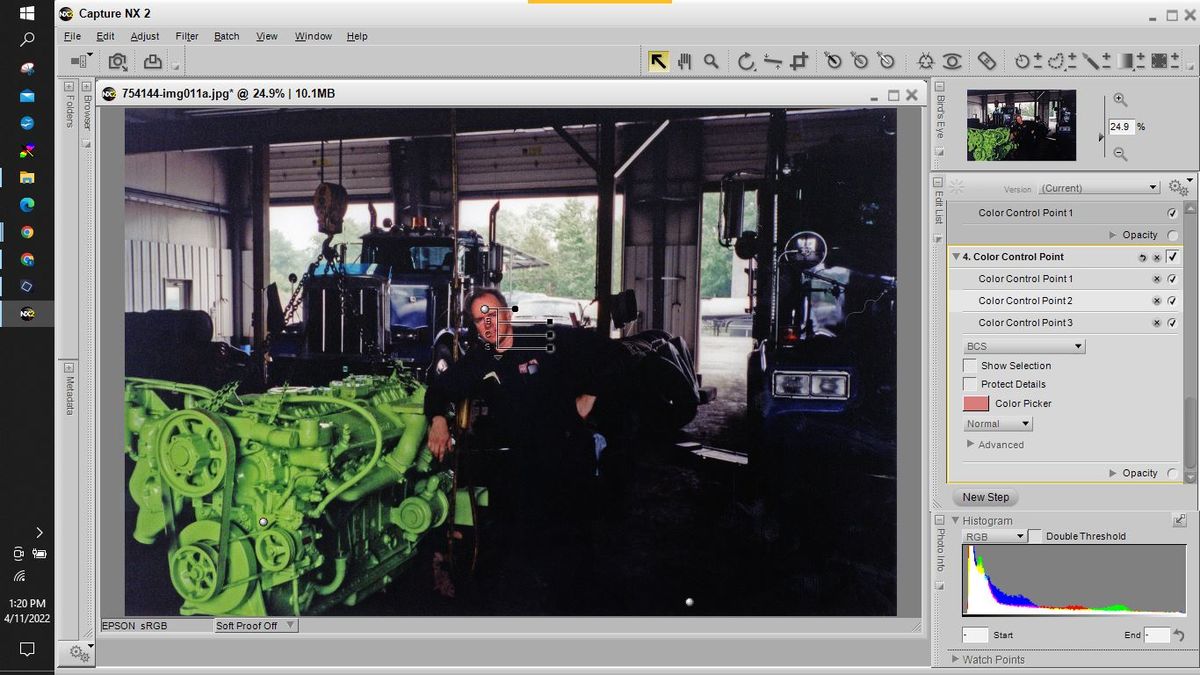
In order to improve the "floor" and the strange areas in the lower right area (scanning reflections from a glossy print?) I used Nikon's Capture NX2 with Nik's "Control Points to lighten the face and right hand, darken a bit the lower right floor area and also the lower-left corner, also lightened and saturated the yellow-green motor.
Be well! Ed
Apr 11, 2022 15:13:30 #
Thank You all for your assistance and efforts! You have given me a good deal of information to experiment with. If the guy in the photo wasn't so darn handsome I wouldn't have even tried to save the photo!!
Apr 11, 2022 15:14:30 #
StanMac
Loc: Tennessee
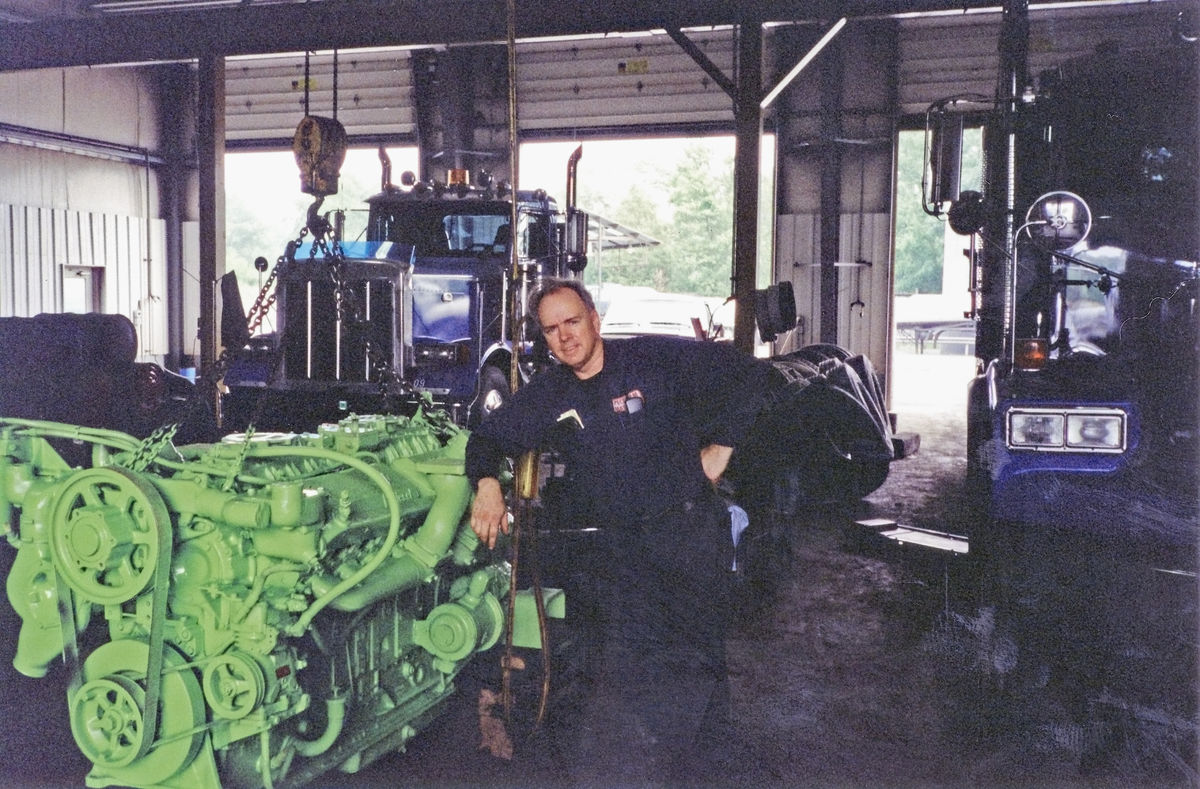
Here's my shot at it .....
Levels to lighten the shadows, de-speckle, noise reduction, de-saturated a bit and pushed the Hue slider +8 to the right to reduce the redness on the face. I also cloned out dust specks on the man's face and upper body.
Stan
Levels to lighten the shadows, de-speckle, noise reduction, de-saturated a bit and pushed the Hue slider +8 to the right to reduce the redness on the face. I also cloned out dust specks on the man's face and upper body.
Stan
Apr 11, 2022 17:25:28 #
LFingar wrote:
I came across some photos, shot on film, from twen... (show quote)
I use photoshop, but all the features I used in your image are also part of PSE.
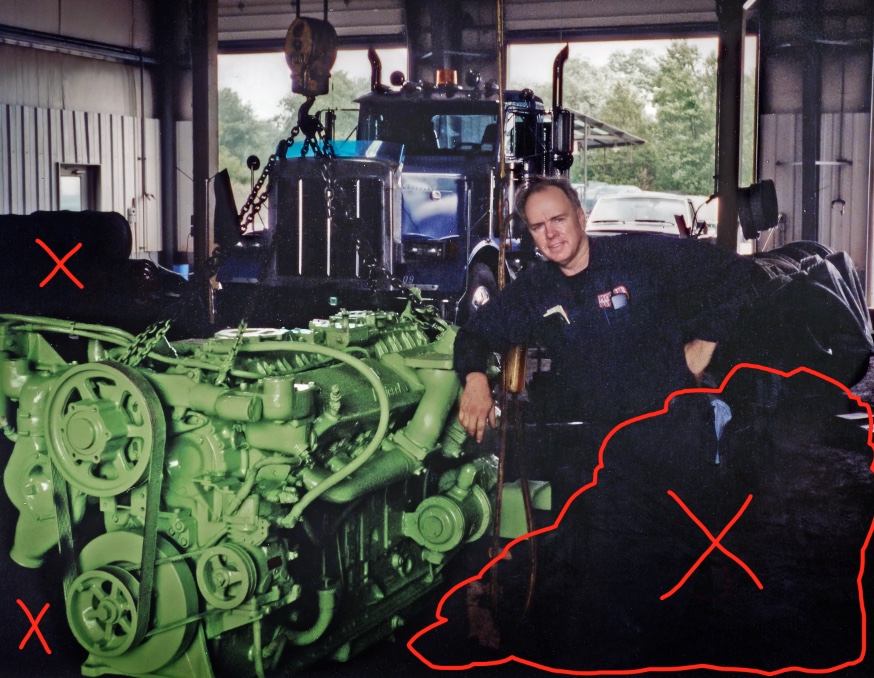
The first step when people are included in the image is to fix the skin tones and colors. In my opinion, this is the most important step.
Working from scanned prints generally require sharpness, color and contrast to be corrected. Color and contrast will likely need to be corrected differently in different parts of the image so you'll need to have a working knowledge of layers, masks and selections. PSE has all these capabilities.
For your scanned print, I corrected your skin tone and colors first. Then I increased the contrast of the green engine using a curves layer with a mask. I reduced the brightness and increased contrast of the view outside the garage. Then I made a small adjustment to the overall brightness and contrast of the image. As a last step, I denoised and sharpened the image.
The areas marked 'X' were areas that had no useful information in it. I don't know if it was a bad scan or there just wasn't any detail in the print. I darkened those areas so that noise didn't show, but the dark areas do negatively affect the image. If there is any detail in the print, a rescan might be worthwhile if this image is important to you.
Hope this helps
Mike

Apr 11, 2022 17:34:11 #
StanMac
Loc: Tennessee
LFingar wrote:
I came across some photos, shot on film, from twen... (show quote)
Your V600 scanning application should have a Professional Setting. Use that setting. The app when used with my V500 has a section at the bottom which gives you some control over color settings, levels controls, color restoration, among others. Play with those on your preview scan to see how you can improve your scans to get the most out of the photo/image you're scanning before you commit it to the final scan. I've used those controls to improve my photo scans to the point I have very little or even no post processing to do.
Stan
Apr 11, 2022 21:32:40 #

If you want to reply, then register here. Registration is free and your account is created instantly, so you can post right away.