Try your skills...
Jan 23, 2018 12:11:14 #

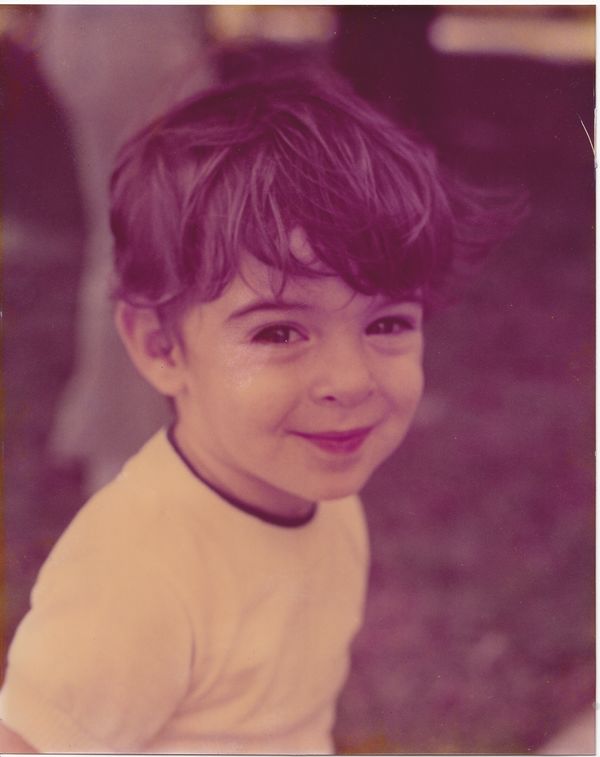
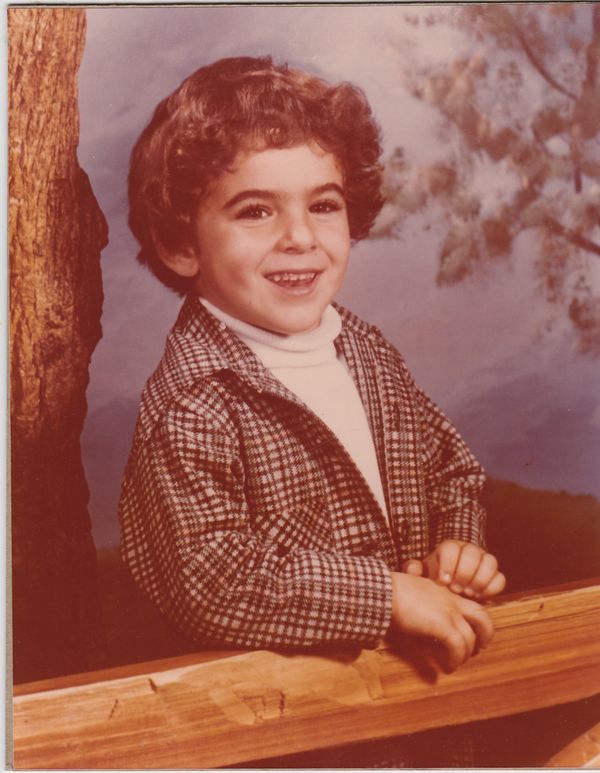
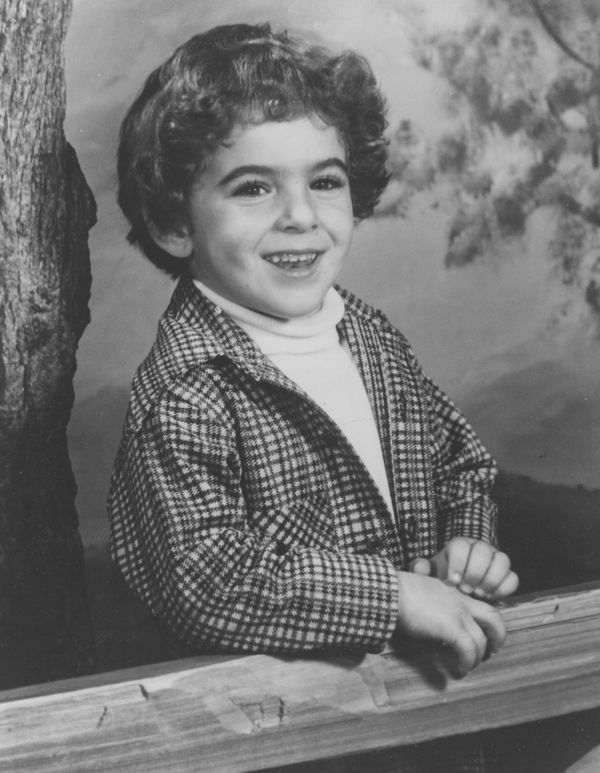
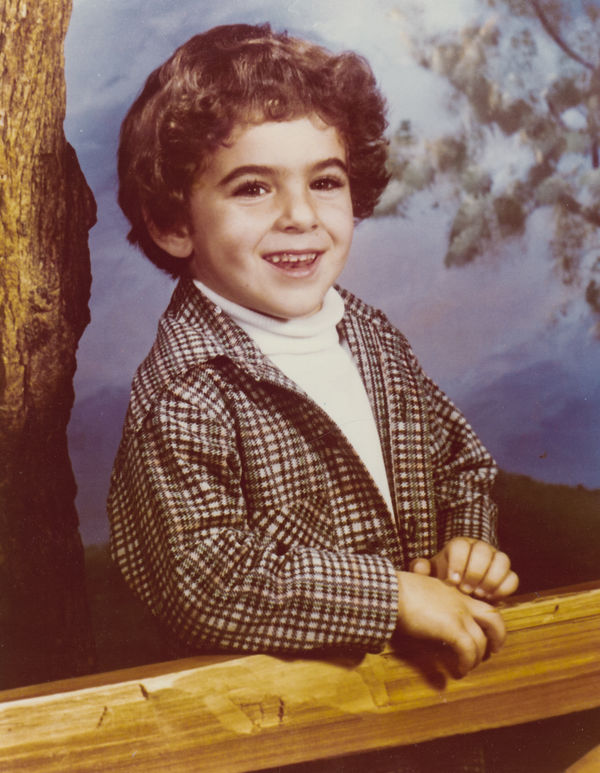
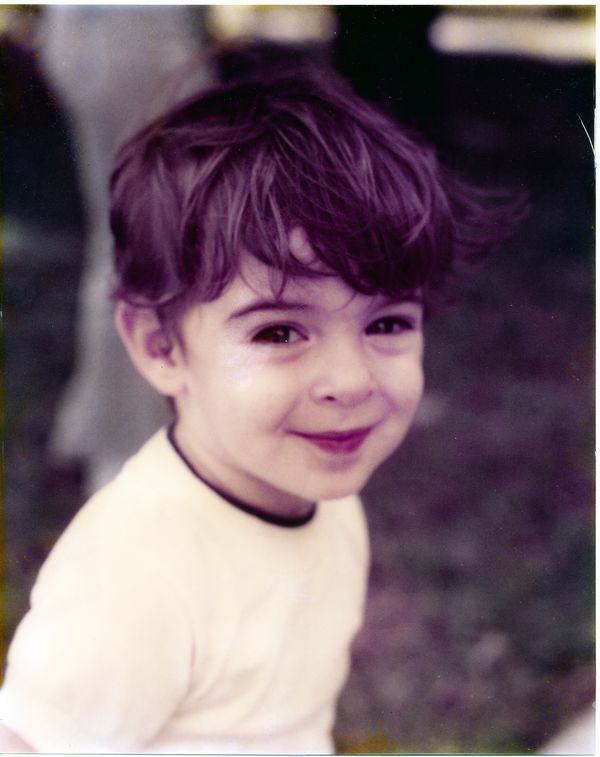
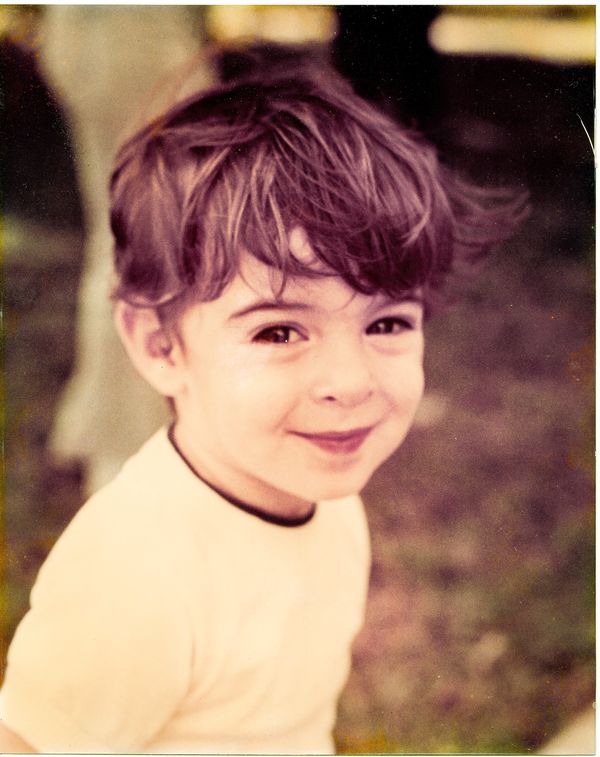
These two pictures are over 35 years old. Obviously I scanned the images.
I'm pretty good with editing my images but when it comes to fixing color casts et al., I'm terrible.
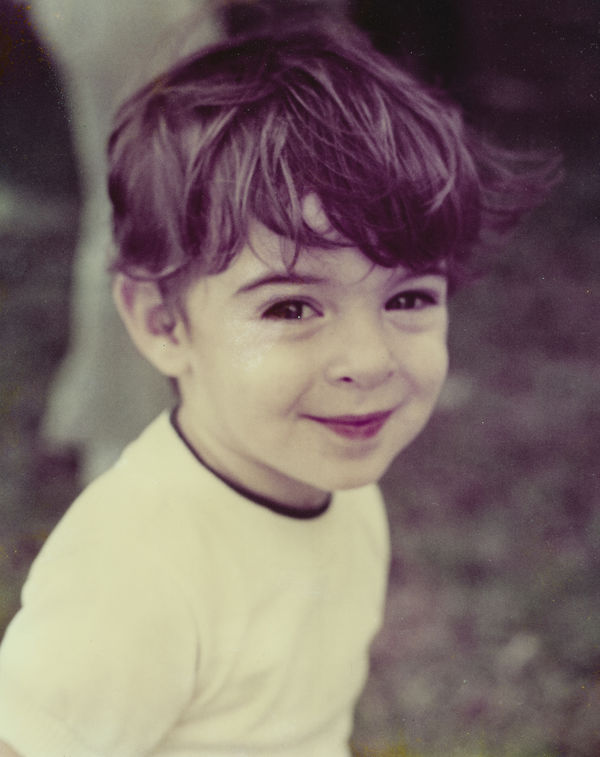
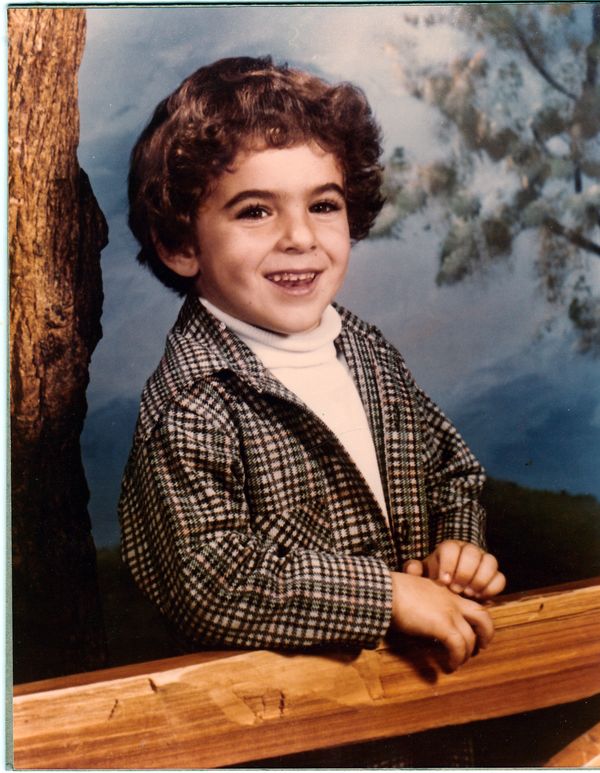
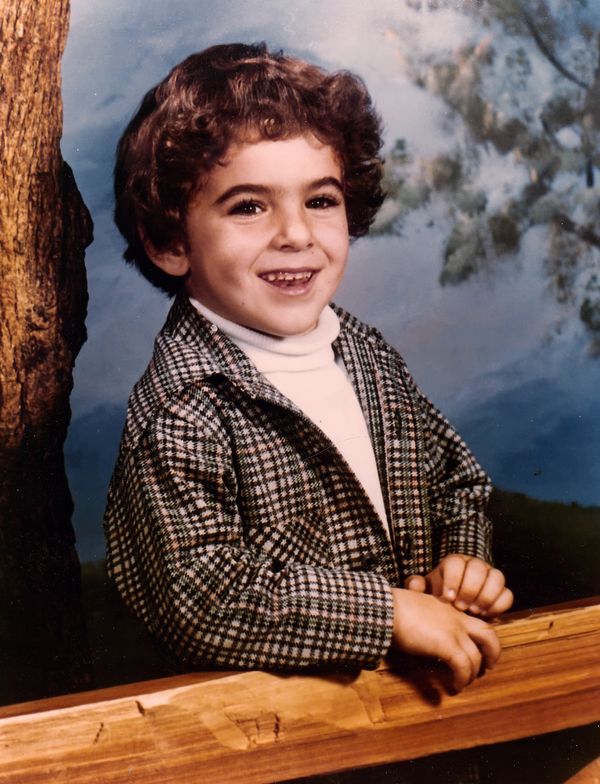
The first one was taken in Florida in November, if that helps fixing the background. Obviously, the second was in a studio.
Thanks.
I'm pretty good with editing my images but when it comes to fixing color casts et al., I'm terrible.
The first one was taken in Florida in November, if that helps fixing the background. Obviously, the second was in a studio.
Thanks.
Jan 23, 2018 13:53:18 #
There was a trick I learned a couple years ago, I think it was from a Ben Willmore tutorial. It's not perfect, but should get you started in the right direction.
Duplicate the original layer. Select the duplicated layer then run filer>blur>average (slider all the way to the right), then set the blend mode to color. You'll have a solid color in the thumbnail. Now do an image > adjustment>invert, you'll still have a solid color thumbnail, but with the inverted color. Finish this by adjusting the opacity slider until it blends to your liking with the original layer.
This usually gets me going, then for additional touch ups I try a selective color adjustment layer, a hue/saturation adjustment layer, and/or color balance adjustment.
Good luck, Bev
Jan 23, 2018 14:00:59 #

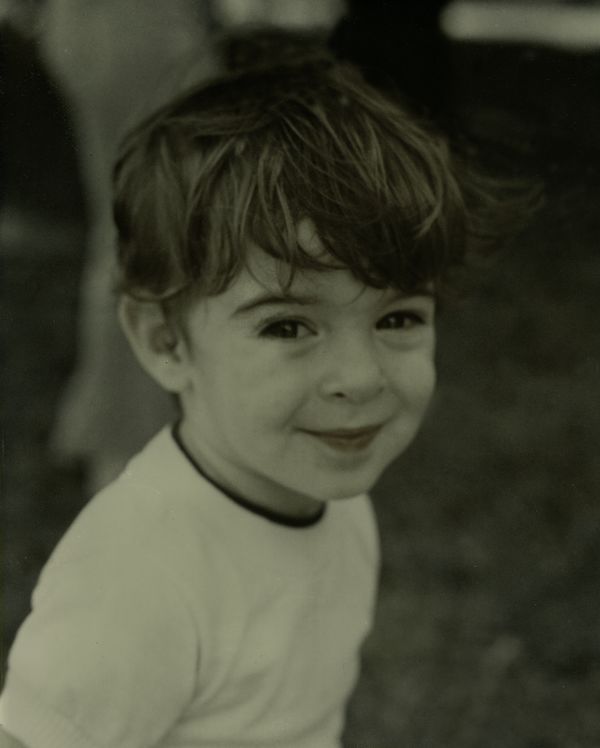
Getting at the tint is a pain. You'll never get it to look like a modern digital image. I don't have a haze removal tool in my version of LR. I wonder if that would be the difference. Here's a basic rework. What tools do you have available? In thinking about how to "paint" a fleshy skin tone, I thought then to try B&W, also attached, that maybe seems more natural?
Jan 23, 2018 14:39:53 #
NikonGal wrote:
There was a trick I learned a couple years ago, I ... (show quote)
I only have an old version of Elements so I might not have followed the steps exactly, but I find Bev's suggested approach much more effective. I still came back to LR for final adjustments, but the blended TIF coming out of PSE was a much better starting point.
Jan 23, 2018 15:04:53 #
Here's an attempt on the first image using the PS process followed by adjustments in LR.
Jan 23, 2018 15:19:22 #
30 seconds with GIMP
Load, Color>Auto>WhiteBalance
One did moderately well, the other not so much. But it might be a starting point
Load, Color>Auto>WhiteBalance
One did moderately well, the other not so much. But it might be a starting point

Jan 23, 2018 15:32:31 #
Played around with FastStone (which I've never used before) and got this:
Jan 23, 2018 15:37:46 #
Jan 23, 2018 15:52:50 #

Jan 23, 2018 16:11:31 #
DirtFarmer wrote:
30 seconds with GIMP
Load, Color>Auto>WhiteBalance
One did moderately well, the other not so much. But it might be a starting point
Load, Color>Auto>WhiteBalance
One did moderately well, the other not so much. But it might be a starting point
That first one looks almost perfect. I only say almost because the first one would only be perfect 35+ years ago when it was first printed.
I only used Elements 14, which I’m not great on. Generally, I use LR 5.6 and I didn’t try that. I’ll also have to try ON1.
Thanks everyone.
I’m looking forward to more solutions for number two.
I did convert both to B & W in my attempts.
Jan 23, 2018 16:26:32 #
I first tried LR CC because that's my go-to program. Tried to put the white balance eyedropper on the white of an eye, but wasn't happy with the result.
GIMP has a pretty good white balance autoset so I tried that next. One did OK, the other not so much.
I had been looking for an excuse to play with FastStone so I tried it out (some learning involved). Played around with levels and curves to get the result above. Only spent about 5 minutes and I'm definitely not proficient with FS but someone who is could probably do better. I probably could have done the same thing with GIMP but I just went for a quick try.
Jan 23, 2018 16:43:16 #
DirtFarmer wrote:
I first tried LR CC because that's my go-to progra... (show quote)
Well, I certainly appreciate your efforts. I think the second one needs to be brightened a bit. I’ll work on that. It was never a sharp image so maybe I can tweak that, too.
Jan 23, 2018 17:02:52 #
Indi wrote:
These two pictures are over 35 years old. Obviously I scanned the images.
I'm pretty good with editing my images but when it comes to fixing color casts et al., I'm terrible.
The first one was taken in Florida in November, if that helps fixing the background. Obviously, the second was in a studio.
Thanks.
I'm pretty good with editing my images but when it comes to fixing color casts et al., I'm terrible.
The first one was taken in Florida in November, if that helps fixing the background. Obviously, the second was in a studio.
Thanks.
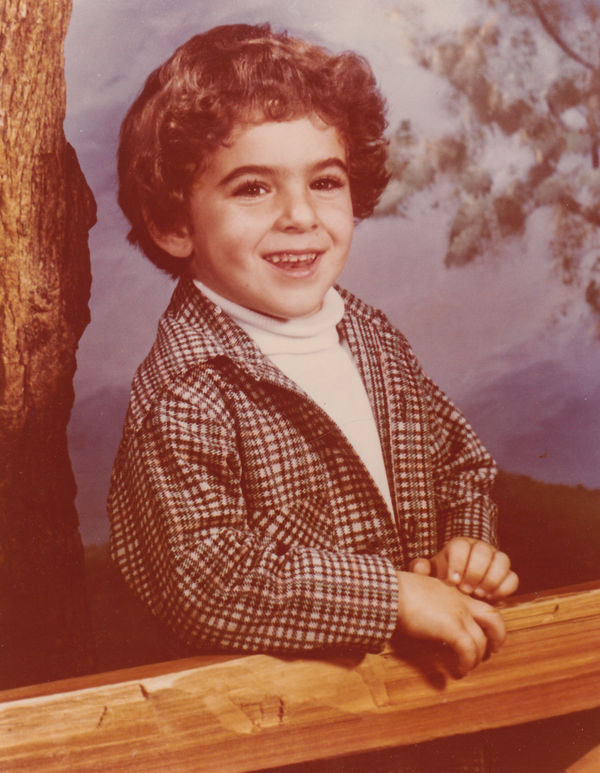
I just played with it on my iPad since Iâm not home at the moment.
I think I lightened it a bit, added some sharpening, and decreased some of the purple in the hair.
Jan 24, 2018 07:31:38 #

Indi wrote:
These two pictures are over 35 years old. Obviously I scanned the images.
I'm pretty good with editing my images but when it comes to fixing color casts et al., I'm terrible.
The first one was taken in Florida in November, if that helps fixing the background. Obviously, the second was in a studio.
Thanks.
I'm pretty good with editing my images but when it comes to fixing color casts et al., I'm terrible.
The first one was taken in Florida in November, if that helps fixing the background. Obviously, the second was in a studio.
Thanks.
Had to play. Affinity Photo
Jan 24, 2018 07:43:40 #
Heather Iles
Loc: UK, Somerset
Indi wrote:
These two pictures are over 35 years old. Obviously I scanned the images.
I'm pretty good with editing my images but when it comes to fixing color casts et al., I'm terrible.
The first one was taken in Florida in November, if that helps fixing the background. Obviously, the second was in a studio.
Thanks.
I'm pretty good with editing my images but when it comes to fixing color casts et al., I'm terrible.
The first one was taken in Florida in November, if that helps fixing the background. Obviously, the second was in a studio.
Thanks.
Hi Indi
I know of a better way and that is photographing the images using a macro lens. I have first hand evidence of this because my partner whos is a good photographer for more years than I care to mention did this with his slides and to his surprise they are as sharp as ever.
He also photographed an old photo of a relation in his army gear which looked old, but it turned out a lovely photo and it is in B&W hanging on his wall.
If your photos are very old, perhaps converting them to B&W after you have photographed them is the answer and you will be pleasantly surprised.
I hope this helps.
H
If you want to reply, then register here. Registration is free and your account is created instantly, so you can post right away.