How do you play with luminosity and appear to have a perfect mask???
Aug 24, 2017 14:07:01 #

This is a question for all.
I have an answer that will be evident for some already and for other it will be... Why did I not see that before?
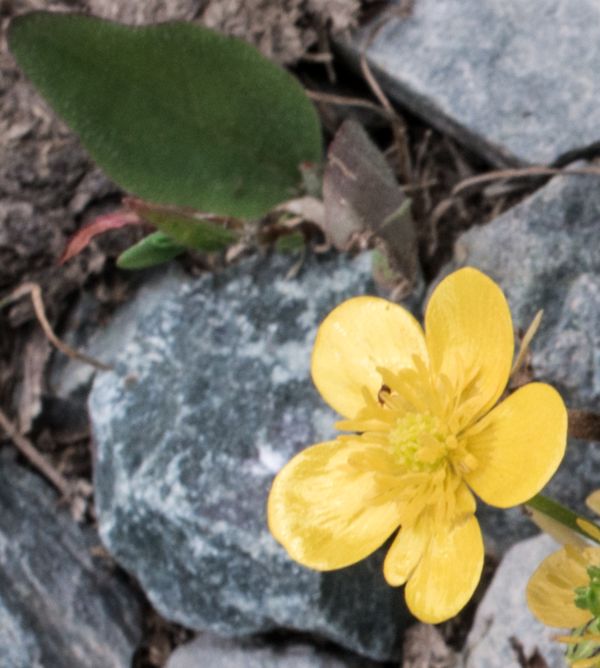
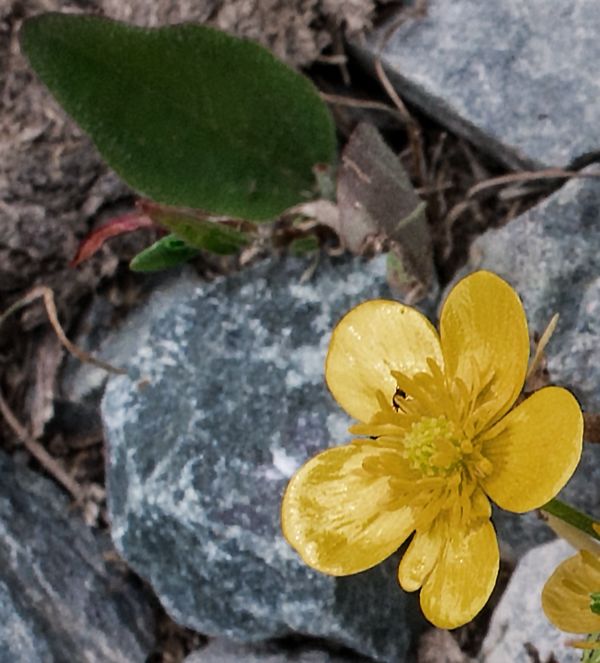
Here is a sample of the results. Download the originals and compare the original and corrected images (flip them).
I have an answer that will be evident for some already and for other it will be... Why did I not see that before?
Here is a sample of the results. Download the originals and compare the original and corrected images (flip them).
Aug 25, 2017 11:49:08 #
Aug 25, 2017 14:45:49 #
Open an image
Duplicate the base layer
Set the blend mode to luminosity
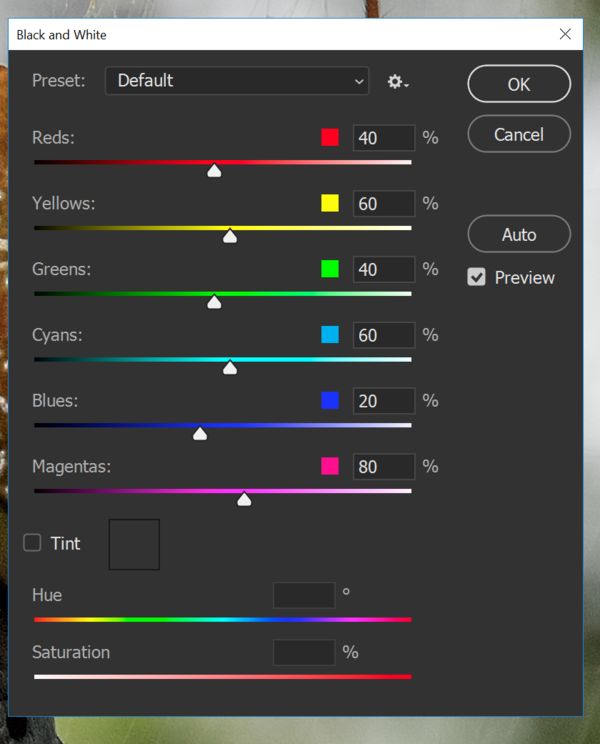
Use the image adjustment to Black and white.
From there adjust the sliders as needed to change the colors intensity as you prefer.
You are done.
I have not found anything more simple than that.
As an option use the shake reduction filter.
-------------------------------------------------
.
Duplicate the base layer
Set the blend mode to luminosity
Use the image adjustment to Black and white.
From there adjust the sliders as needed to change the colors intensity as you prefer.
You are done.
I have not found anything more simple than that.
As an option use the shake reduction filter.
-------------------------------------------------
.
Aug 30, 2017 08:04:53 #
Tikva wrote:
download?
This is a similar trick we use into post processing astro photography to emphasis detail within a nebula
duplicate image > desturate > curve adjustment to taste > blend mode luminosity adjust to taste > flatten image
regards
Marc
Aug 30, 2017 08:20:41 #
Marc G wrote:
This is a similar trick we use into post processing astro photography to emphasis detail within a nebula
duplicate image > desturate > curve adjustment to taste > blend mode luminosity adjust to taste > flatten image
regards
Marc
duplicate image > desturate > curve adjustment to taste > blend mode luminosity adjust to taste > flatten image
regards
Marc
Major difference: this addresses the luminosity value using more options. Note that if you want even more flexibility one can use the ACR filter but I selected the simpler B&W image adjustment.
Curve adjustment addresses: RGB, R, G and B.
Aug 30, 2017 08:37:09 #
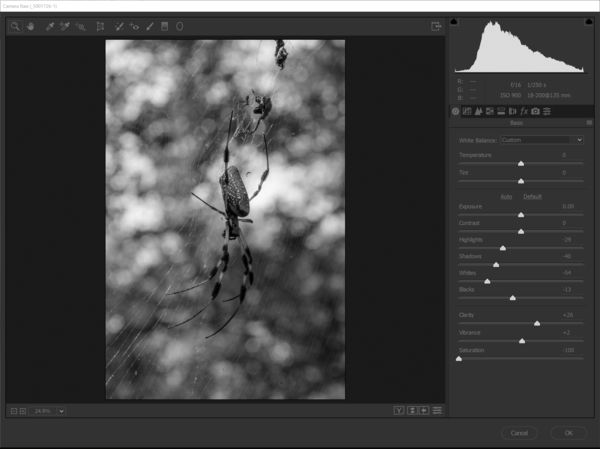
ACR options.
This beats the curve adjustment simply because there is no need for a mask yet get the same pointed results.
It does not mean I am against Curve adjustment, far from it, just that there are more ways to skin a cat, ACR being the most complex, B&W adjustment the simpler.
.
This beats the curve adjustment simply because there is no need for a mask yet get the same pointed results.
It does not mean I am against Curve adjustment, far from it, just that there are more ways to skin a cat, ACR being the most complex, B&W adjustment the simpler.
.
ACR Initial screen - All sliders but vibrance are active
(Download)
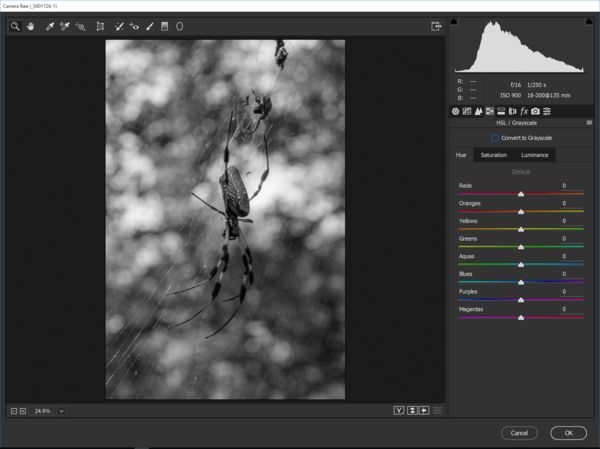
ACR HSL Hue, saturation and luminance tabs and sliders are active.
(Download)
If you want to reply, then register here. Registration is free and your account is created instantly, so you can post right away.