Need Help to Fix Blownout Area of This Photo
Sep 2, 2016 17:41:01 #
kaerophil
Loc: Oxford, CT
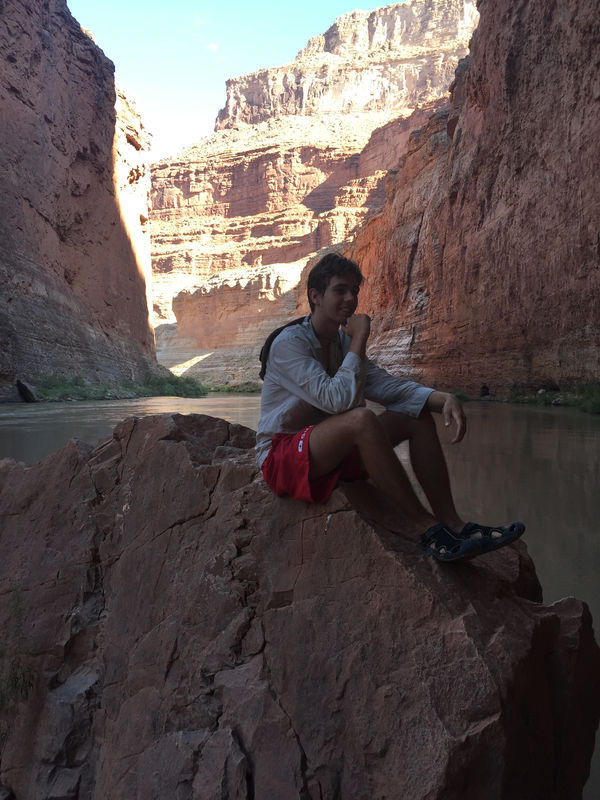
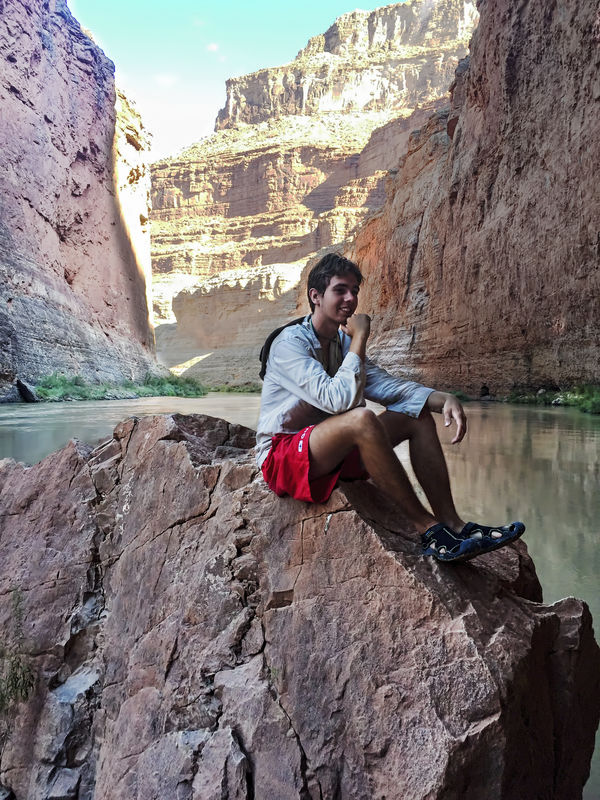
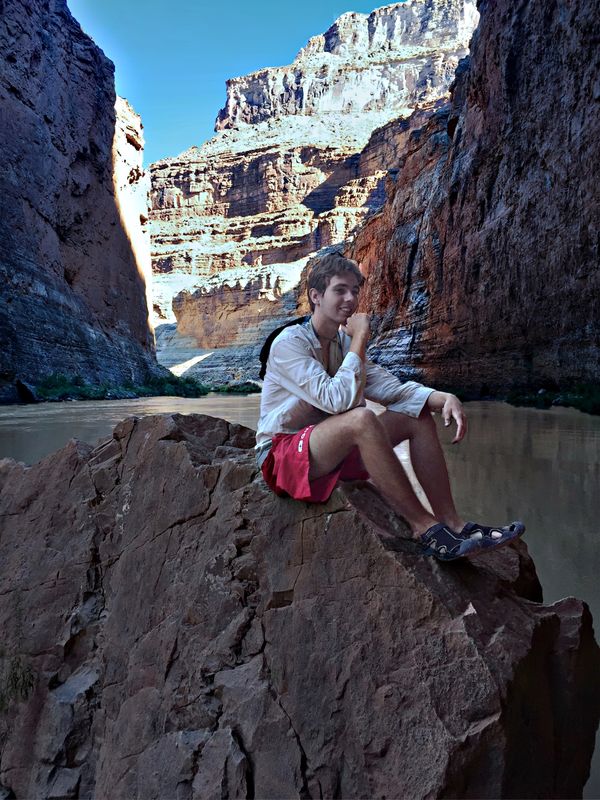
This is a photo of my grandson taken at the Grand Canyon with his iPhone.
I tried to darken the blownout area at the top with Photoshop Elements and Paintshop Pro, but could not figure out how to do it. I would also like to lighten the area where he is, especially his face.
Can anyone help?
I tried to darken the blownout area at the top with Photoshop Elements and Paintshop Pro, but could not figure out how to do it. I would also like to lighten the area where he is, especially his face.
Can anyone help?
Sep 2, 2016 17:45:26 #
Sep 2, 2016 17:47:04 #
Sep 2, 2016 18:29:36 #

You may want to consider uploading this at the Post Processing Digital Items section and ask them for help. I'm pretty sure their editors will make it right for you. If you do, check the (store original) box so they have a full sized image to work with. And yes, to answer your question, they will make it look wonderful.
Sep 2, 2016 19:03:10 #
Sep 2, 2016 21:17:59 #
kaerophil
Loc: Oxford, CT
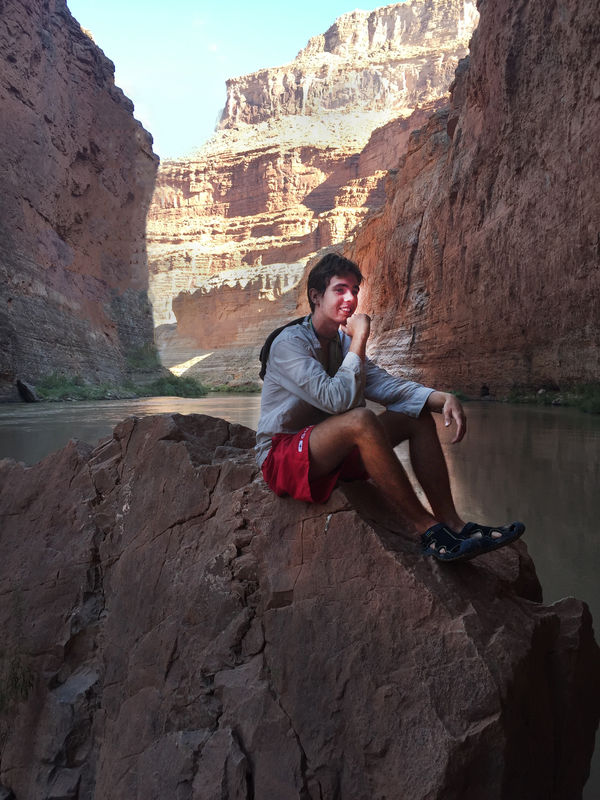
Here is the original. I don't know how to move it to the Post Processing Digital Items section. Or should I post it as a new item there?

Sep 2, 2016 21:41:16 #
This could be an interesting one to play with. Or perhaps just limited....
Sep 2, 2016 21:54:31 #
kaerophil wrote:
Here is the original. I don't know how to move it to the Post Processing Digital Items section. Or should I post it as a new item there?
This is my first attempt.
Sep 2, 2016 21:57:23 #

Sep 2, 2016 22:00:16 #
Sep 2, 2016 22:13:01 #
kaerophil wrote:
Here's my try -- a little subtler.. I believe that when the highlights are blown, they stay blown no matter what you try.Here is the original. I don't know how to move it to the Post Processing Digital Items section. Or should I post it as a new item there?

Sep 2, 2016 23:45:58 #
Sep 2, 2016 23:49:34 #
kaerophil wrote:
This is a photo of my grandson taken at the Grand Canyon with his iPhone.
I tried to darken the blownout area at the top with Photoshop Elements and Paintshop Pro, but could not figure out how to do it. I would also like to lighten the area where he is, especially his face.
Can anyone help?
I tried to darken the blownout area at the top with Photoshop Elements and Paintshop Pro, but could not figure out how to do it. I would also like to lighten the area where he is, especially his face.
Can anyone help?
You can lighten the darker areas with an adjustment brush. I would then add some additional lighting to the boy. Feather the brush, and when lightening the boy keep away from the edges. I would do 0.5 to 0.75 overall and then 0.25-0.35 for the boy. You will want to do some noise reduction and sharpening to compensate, as sell as some minor adjustment to white balance.
The blown areas cannot be fixed by darkening. I would use the rubber stamp tool to fill in the blown out areas from neighboring areas of the image. The rock parts can be done mostly using a darken mask, and then touch up with a clone. The lower portion of the blown rock doesn't have much to work with, but it will look okay if you clone from higher up; just match up the slope/cliff areas.
The sky is trickier because it is a smooth transition; select the sky area and use a gradient fill, then erase the area of the mask covering the clouds.
I did a quick and dirty process, took about 15 minutes. With care, should be doable in less than 30. Be sure to use adjustment layers so you can recover from mistakes.
Sep 3, 2016 09:44:24 #
Sep 3, 2016 11:59:47 #
If you want to reply, then register here. Registration is free and your account is created instantly, so you can post right away.