Check out Software and Computer Support for Photographers section of our forum.
PP - White noise - PS CC research
Aug 4, 2014 19:19:09 #

Ok, so this is a new thread.
I finally found the key to reduce the influence of 'hot noise' in a picture which appears as red cast in the dark areas of a noisy picture*.
Now I need to deal with the 'white noise' and that despite my recently acquired experience dealing with the hot noise is revealing itself a harder nut to crack.
The reason is that the 'white noise' is made of shades of gray within the dark (zone I, II and II) in the A. Adams zone system. I can easily select these zone w/o even thinking about it now but when it comes to selecting the white noise within the zones that is an entirely different story.
I have tried masks within masks with sub/add/intersect/merge combinations. Thus I far am not successful.
If anyone has any idea, other that using plugins and the like, please by all mean let it be heard.
---
* The solution will be available shortly upon private request under the form of an action for those who are interested. The action effects are limited in scope and WORK ONLY with 'hot noise'. The result is intriguing in many ways as it allows details hidden in the dark to be brought forth and does not necessitate the blur (detail killer) commonly seen in plugins. Furthermore this action is a prototype and will be modified over time with your input.
Aug 4, 2014 19:32:29 #
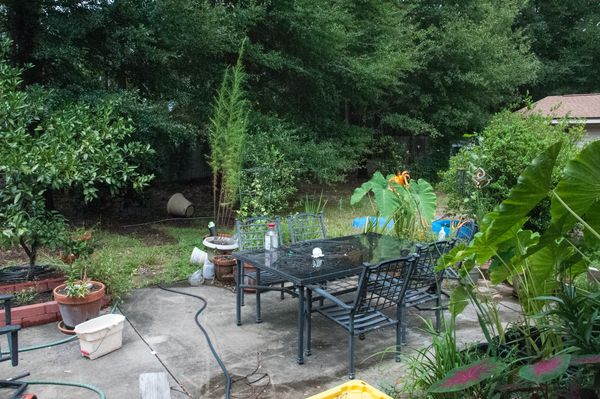
Picture taken this afternoon using a D300 H1 ISO in order to create the noise.

Aug 4, 2014 21:02:40 #
Ok, so it was easy and one does not need an action at all to rip these things out.
The first step is to identify where you have the white noise.
Blow this area up to 400% or more.
Click on the magic wand tool.
Set the options:
- Additive (light icon with small darker square on it, second from the right)
- Point sample, not average anything
- Tolerance, I use 5, no more. This determines how much will be selected (based on luminosity) from your initial choice. Numbers are from 0 to 255. The higher the number the wider the selection.
- Anti alias checked
- Contiguous, No.
- Sample all layers, No
- Refine edge, not used
Now, using the wand select the clumps that are out of step with their surrounding pixels, too light basically. You blew up one area just to make the selection easier.
Once you are done create a duplicate layer via copy using CTRL-J
Ctrl-click on the new layer. This will recreate the initial selection.
Click on mask creation (Third icon from the right at the bottom of the layer windows, looks like a rectangle with a gray circle inside).
Now that you have the layer and its mask created, selected the brush tool.
Make sure the selection is set to black.
Set the opacity to about 30%. Paint in large strokes over the dark areas and only the dark area.
If you paint twice over the same area (different stroke) the affect is accumulated. If you make a mistake, press X to invert the brush color.
If there is still noise, just adjust your initial selection.
An action would not have the flexibility you are gaining with direct masking so...
I am done with the white noise.
If you want to reply, then register here. Registration is free and your account is created instantly, so you can post right away.