Posts for: koolbreez
Nov 17, 2011 14:47:50 #
That is a great lens, I would not sell it, or trade it. You will kick yourself in the future.
Getting an IS lens does not automatically mean you will end camera shake. Try shooting in bursts of 3 shot at once, with your elbows tucked into your body, and one hand holding the lens from the bottom, with the other hand holding the camera, and shooting. By shooting in bursts of 3 the first shot handles the shake from clicking the shutter, the second shot will be sharp most of the time because you are done moving, then the third shot is the follow though. Letting your finger off the shutter button can also cause shake. This is what I teach my students, and it helps.
Get a cheap monopod to use with your lens. Then check out the Sigma 24mm-70mm F2.8 as your next lens. The quality is excellent, and the price is more in your range. Don't get rid of that excellent piece of glass you now have.
Just because you have a Canon camera body does not mean you have to use Canon lenses exclusively.
Nov 17, 2011 14:20:25 #
There is no time that it is ok for someoneelse to use your work without asking, and getting permission.
There is the creative commons law, but if you take the time to properly tag your photos with EXIF data showing your copyright, and contact details (it can simply be an email address), then creative commons don't apply.
To help people identify your work use a transparent layer with your copyright information in semi-transparent lettering over the picture, not in the corner where it can be cropped off.
Most editing programs now allow the use of layers. Make a layer with you copyright information in big letters across the middle of the frame, then set this to about 20% transparency. Save it so you can use it later. Open your picture in your editing program, and put this layer over it, then flatten the layers. This will permanantly embed your watermark over the picture, and it can not be removed without ruining the shot. At 20% visibility it will be noticable, but wont ruin the picture for others to look at.
This is the best way to watermark.
When talking about the legal issues with someone using your pictures, one thing to remember, if you have not registered your pictures with the copyright office in the USA, all you can recover is lost wages basically. There is no punitive damages if you haven't registered your images, and an attorney will not handle the case. That will be the first thing they ask.
It is cheap to do, and can be done on-line. You can upload thousands of low resolution images with the application, then pay the $60, and at that point you have full legal protection. You get your copyright letter in about 9 months, but you are registered from the time you pay the fee. Just something to keep in mind if you are considering stopping others from making money with your images, and posting them everywhere trying to get sales. You do have a legal copyright from the time you take the picture, you just are restricted on how much you can recover from their illegal use if you don't register your work with the copyright office.
Nov 17, 2011 13:56:47 #
Something that many fail to take into consideration, and Ansel is a good example when dealing with famous as opposed to good at photography.
Ansel was a master in the darkroom, as others are in photoshop. His most famous pictures were the result of more time in the darkroom than behind the camera, and shows with different versions of the same shot. He was a master at creating contrast masks, and then in dodging, and burning to get the look he wanted under an enlarger. Others do it now in Photoshop.
You can take mediocre pictures, but turn them into masterpieces if you are skilled at editing, or you can take good pictures that become masterpieces because of what you put in the frame, and how you achieved it in-camera.
Nov 17, 2011 13:43:07 #
A nice technique to use shooting fireworks for a few shots, and remember you are shooting lights basically, is to crank up the shutter speed to about 3 minutes at about F16, then use a black card in front of the lens between the different bursts, creating a simulated multi-exposure effect.
You trip the shutter for a burst, then put the card in front of the lens, moving it for the next burst. You can get about 4-5 bursts in each frame.
Normally shooting at night a 3 minute exposure would be ok, but fireworks are lights so without using the card you will over-expose blowing out the fireworks colors.
The fireworks don't last that long so you only want to do this once, or twice where you are going. When you are done with it, quickly drop your exposure down to about 1/15 - 1/30, at the same aperture, and you're going again clicking for each burst.
I use my 70mm-200mm for long distance fireworks. This gives you room to adjust when you try to get the ground inclused it the shot.
Nov 17, 2011 13:20:34 #
If you were to budget just a few hundred more, I'd strongly suggest the Sony NEX models with their DX (APS-C)size sensors. The NEX-3, or the new NEX-5N. They take pictures far surpassing anything you will get with a point & shoot, closer to the quality of your DSLR, but still able to fit in your pocket.
With the new line of their NEX-3N, and 5N bodies out now, you can pick up a nice NEX-3 at 14megs for under $400 with lens.
With the new line of their NEX-3N, and 5N bodies out now, you can pick up a nice NEX-3 at 14megs for under $400 with lens.
Nov 17, 2011 13:12:19 #
If that is the F3HP body you have then it is very collectable if in excellent shape without to much brassing, or wear. Then depending on what accessories you have for it you might be able to trade for a new D7000 body, just maybe.
There is nothing wrong at all with still shooting with film. When you have it developed you just have it scanned to disk at the same time to use as your digital proofs. It is hard to find a good place that scans at high quality for a cheap price without sending half way around the world anymore though, unless you get your own scanner to go with shooting with film again.
There is nothing wrong at all with still shooting with film. When you have it developed you just have it scanned to disk at the same time to use as your digital proofs. It is hard to find a good place that scans at high quality for a cheap price without sending half way around the world anymore though, unless you get your own scanner to go with shooting with film again.
Nov 16, 2011 12:14:09 #
THe whole thing about tilt shift lenses, or view cameras with tilt shift, is keeping the plane of your sensor parallel with the plane of what you are shooting. If you are shooting a building you want your camera parallel with the front of the building, but to get all of the building in you can't do this so you tilt the camera up. With a tilt shift lens, you simply get your camera parallel with the building then shift the lens up until you see the top of the building in the frame keeping the sensor parallel with the building.
The tilt part is used when you can not get your camera parallel with what you are shooting, then you tilt the lens until it is parallel, then shift to fill the frame with what you are shooting.
You can do this in software now, but unless you plan for this when you take the shot you will run into cropping problems.
When you actually need a tilt shift lens it more than pays for itself, especially in architecture where it is mostly used, then you mostly use the shift part, not the tilt part.
There are cheaper older lenses that just shift you can get for architecture if this is what you need it for. As long as you can get your sensor plane parallel with what you are shooting then all you need is shift to get everything in the frame.
Nov 16, 2011 11:51:55 #
There is no image quality difference in whatever extension tube brand you get, as there is no glass in an extension tube. It only extends the lens farther away from the sensor giving you closer focusing, and thus increasing your image closer to life size.
To figure how close you are to life size using extension tubes, the length of the extension tube equals the milimeter of the lens at 1:1 life size. If you use a 50mm lens, 50mm of extension tube will give you life size with film. I haven't kept up on it enough to know the lengths needed for life size considering the camera's sensor multiplying factor.
One thing to be very aware of if you have "G" series lenses without external aperture rings is that manual focus extension tubes will not work. Your lens is not electronically connected to the camera body so you loose aperture adjustment. You need auto focus extension tubes with "G" series lenses. With any lens that has an external aperture ring then you can use manual focus tubes.
You will be using manual focus anyway with whichever extension tube you get (auto focus, or manual focus), but you keep your elecronic connection with auto focus, for things like using your internal aperture, or using your focus dot to let you know when you are in focus. The focusing, even with spot focus, will not always focus on what you want, use manual focus.
You will have your best macro experience using the 24mm-70mm lens because you will be closer to, and over 1:1 life size with a regular set of extension tubes.
Another thing to consider, and it is only manual focus, meaning you have no electronics, is a bellows system. These give you variable extension without having to change tubes, you just slide the bellows in, or out to fit your need. With a bellows though everything is manual.
Another thing to consider, and it is the cheapest, getting you over 1:1 life size, is a reversing ring. It esentially turns the lens around on your camera, reversing it. They are completely manual, but are very cheap, with no quality loss as they are not extra glass. You will need lighting with a reversing ring because you are very close with the lens casting shadow. I use a flashlight to light with a reversing ring.
Ebay is good for all these cheap macro attachments. What you loose is the same things your lens is deficient in, but magnified. The big thing is edge sharpness, and light fall off in the corners.
With a full set of extension tubes on your 70mm-300mm lens you will get about 1:2 life size, but with your 24mm-70mm you can get close to 2:1 life size. A good set with auto focus runs about $100US, with a manual set running about $40, then a bellows attachment will run about $50.
Something else you will want to get, and this goes for however you decide to enter macro, even with a full life size macro lens like the Tamron 90mm, is a focusing rail system for the bottom of your camera connected to the tripod. Focusing is so so critical shooting life size macro a difference of a few millimeters can make all the difference, and it is real hard to move a tripod around these miniscule distances. A focusing rail system has knobs so you can adjust the small distances by only twisting the knobs. They cost about $50.
Have fun.
Nov 14, 2011 01:25:30 #
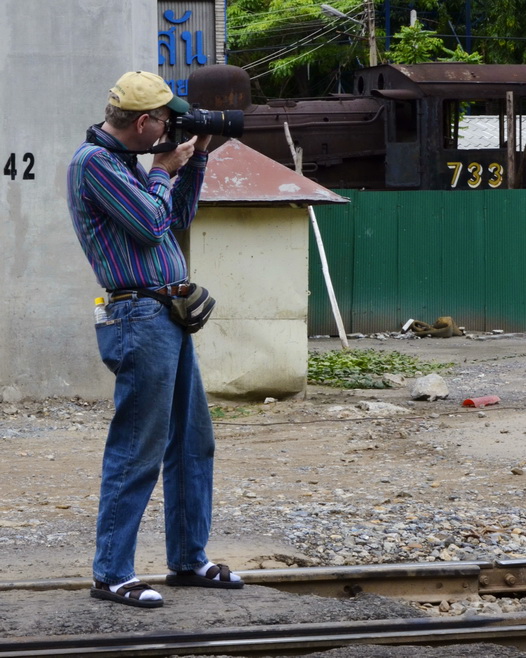
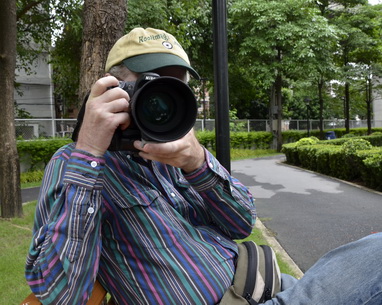
I have been involved in photography since I was 4 years old starting with working in my dad's black & white lab, and shooting with a 4x5 SpeedGrafix. I still do shoot with film occasionally.
I have been a professional photojournalist for the last 4 years, but don't let that fool you, I have been supplimenting my income during slow times at my regular job with photography for the last 37 years, having been exhibited in San Fransisco, Seattle, Lake Tahoe, Bangkok, and Richland, WA. I found I kept my interest with photography by not having to depend on it for my sole source of income. With having a regular job I could take breaks as needed to recharge my creative juices, or was it the other way around? Sometimes I got confused with which my regular job was...hehehehe.
I have shot, and sold commercial, high level weddings, travel, corporate, fine art, and portraiture.
I shoot with Nikon almost exclusively, but use a few different manufactorer's lenses to fit my needs, mostly with Sigma offerings.
I am now retired early, just pass my time keeping busy editing, trying to keep my assistant busy, and shooting photojournalism, based out of Bangkok, Thailand. Having been all over the world, I chose here to live my life.
Glad to meet you all, and I hope I can help in some way.
koolbreez
Nov 14, 2011 00:45:01 #
I figured my time at $600 a day (8-10 hours), with a 1/4 day minimum, this included up to 3 wardrobe changes, and 2 location changes if shooting outside, or a combination of one outside, and studio, with about 30 finished (edited)shots in the proofs for them to choose from. Shooting started at 7:00am, or 3:00pm if they wanted to use outside locations.
The full day was wide open as to what they wanted to do. It was their day, and they payed for it to match what they had in mind with as much change as they wanted, and where they wanted to shoot. Proof quantity was basically everything good for them to choose from, about 50-100 finished shots. I also did about 30 minutes of my own ideas at each location, and with each wardrobe change.
I priced what they wanted printed on a sliding scale determined by the size, and quantity of each size they wanted, with $400 for a 20x30 then scaling down from there to $5 for 2.5x3.5 wallet size. I set a minimum of $120 worth of prints.
This put their whole package if they went with the 1/4 day (which most did), at $270 minimum. Anything cheaper was not worth my time. If they went for a full day then I also gave them a $150 print credit.
This is what I charged when I was doing Senior school shots 2-4 years ago, and I stayed busy. My price equated to quality with my customers, and I only had to advertise once. After that it was all word of mouth.
My contract spelled out everything so there was no confusion about what they got for their money, and what I expected from them, makeup done, wardrobe with them, and marked on my map of where they wanted to shoot, with all the costs listed, including the tax. I even spelled out who would supply transport, and from where. Then on the signing of the contract there was a 50% payment at that time to reserve their date, and times. I refunded 100% up to 4 days before the shoot on cancelations, with only 50% refunded the day before the shoot, with this all spelled out in the contract. Final payment was received the morning of the shoot for my time.
Printing costs were collected before any printing was done, except for the proofs. One dvd of proofs was included in the shooting cost. If they wanted printed proofs they were payed for the day of the shoot.
This I hope can give you an idea of a base to figure your charges from.
Koolbreez