Once not useable, now not to bad.
Aug 22, 2021 11:26:38 #
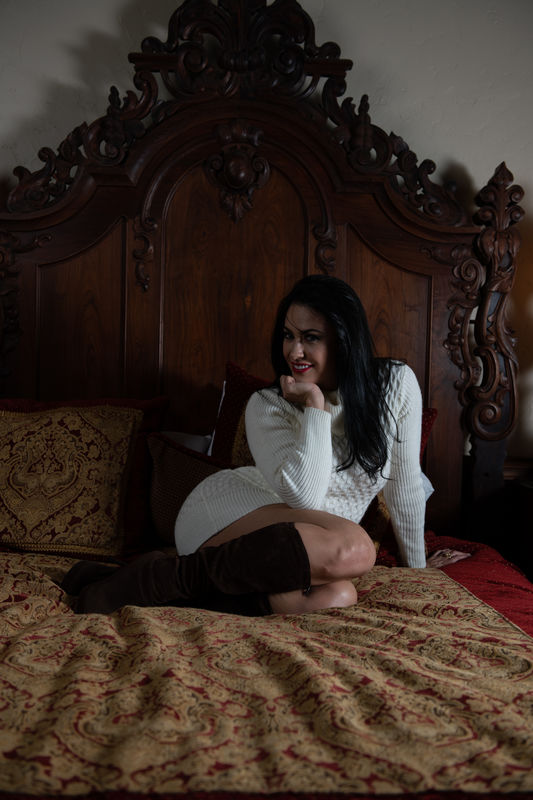
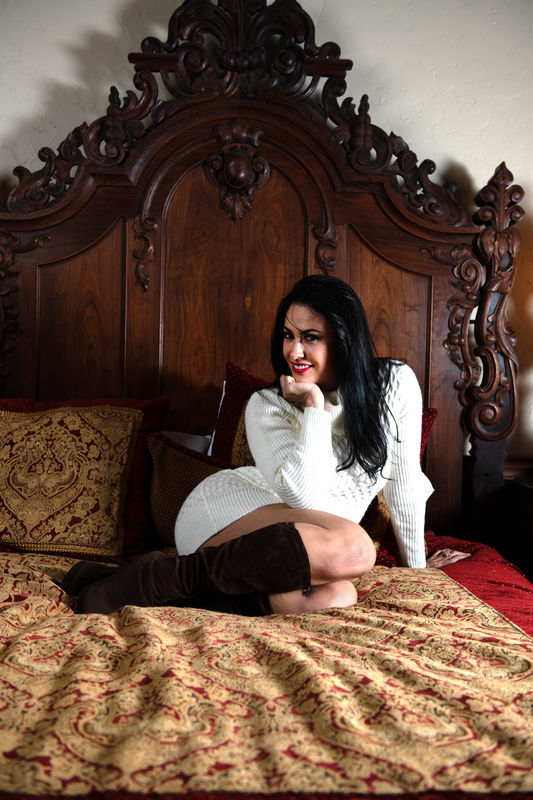
I was invited with two other friends to shoot this model at a newly remodeled bed and breakfast establishment. I had nothing to do with the lighting and just took a couple of shots. As you can see in the first picture lighting was sparse and not very good.
My reason for posting this image is to see how your photo editing and newer software might bring back a previously tossed photo. I took the photo (raw) and kept it a hard drive. Recently I was introduced to DXO PureRAW. I ran it through my demo version to see what detail I might be able to save. In my opinion the DXO software saves the information in such a way that when brought into photoshop you can manipulate better with added detail and less noise to further improve darks and highlights.
My processing in this image was
DXO for detail
Then Photoshop Camera raw to open shadows and darks.
Then Gradient Map to blend colors
Merge layers - remove some hair across models face.
Flatten image and take a copy layer to Portrait Pro for skin and eyes
Curve layer for full model - adding additional white and contrast
Merge layers to do some final clone touch up
Aug 22, 2021 11:46:01 #

Post the raw file if you really want a comparison. If it is smaller than 20MB it will post as a link.
Aug 22, 2021 11:50:11 #
Comment unrelated to edit...
Next time you shoot a model, make sure he/she does not use reflective make-up. There are awful highlights in her face (nose bridge area)
Next time you shoot a model, make sure he/she does not use reflective make-up. There are awful highlights in her face (nose bridge area)
Aug 22, 2021 12:04:14 #
Rongnongno wrote:
Comment unrelated to edit...
Next time you shoot a model, make sure he/she does not use reflective make-up. There are awful highlights in her face (nose bridge area)
Next time you shoot a model, make sure he/she does not use reflective make-up. There are awful highlights in her face (nose bridge area)
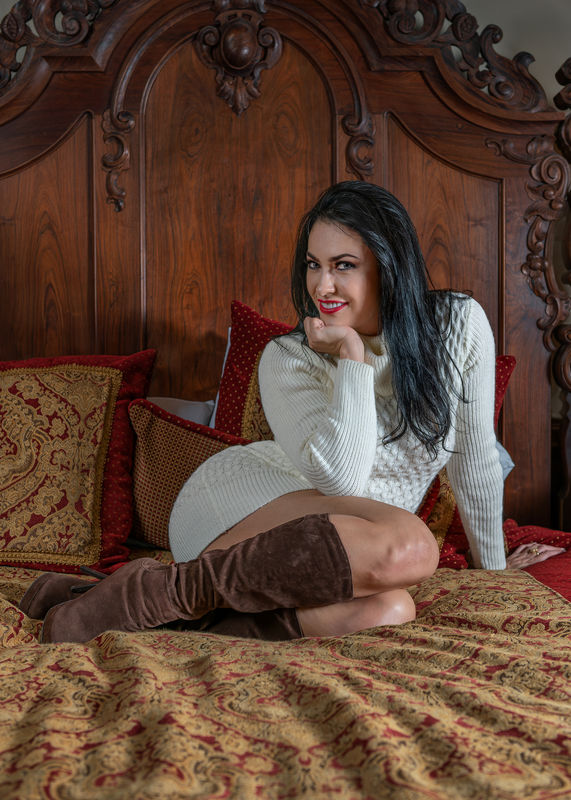
She really wasn't a model just a friend of one of the other shooters. As soon as I saw here I knew we were going to have a problem. On this occasion it wasn't up to me to say much of anything. I have other better model shots this one was just so badly exposed it helped show the improvements to an improperly exposed image.
Aug 22, 2021 12:06:36 #
Rongnongno wrote:
Post the raw file if you really want a comparison. If it is smaller than 20MB it will post as a link.
The raw file is large, way over 20MB.
Aug 22, 2021 15:39:07 #

Jim-Pops wrote:
I was invited with two other friends to shoot this... (show quote)
Nice shot, but smoothing needed on the knees and the unflattering light on them 😯😯😯
Aug 23, 2021 09:04:18 #

Aug 23, 2021 09:35:13 #
yssirk123 wrote:
Impressive recovery of the base image Jim!
Thanks Bill. That was the reason for posting this image. Recovery 👍
Aug 23, 2021 10:03:31 #
Aug 23, 2021 10:16:15 #
joecichjr wrote:
Nice shot, but smoothing needed on the knees and the unflattering light on them 😯😯😯
I have cleaned up the bumps on her legs. I originally was interested in just seeing how much I could get out of an underexposed image with newer software. I have added new software or updated so much since I took this shot. Post processing continues to improve with the newer software out there.
Aug 23, 2021 17:11:01 #

Aug 28, 2021 12:07:01 #
Jim-Pops wrote:
...My reason for posting this image is to see how your photo editing and newer software might bring back a previously tossed photo....
...My reason for posting this image is to see how your photo editing and newer software might bring back a previously tossed photo....
I loaded the original to the latest Affinity Photo (ver.1.10.1.1142)
Went to the develop persona and raised the exposure to 2. That instantly gave me a nice exposure although the face was a tad dark, so I did a brush overlay of just her face, and messed around a bit with exposure, brightness and shadows on just her face. I liked the results so I developed the persona, then did some patch work on her knees using the patch and clone tools.
I spent very little time on this, could have did more with curves and levels I guess but it's not my pic, and often the more I mess around, the more I can go overboard. I guess about 2 minutes on the develop persona, and maybe 5 minutes on her knees.
If you want to reply, then register here. Registration is free and your account is created instantly, so you can post right away.