Lizard to play with...
Apr 1, 2021 21:04:32 #

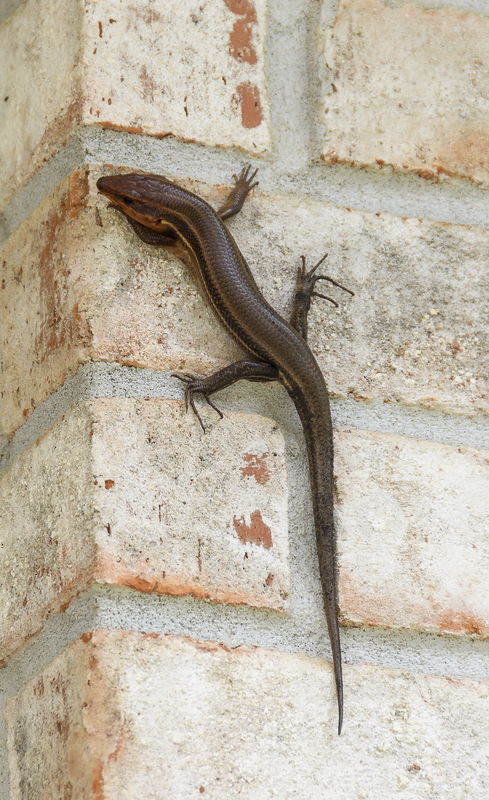
I have no clue as to what to do with this.
Edit it however you like, even the weirdest edit you might think of.
Have fun.
Edit it however you like, even the weirdest edit you might think of.
Have fun.
Apr 2, 2021 06:26:41 #
Apr 2, 2021 07:51:21 #
Great but I am looking for edits to make it more than a lizard on a brick wall...
Apr 2, 2021 08:03:50 #
David Martin
Loc: Cary, NC
Rongnongno wrote:
Great but I am looking for edits to make it more than a lizard on a brick wall...
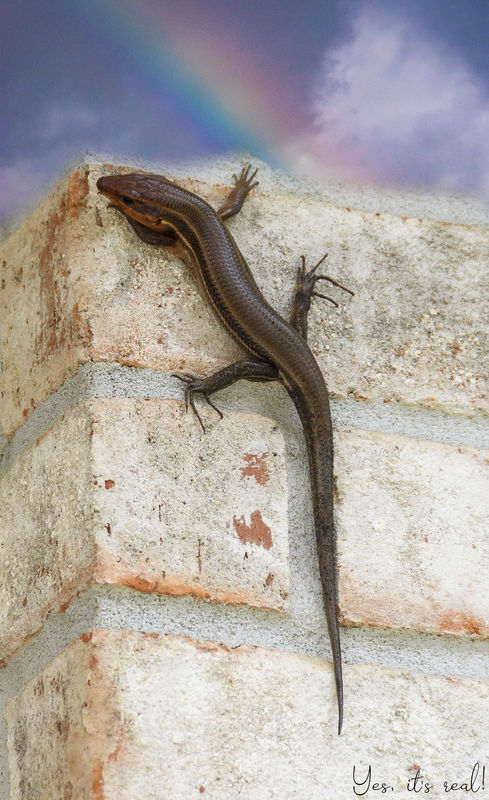
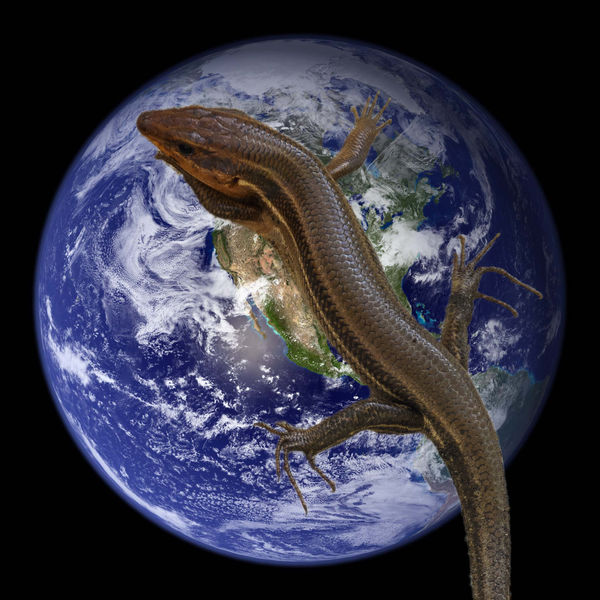
Well, you could do what every self-respecting 21st century photographer does - replace the sky!
Apr 2, 2021 08:05:15 #
David Martin wrote:
Well, you could do what every self-respecting 21st century photographer does - replace the sky!


Great comment and good idea.
Apr 2, 2021 11:43:07 #
Apr 2, 2021 11:46:24 #
Rongnongno wrote:
I have no clue as to what to do with this.
Edit it however you like, even the weirdest edit you might think of.
Have fun.
Edit it however you like, even the weirdest edit you might think of.
Have fun.
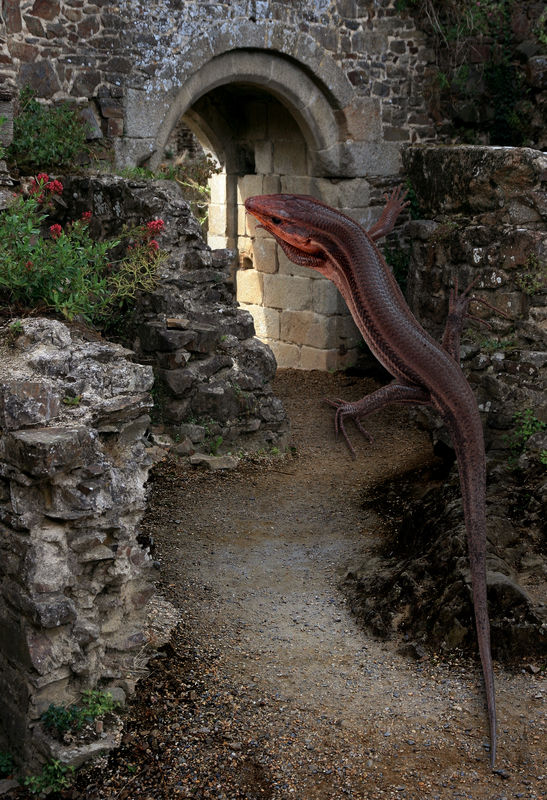
Thanks for letting us play.
I downloaded the background from DeviantArt
Castle door V - grinmir-stock.deviantart.com
I tried several things in photoshop to mask the Lizard. Started with Select subject then went to the Magnetic Lasso tool. It seemed to work the best around the toes.
So I have my Base Castle Layer
Next I placed the Lizard layer
Now I added a blank layer in-between the lizard and base.
Went to the lizard layer and selected it. Command Click while I had the Lizard layer chosen.
I went to Select>Modify>Feather 5 pixels.
Went to the blank layer and Edit>Fill>Black This now will be my shadow
Next - Filter Gauissan Blur 7 pixels.
I made 3 additional layers of this Shadow layer.
Made a black mask for all these Shadow layers.
Now on the first one I went over the mask and hit shift click and turned off the mask.
Moved the mask around for the first area to get the shadow correct. I worked on the tail first changing the opacity to 78%. Now re-activated the mask. Shift click after selecting the mask. Opened the area I wanted to use.
I did this 3 more time selecting the feet, head, & body.
Other steps were made with color balance, hue/saturation, and curves to control the lighting and coloring
Apr 2, 2021 12:09:33 #
Jim-Pops wrote:
Thanks for letting us play.
And play you did! Excellent work, and thanks for the workflow info - especially the black layers / masking for the shadows.
Apr 2, 2021 12:24:33 #
You guys surpassed my expectations by far... I did not see any of this coming!!!!

Apr 2, 2021 12:29:28 #
tommystrat wrote:
And play you did! Excellent work, and thanks for the workflow info - especially the black layers / masking for the shadows.
Hope my notes made sense, if you have any questions please let me know.
Jim
Apr 2, 2021 14:43:32 #
David Martin
Loc: Cary, NC
Rongnongno wrote:
Edit it however you like, even the weirdest edit you might think of.
Apr 2, 2021 17:48:37 #

If you want to reply, then register here. Registration is free and your account is created instantly, so you can post right away.