Vatican Snapshot - Vertical correction or not?
Sep 2, 2019 21:10:47 #

cascoly wrote:
note in the perspective wrap shown earlier, you get the parallel columns while preserving the vault and steps
Thanks cascoly!
Sep 20, 2019 05:40:04 #
Pablo8
Loc: Nottingham UK.
Saigon wrote:
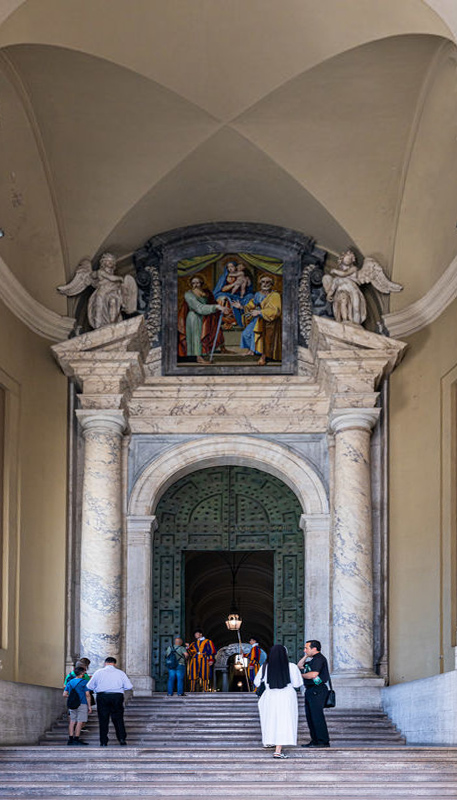
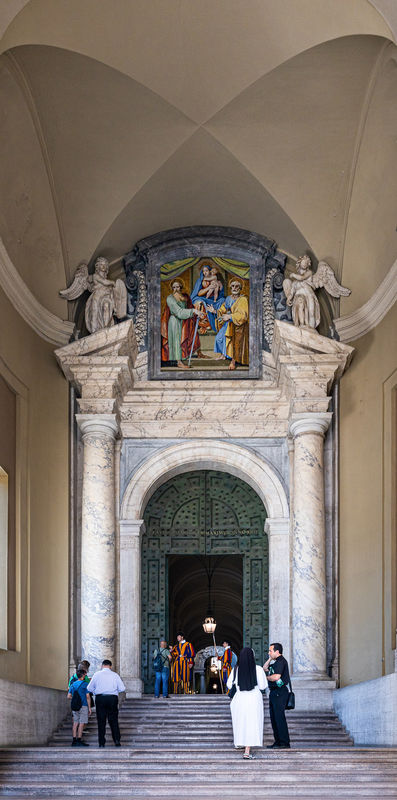
Hi,
This is just a snapshot which I took during Rome visit. Do you think I need straighten out the vertical line a little bit more or just keep it this way to reserve the dome on the top of the picture?
Thanks for your help in advance....
Cheer
This is just a snapshot which I took during Rome visit. Do you think I need straighten out the vertical line a little bit more or just keep it this way to reserve the dome on the top of the picture?
Thanks for your help in advance....
Cheer
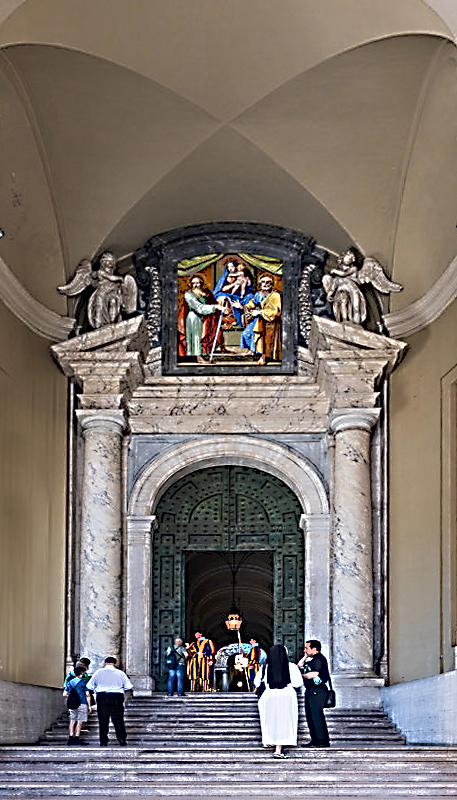
Have straightened vert's and cropped. Not lost too much of the original.
Sep 20, 2019 09:04:23 #
Pablo8 wrote:
Have straightened vert's and cropped. Not lost too much of the original.
That looks great Pablo8! Thanks so much....
Sep 20, 2019 10:39:32 #
Pablo8
Loc: Nottingham UK.
Saigon wrote:
That looks great Pablo8! Thanks so much....
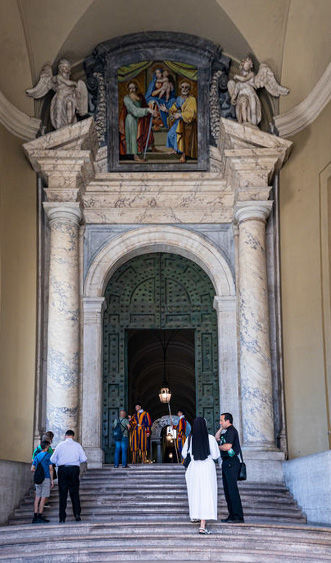
Spent a couple more minutes adding small touches of colour and sharpness.
Sep 20, 2019 12:20:21 #
Pablo8 wrote:
Spent a couple more minutes adding small touches of colour and sharpness.
Thanks Pablo8! It really shines....
Dec 28, 2019 10:32:36 #
I use the Perspective Correction function in PAINTSHOP ULTIMATE all of the time.
I personally like the results.
I personally like the results.
Dec 28, 2019 16:39:25 #


Aug 31, 2020 17:14:37 #

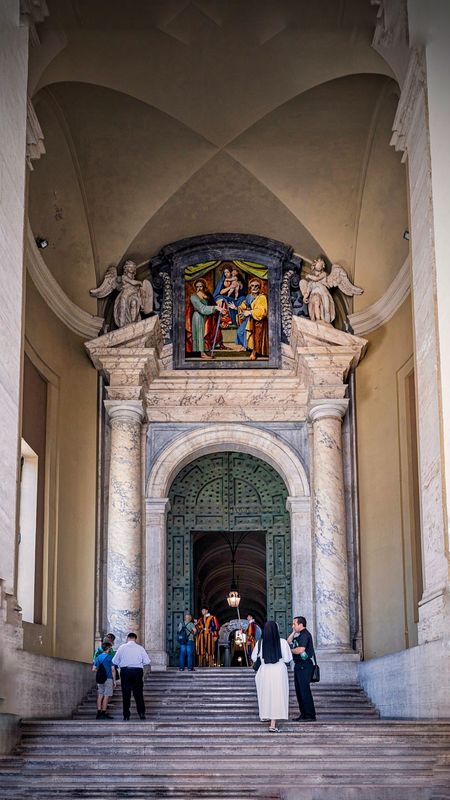
I opened your original in Camera Raw (even though it is a JPG). I used the "Geometry"
section to correct the verticals and then cropped it to get rid of the large (too heavy) columns on the left and right. I also had to do a bit of cloning in the lower left corner because of small empty space due to the crop.
section to correct the verticals and then cropped it to get rid of the large (too heavy) columns on the left and right. I also had to do a bit of cloning in the lower left corner because of small empty space due to the crop.

Sep 7, 2020 01:22:33 #
Sep 7, 2020 01:42:04 #
IDguy
Loc: Idaho
donmenges wrote:
I opened your original in Camera Raw (even though it is a JPG). I used the "Geometry"
section to correct the verticals and then cropped it to get rid of the large (too heavy) columns on the left and right. I also had to do a bit of cloning in the lower left corner because of small empty space due to the crop.
section to correct the verticals and then cropped it to get rid of the large (too heavy) columns on the left and right. I also had to do a bit of cloning in the lower left corner because of small empty space due to the crop.
This is best on distortion correction.
Nice work!
Sep 8, 2020 13:58:24 #

Architectural photographers and their architect clients take a dim view of "truncated arches and amputated domes"! They hate it when I that!
So, you can have your cake and eat it too if you clone in more steps, extend the dome, and correct the perspective. I darkened the extensions so they are less obvious.
OK, it cheating but it's "artistic"! Shhhh. I won't tell His Holiness that we messed with his building!
Oh- check out the color saturation on the artwork over the door.
Dec 16, 2020 13:42:22 #
flyboy61
Loc: The Great American Desert
cascoly wrote:
here's the version using perspective wrap..
Better!
Jan 22, 2021 15:06:07 #
Gketchum
Loc: Bakersfield, Ca
I love your picture as is. The comments are all appropriate in answer to your original question, but as always are subjective based on individual taste. In the final analysis, do you want the angles leading up or not. Here is my take with no angles or columns and keeping the dome intact.
May 29, 2021 22:05:30 #
In Photoshop you can make this work better to fix this type distortion .
Open the distorted image as usual in Photoshop. Then, under the Filter menu, choose the Lens Correction option. The Lens Correction window then opens up with the Auto Correction tab active. This is the place where you might go to correct other distortions caused by lenses—say, the chromatic aberration or vignetting of a lesser quality wide-angle lens. You can also create lens-specific profiles based on your own lenses. But we’re interested in the second tab, for custom corrections.
In the Custom tab you can manually fix many of the things that can automatically be controlled in the Auto Correction tab—problems like color fringe, barrel distortion, vignetting and more. But if you scroll toward the bottom of the window you’ll see the set of sliders that were made for architectural photography: under the Transform heading, they are the Vertical Perspective and Horizontal Perspective controls.
To correct for keystoning distortion, simply click and drag the Vertical Perspective slider to the left, into the negative values. Keep an eye on the preview window to the left, and simply stop once the lines are again parallel.

May 31, 2021 13:25:53 #

cascoly wrote:
here's the version using perspective wrap..
yep, that's the method I would have used... nice.
If you want to reply, then register here. Registration is free and your account is created instantly, so you can post right away.