Macro - Different Technique
Mar 11, 2019 23:08:20 #

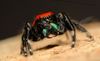
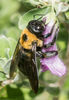
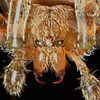
This is my Queen European Hornet that I've had for nearly two months now and she appears to be holding up well.
This is my first attempt to utilizing the technique described by the United States Geological Survey for their vast collection of insect imagery. This is the link should you want to find out more https://youtu.be/4c15neFttoU
They've released hundreds of high resolution macro photos of bees and other insects as part of the lab’s survey into the native American bee species. Here's the link to their Flickr site and if you are like me, you can spend hours viewing their marvelous insect images. https://www.flickr.com/photos/usgsbiml/
There are 4,250 images of insects that they have on display on this site.
The technique they use that I've mimicked involves using a styrofoam cooler with internal lighting and black fabric. Admittedly, I have quite a bit of tweaking to do with camera settings and to try diffusing my lighting in different ways so I'll post my results as I forge my way through it.
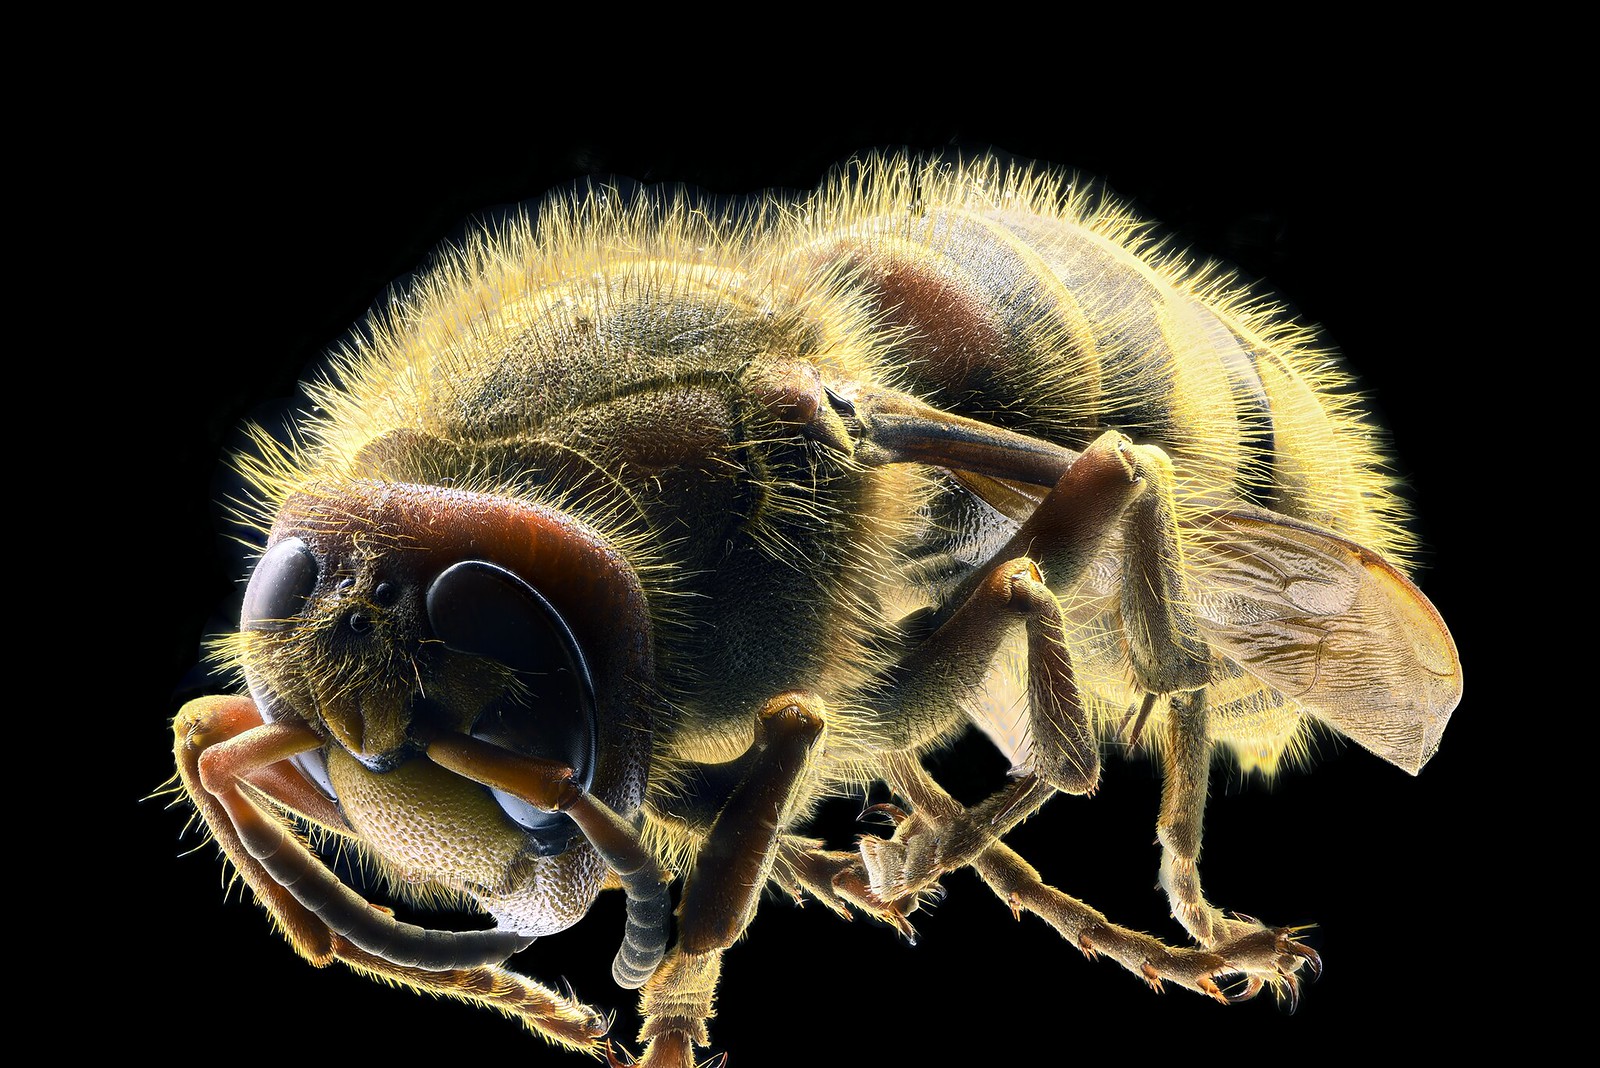 Hornet Queen European 3-11-19 by Herman Munster, on Flickr
This is my first attempt to utilizing the technique described by the United States Geological Survey for their vast collection of insect imagery. This is the link should you want to find out more https://youtu.be/4c15neFttoU
They've released hundreds of high resolution macro photos of bees and other insects as part of the lab’s survey into the native American bee species. Here's the link to their Flickr site and if you are like me, you can spend hours viewing their marvelous insect images. https://www.flickr.com/photos/usgsbiml/
There are 4,250 images of insects that they have on display on this site.
The technique they use that I've mimicked involves using a styrofoam cooler with internal lighting and black fabric. Admittedly, I have quite a bit of tweaking to do with camera settings and to try diffusing my lighting in different ways so I'll post my results as I forge my way through it.
Hornet Queen European 3-11-19 by Herman Munster, on FlickrMar 11, 2019 23:18:22 #
Mar 11, 2019 23:31:09 #

Mar 11, 2019 23:33:09 #
Thanks, this was my first attempt after building the setup shown in the links that I provided. I will try again tomorrow now that I have experience with trying one. The worst that can happen is that I delete it which is the advantage of having a digital camera.
Mar 12, 2019 00:51:06 #
Very good information! The set up looks interesting too. You are already doing a simply fantastic job in this hobby, and I am sure you will work out the lighting superbly.
Mar 12, 2019 06:06:03 #
Mar 12, 2019 07:04:47 #

Mar 12, 2019 10:00:22 #
Mar 12, 2019 10:42:51 #

Mar 12, 2019 11:11:47 #

Interesting use of the cooler.
I may try something like that with my little manual setup.
I struggle with getting good a black background.
Rick
Mar 12, 2019 16:12:00 #
CHG_CANON wrote:
For a really BLACK background, use black dress velvet and place it as far from the subject and lights as possible. The distance is the key.Amazing details and colors!
Mar 12, 2019 17:49:08 #
Rick, that part is quite easy. Take a styrofoam cooler (be sure to drink all of the beer first) and cut one of the ends out. This is the end that will be open to the black cloth for the dead-black background.
Cut a rounded slot in the other end the width of the lens that you will use. No concern if it's too wide for you will drape a piece of black cloth around it.
The cooler will be turned upside down creating a 'light tunnel' (that's reason no. two to drink all of the beer first).
Set up the camera and the specimen ready for shooting. Set the lighting in place be it fixed or flash inside the cooler pointing upward so that the light splashes on the top and sides of the white cooler. The lighting must be inside the cooler with the specimen when taking your shots. The lighting can also flash or be fixed to shine on the walls of the cooler instead of the top. Do not shine the lighting on the specimen directly.
Place the cooler over the specimen and over the over the lens of the camera. Because the end opposite the camera is open you can reach in to tweak whatever you need. Make your final adjustments needed and drape a black cloth around the camera lens and the cooler to keep out any fugitive light.
Place something bigger than the end of the cooler that is cut out about a foot away and drape a piece of black cloth over it. You do not want to simply cover the hole with the cloth for the light will splash on it and prevent the background from being 'dead black'.
Lastly, shoot and enjoy (of course by the time you have this setup you will have finished any beer that was in the cooler).
Mar 12, 2019 19:54:33 #
Mar 13, 2019 06:49:34 #
Excellent Video. This would save hundreds of hours for those seeking to explore the finer details of stacking and micro photography. Is all about the light. You're really fine tuning your craft, keep up the good work. Thanks for sharing........
Mar 13, 2019 18:32:43 #
very nice, video with flash chamber is very interesting, your improvements are very measurable and pronounced
If you want to reply, then register here. Registration is free and your account is created instantly, so you can post right away.