Focusing for night sky shots
Sep 26, 2018 16:37:47 #

As I think Bob mentioned you should be setting your lens to infinity which makes perfect sense since your focusing on objects who's light has been traveling for millions of years just to reach your sensor ;-) . As to movenent - you may not notice movement until you zoom in 100% and look but it's there.
axiesdad wrote:
Thanks for your input. I know there is a big problem with ambient light here. I'm shooting in my back yard trying to get the settings nailed down before I start looking for darker sky. With the 18mm focal length I'm not seeing any distortion because of movement even at 30 seconds. Once Iget this focus thing figured out I can start to refine exposure, etc.
Nov 14, 2018 16:58:44 #
InspireOne
Loc: Chattanooga TN
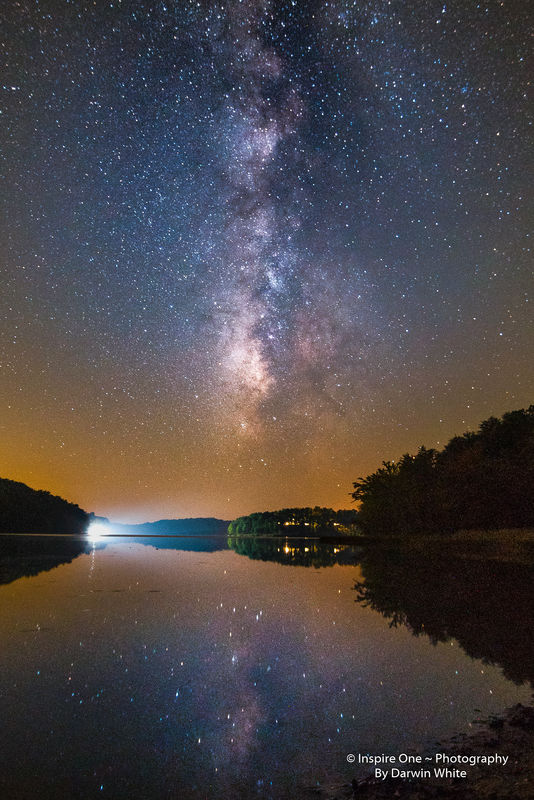
Its interesting learning to shoot the night sky. I am no expert having just recently learned to do it.
There is a rule called the rule of 500 and the rule of 600 ~ I use the rule of 500 Here's the 500 Rule: 500 Divided By the Focal Length of Your Lens = The Longest Exposure (in Seconds) Before Stars Start to ÃÂâÃÂÃÂÃÂÃÂTrailÃÂâÃÂÃÂÃÂàFor example; let's say you're taking a shot with a 24mm lens on a full frame camera. 500 / 24 = 21 seconds, which you can round to 20 seconds, so 20 seconds is the longest amount of time you can use before you stars start to blur or trail, if your using a focal length of 24. and by the way the longer the lens the closer you are to the stars and the shorter the amount of time you will have to capture a star with out blurring, so you will have less time to capture the stars light too! Wider lens will capture more stars and brighter stars.
In addition to help keep focus sharp you will need to learn this trick
Find the brightest star in your view by using the large screen on the back of the camera if your camera has one. Once you find it in your viewer, then enlarge the photo in live view so that you can see the star better.
Before you do this set your camera to manual and be sure to turn off all anti shake features.
Now that you have the brightest star or planet like for instance Mars in site and enlarged on the live view. manually turn the focus ring starting from the infinity mark back. Watch the star turn different sizes and blurs and shapes and brightness. At some point in turning it back from infinity the star will grow smaller and brighter and you will see it sharpen till all of a sudden it starts to grow bigger and fuzzy and duller, then that happens turn your focus ring back to the point were its small, sharp ad brighter, if you keep going once again it will turn larger size and grow duller.
So once you find the sweet spot of tiny round bright light put a flat rubber band around your lens ring and camera in such away as to keep it from moving. Check to see if you bumped it while putting the rubber band on re-adjust if you did, this will help keep it from moving around when you move your tri-pod.
One other advice on this is sometimes the stars blur because the dew point has reached a point were it is fogging your lens. They sell for under 30 dollars a wrap that runs off of usb and you can use a cell phone usb portable charger... that will heat your lens up to prevent fog from cumulating.
Now your all set, set your timer to shot 5 or 6 shots in fast succession, and try it at 10 seconds to 20 seconds increasing 5 seconds each set off 5 shot or 6 shots. Then in editing you can stack the 5 shots for an even brighter star show with less noise.
Hope that is helpful
If you want to reply, then register here. Registration is free and your account is created instantly, so you can post right away.