This is stepping beyond
Jan 24, 2018 23:35:55 #
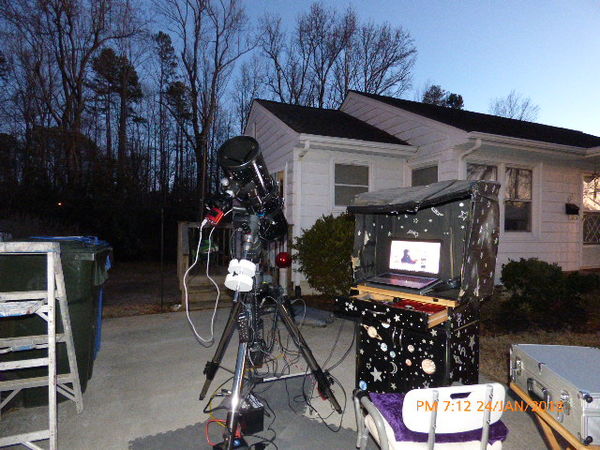
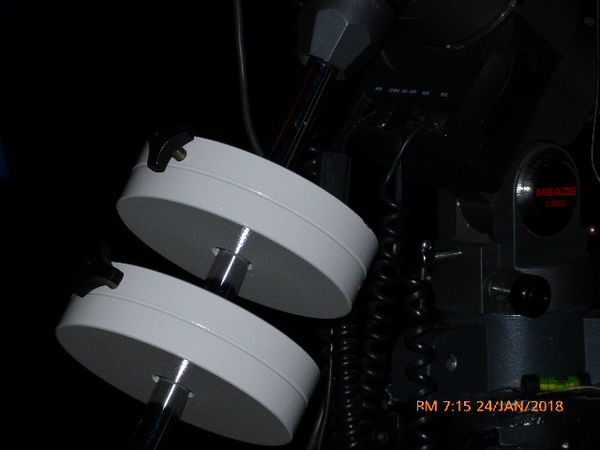
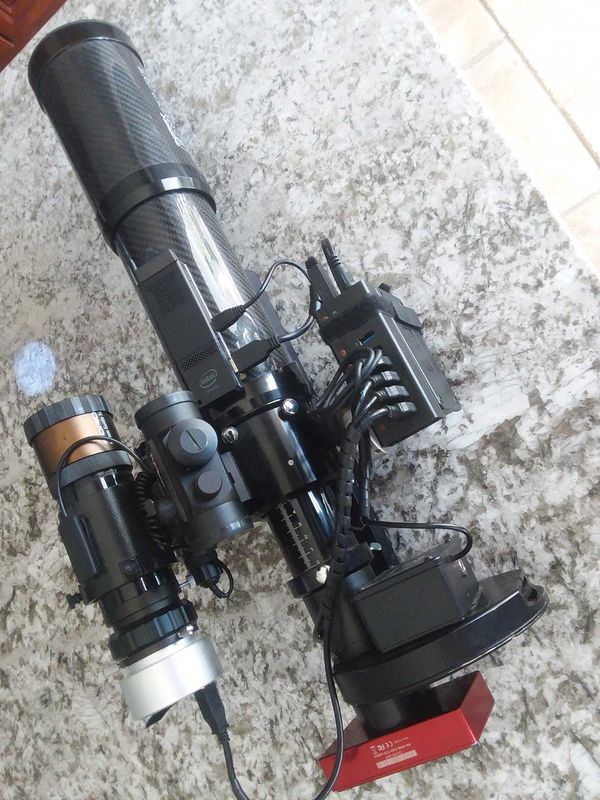
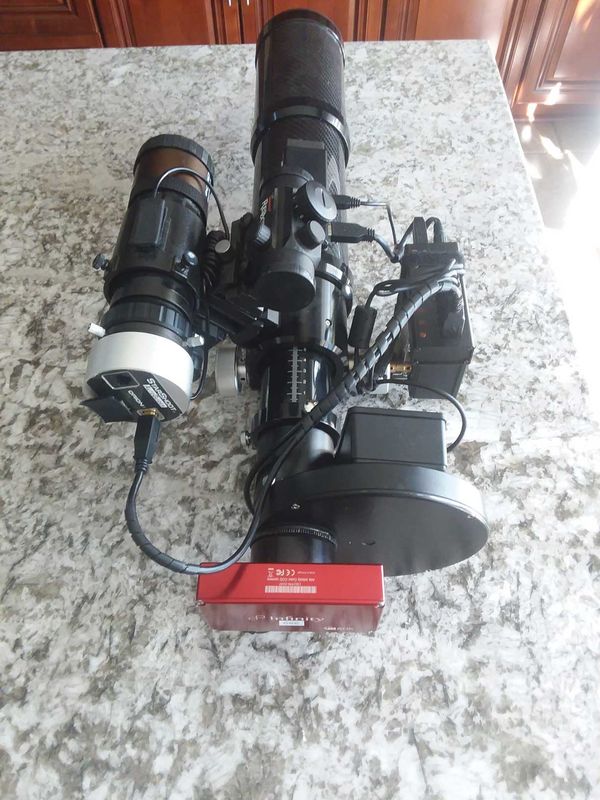
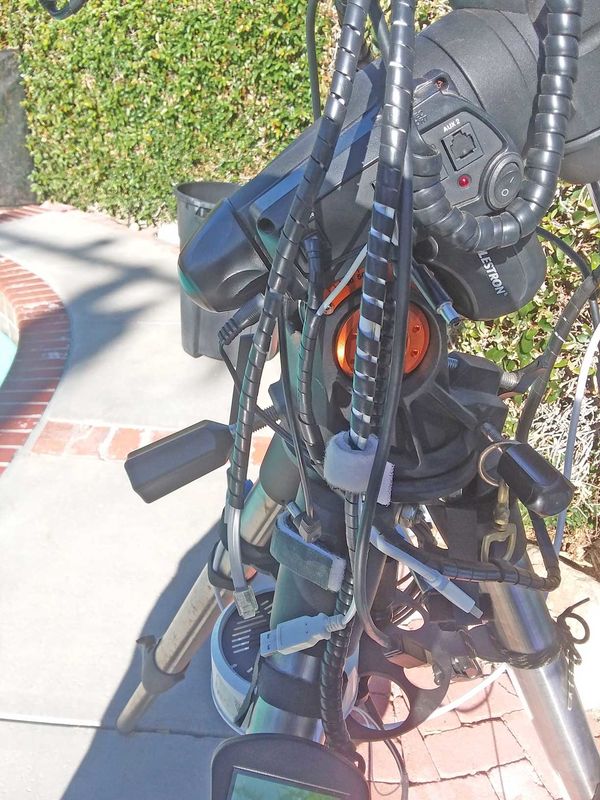
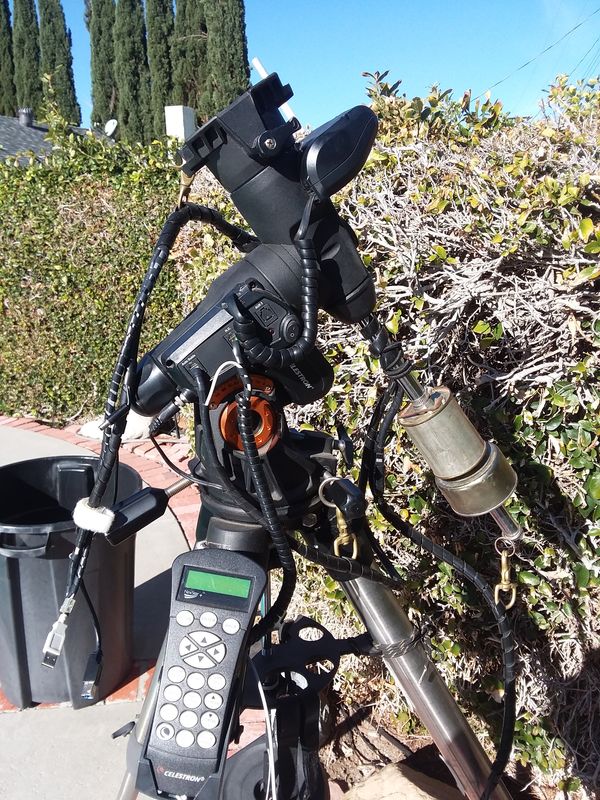
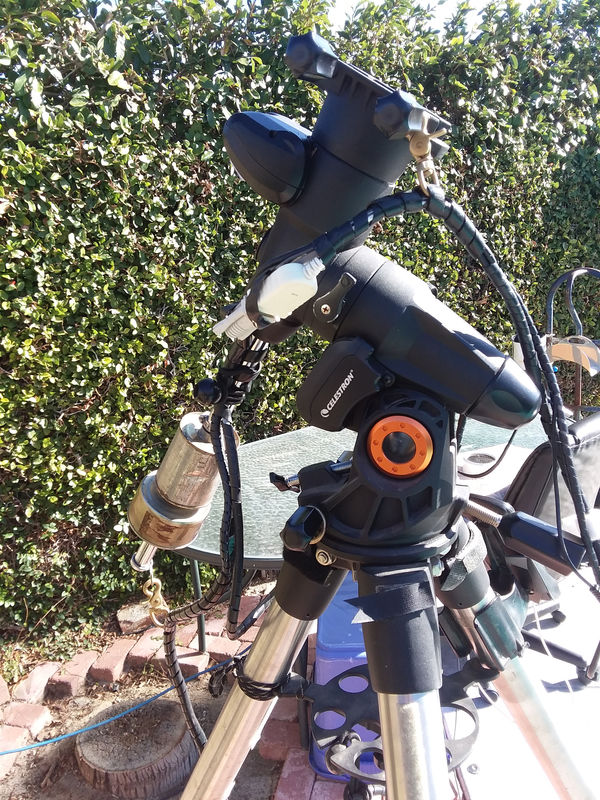
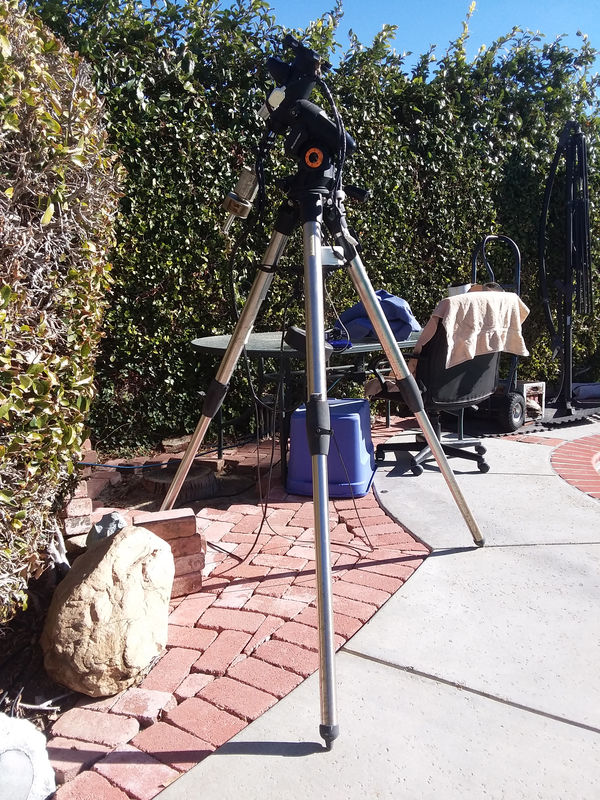
I might as well show my image rig so yall could give me advice on anything I need to change or modify , feel free to critique my po'man rig. Note my camera's isn't connected in the 1st pic I just got done doing my PA with the polemaster.
Jan 24, 2018 23:48:39 #
A couple things, need to cut a bunch of trees😀. Hard to tell from the photos, but seems like a lot of wires hanging.
Jan 25, 2018 09:01:00 #
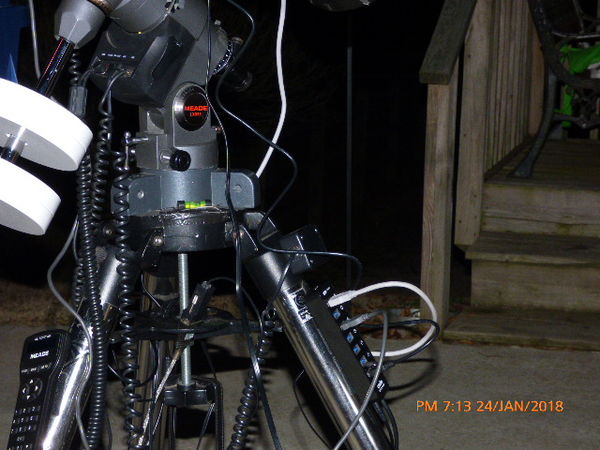
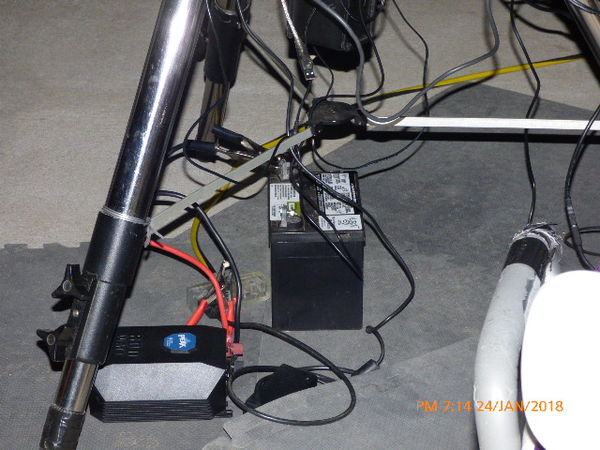
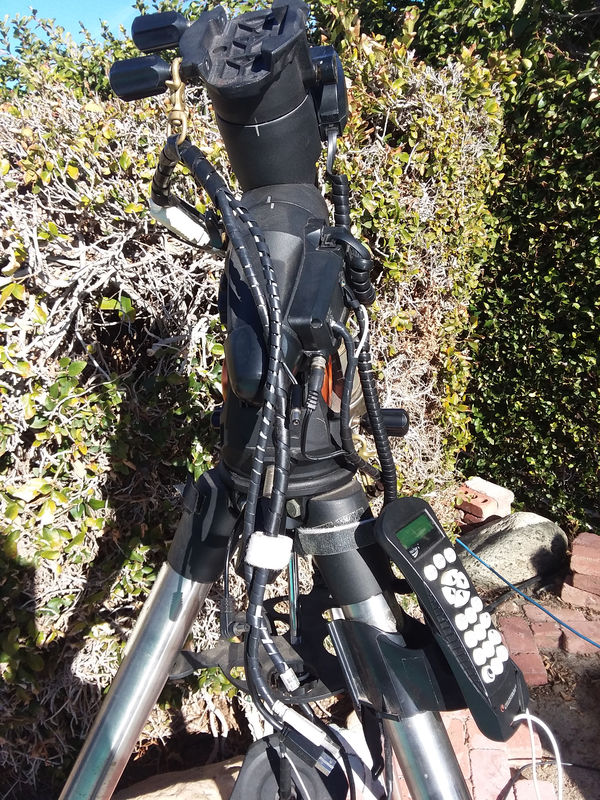
Yes Europa you're not the fist that's suggested removing the trees, I just can't win that fight , wires and cables is a work in progress and looking for suggestions. I move the imaging cart around the tripod so I can view the laptop when my EFW changes filters, focus changes with each filter change . I place my guider cables up around the lock on the dovetail saddle and the camera goes under the ota through a neoprene tube under the OTA all into the hub . I have the powercord for the hub and the computer connected to a seperate power supply , the mount has its own extension cord and the camera's fan goes to the battery dual outlet and my 909 clone dangles because it talks to the mount like an st4 adapter . What do I need to fix and how should I do it ? I'm just not getting it done right.
Jan 25, 2018 19:26:14 #
What you need is Sonny to show up with his Spiral Wrap and sticky Velcro. In a day or two you'd be running clean.
But, that ain't likely to happen...
I've been trying to create a Google Album, but bummer Google. It can't upload the images and won't let me choose ones I know would work.
So... I'll pile some here.
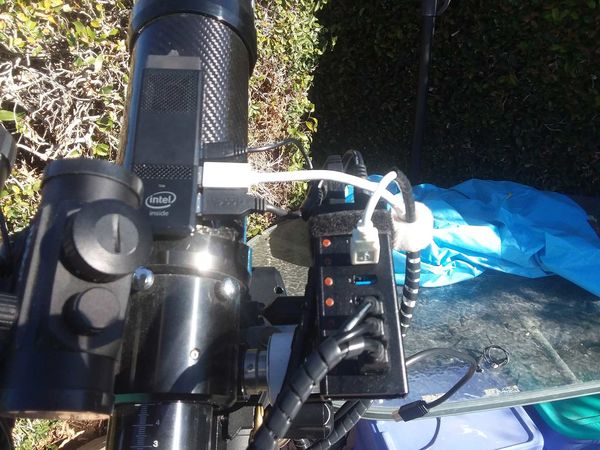
These are from a transitional period trying to use a stick computer. It was, in my opinion, an epic fail. Just could not get it to reliably WiFi to the router. But, trying this got the StarTech 7-port powered hub mounted to the telescope end, and revised my cables into a single cable between the mount, and an off-mount computer. What I call my Baby Dell. (2 in 1).
Anyway, the stick computer now sits as a reminder of bad advise. A Single USB cable carries all data between the Baby Dell and the mount/telescope, and the Baby Dell wirelessly communicates to my router and inside computer. At what I call, A Click and Pop speed. It's fast.
The Baby Dell has my programs in it to run everything, and Tight VNC WiFi's the computers together.
The telescope connections are short USB cables I selected for the cameras, focuser, and still non-functioning filter wheel drive. (I simply don't use my filter wheel enough to drive me to make it work yet.) I use a color camera so filters are not a priority to my imaging. But if one day they become a priority, I've future proofed my mount to updates. But the short USB cables are to avoid coiled or dangling cables, to the USB Hub.
I don't have much of a dew problem here in my semi-arid climate. But when there is, a simple plastic bag tents water sensitive things effectively.
But my priority is to tangle-proof my mounts wiring. I did that back when I had a harness as thick as my thumb with all the danged wires it takes to make everything work together.
Something else is that the Baby Dell gives back a display at the mount. When trying to use the stick computer, I about walked my skinny butt off going back and forth.
Right now, I'm really happy with how everything is working together. And no worries about wiring foul-ups.
At closing time, 5 connections between the telescope and mount part, and the telescope comes in, the computer and mouse comes in, and my mount gets it's covers on it.
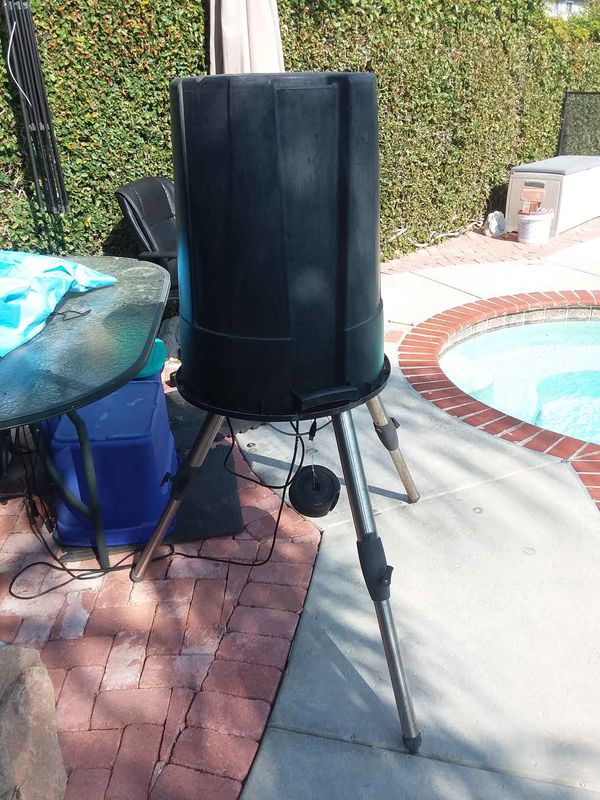
Notable is that the canvas and 32 gallon dome are open at the bottom for a reason, ventilation. I've seen tightly wrapped mounts around the web and I immediately see a sauna around the sensitive electronics of the mount. Not good. So my mount lives on it's spot, but it can breath to remain dry inside. So far, so good. It's as close to a pier as I can currently get.
So the inexpensive off-shore spiral wrap can make the tangle, tangle free. And Velcro is wonderful stuff to bundle things to the equipment or mount.
But, that ain't likely to happen...
I've been trying to create a Google Album, but bummer Google. It can't upload the images and won't let me choose ones I know would work.
So... I'll pile some here.
These are from a transitional period trying to use a stick computer. It was, in my opinion, an epic fail. Just could not get it to reliably WiFi to the router. But, trying this got the StarTech 7-port powered hub mounted to the telescope end, and revised my cables into a single cable between the mount, and an off-mount computer. What I call my Baby Dell. (2 in 1).
Anyway, the stick computer now sits as a reminder of bad advise. A Single USB cable carries all data between the Baby Dell and the mount/telescope, and the Baby Dell wirelessly communicates to my router and inside computer. At what I call, A Click and Pop speed. It's fast.
The Baby Dell has my programs in it to run everything, and Tight VNC WiFi's the computers together.
The telescope connections are short USB cables I selected for the cameras, focuser, and still non-functioning filter wheel drive. (I simply don't use my filter wheel enough to drive me to make it work yet.) I use a color camera so filters are not a priority to my imaging. But if one day they become a priority, I've future proofed my mount to updates. But the short USB cables are to avoid coiled or dangling cables, to the USB Hub.
I don't have much of a dew problem here in my semi-arid climate. But when there is, a simple plastic bag tents water sensitive things effectively.
But my priority is to tangle-proof my mounts wiring. I did that back when I had a harness as thick as my thumb with all the danged wires it takes to make everything work together.
Something else is that the Baby Dell gives back a display at the mount. When trying to use the stick computer, I about walked my skinny butt off going back and forth.
Right now, I'm really happy with how everything is working together. And no worries about wiring foul-ups.
At closing time, 5 connections between the telescope and mount part, and the telescope comes in, the computer and mouse comes in, and my mount gets it's covers on it.
Notable is that the canvas and 32 gallon dome are open at the bottom for a reason, ventilation. I've seen tightly wrapped mounts around the web and I immediately see a sauna around the sensitive electronics of the mount. Not good. So my mount lives on it's spot, but it can breath to remain dry inside. So far, so good. It's as close to a pier as I can currently get.
So the inexpensive off-shore spiral wrap can make the tangle, tangle free. And Velcro is wonderful stuff to bundle things to the equipment or mount.
The telescope end.
(Download)
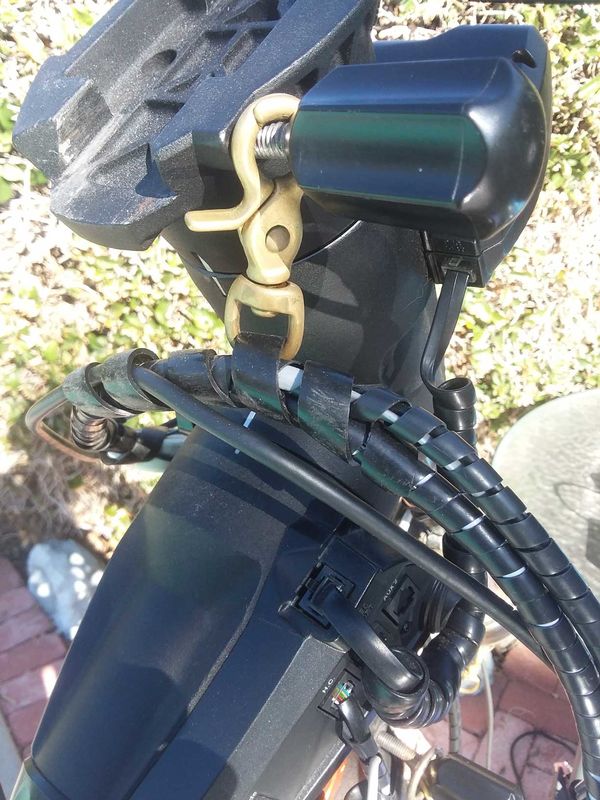
Notice the short USB cables, and my hub is a part of the upper end.
(Download)
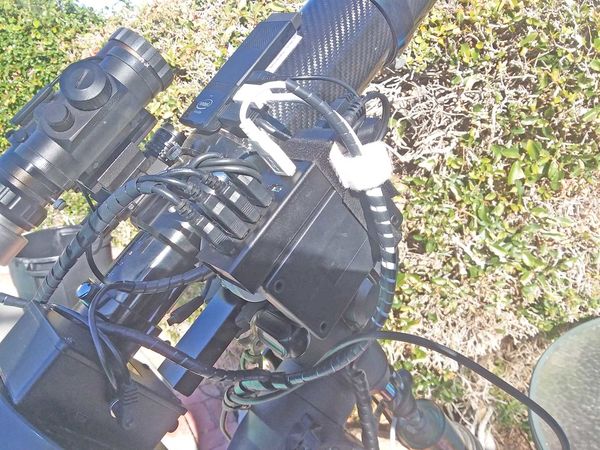
Hard to see, but the connecting ends for the telescope end.
(Download)
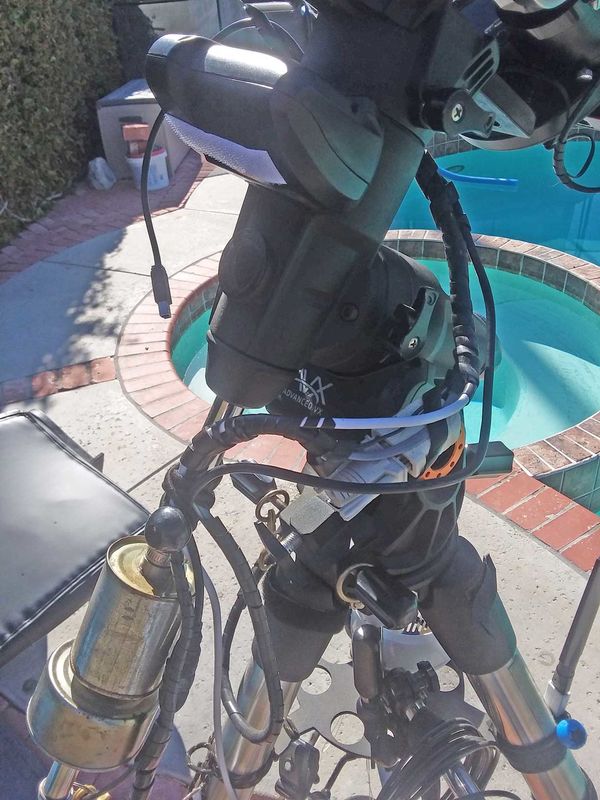
With the Telescope in place, those dangling ends have places to go.
(Download)
Overhead shot of the StarTech powered hub
(Download)
(Download)
Upper end Harness snap for bundle support/routing.
(Download)
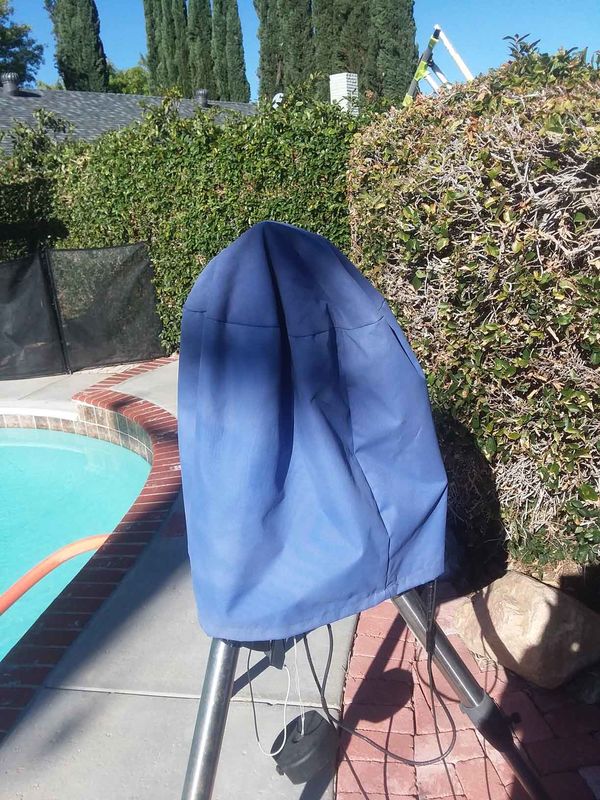
Sleepy time for the mount gets this waterproof canvas bag.
(Download)
And finally, my 32 gallon Dome weatherproofs everything between uses.
(Download)
Jan 25, 2018 23:19:55 #
Dang Sonny , that's why you can carry it in. As for the cord wrap , that is the way to do it , with all my cables wrapped around the legs . I've got a bunch of twist ties , I'm just waiting until I get a comfortable setup . I've change it too many times for one reason or another. I do need to leave the extension on the hub so I can move my laptop around the mount. You've given me some really good visual ideas. Thanks Buddy, I had a real good night tonight less than 5 arc sec .PA and spot on with both cameras Woohoo. I've got 1 more night before rain again. I've worked really hard to get this done, that polemaster is the real deal and as long as I don't move or kick it{which I do frequently} I 'll cut out 4 steps and get PA in less than 5 min. I'm off to get a huge garbage can to cover as much of the tripod . I'm thinking on running everything down under to the ep tray and that way I can move my imaging cart around the mount and that leaves the telescope control cord from the handpad , I'm thinking on that .
Jan 25, 2018 23:37:48 #
Very nice Sonny, mine is kinda messy, even though I have a lot mounted to the OTA, someday I’ll have it cleaned up like you have it. Someday i’ll Catch up.
Jan 26, 2018 18:44:10 #
Europa wrote:
Very nice Sonny, mine is kinda messy, even though ... (show quote)
Guys, Every journey begins with a single step.
I like this spiral wrapping stuff because it can be used in pieces cut to whatever length you'd like, or in long continuous runs.
For Ronnie though, using it single handed may be a real chore. Unless Alanna could help and give him three hands to work with.
Since I've gone back to my Off-Mount Computer configuration, things got simpler and even more compact. Some of those other images are kinda hashy. I shot some more today to try and share more details for your consideration, or to generate thinking towards making your mounts and wiring work better for you.
We all have different set-ups, and different configurations. My thought is to share ideas of what is working for me now. And I hope will work for me for some time to come.
I'm a one telescope, and one mount, kinda guy. It's what fit in my budget. So I take it and run with it.
Here's some >today< pictures of more detail. Hopefully they can share ideas you might like to try.
(Or stimulate some good belly laughs from my inane ability to kludge things together)
1. 3 Harness snaps to stop strains on the wiring and connectors.
(Download)
2. Left side. Like all left sides, fairly devoid of intelligence.
(Download)
3. Rear view. Showing the Telescope connection ends.
(Download)
4. Basically, the 'Y' where the cables join for the mount, to USB hub join.
(Download)
5. Ball Bungi. Supports the off mount wiring. Basically 12 volt wiring.
(Download)
6. Other side of the 'Y' where the Mount wiring comes from the top end.
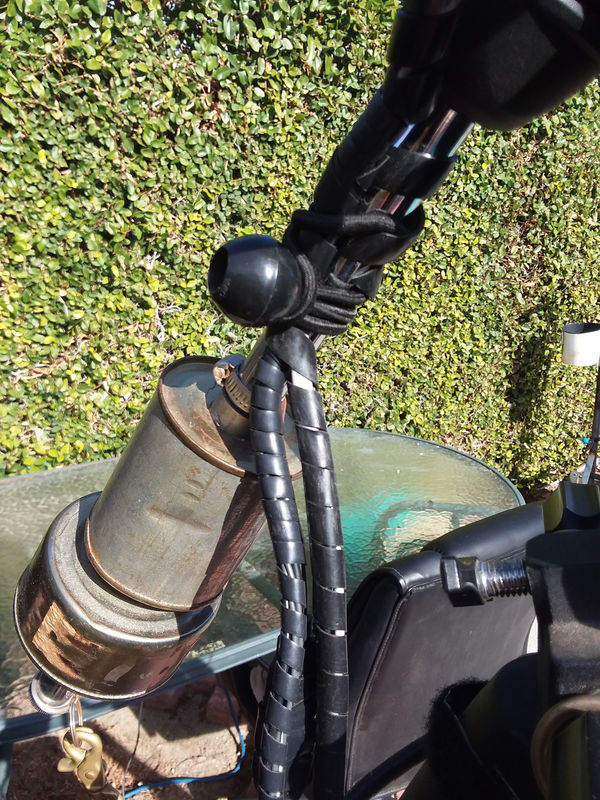
(Download)
7. My storage cantainer that covers my battery box, doubles as a dew shield for the Baby Dell.
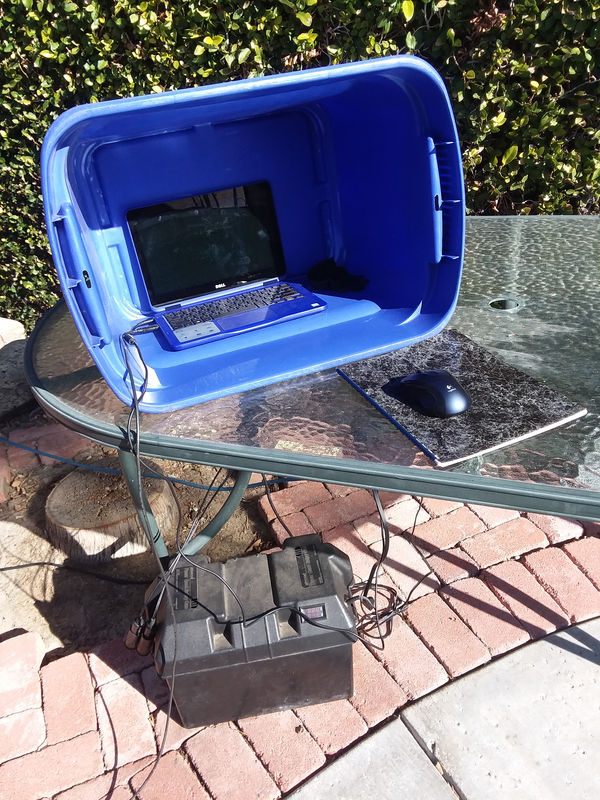
(Download)
8. I get asked about the inside now and then. Very basic, the fuses live in the plug ins anyway.
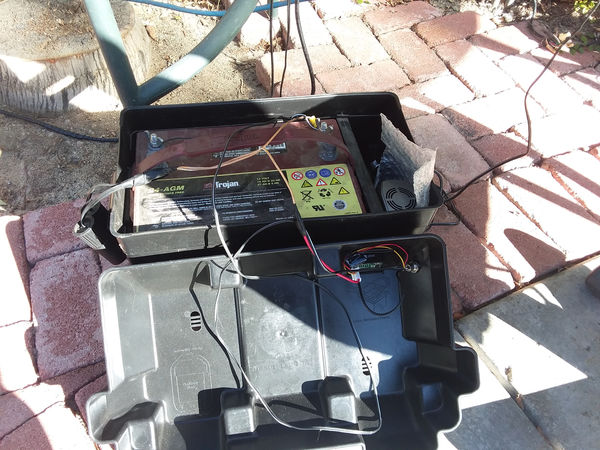
(Download)
9. Monitoring the Volts and Amps. Not something I do a lot, but with it, it's a glance away.
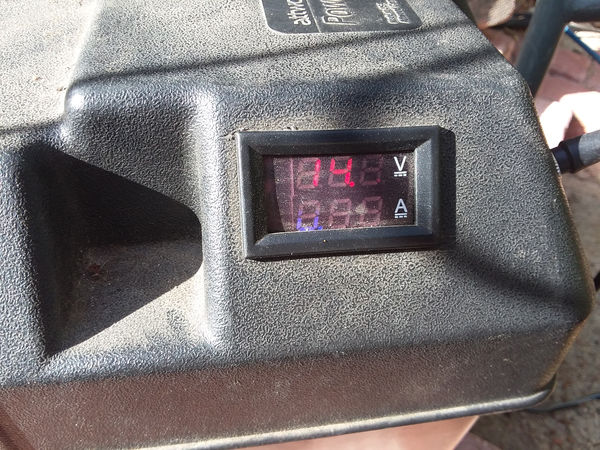
(Download)
Long legs. People say to keep the legs Short. But for me, extra height helped and has not been any troubles at all.
(Download)
Jan 27, 2018 07:56:18 #
Sonny , thanks so much for taking the time to explain everything about your imaging setup and wire management. I've been working on this and changing it around for some time , I'm going to reconfigure the wiring and incorporate some of your ideas with Alanna's help and try to clean up the dangling wires. All weekend rain so no testing until next week but, that gives me some time to do a clean up on all my equipment and cables. I've got many xtra cables , that something has to fit for this project .
If you want to reply, then register here. Registration is free and your account is created instantly, so you can post right away.