Create a sketch in Photoshop - using the Minimum filter
This topic is locked to prevent further replies.
Jan 26, 2017 07:22:34 #
Linary
Loc: UK
In response to a post in the Main Discussion here is my favourite method of creating a sketch from a photograph.
Load the image into Photoshop, select the Move tool. (This ensures all the shortcuts will work).
Duplicate the layer (Ctrl+J)
Desaturate the layer (Shift+Ctrl+U)
Duplicate the desaturated layer (Ctrl+J)
Invert the layer (Ctrl+I)
Change the Blend mode to Colour Dodge (Shift+Alt+D) - This will make the image go completely white
On the menu, go to Filter - Other - Minimum, set to One pixel and click OK
Merge all the layers to a new layer (Shift+Ctrl+Alt+E) - the new layer will appear at the top of the layers panel
Change the blend mode to Multiply (Shift+Alt+M) - This will darken the sketch, you can reduce the effect by reducing the opacity of this layer.
If you turn off visibility of Layer 0 copy (second layer from bottom) you will see one version of the colourised sketch
Leave the visibility on and continue
Select the Background layer and duplicate it (Ctrl+J)
Move this new layer to the top of the stack (Shift+Ctrl+]) That is a right bracket
Change the blend mode to Colour (Shift+Alt+C)
You now have a second version of the colourised sketch.
If you now turn off visibility of Layer 0 copy you will get a third version of the colourised sketch
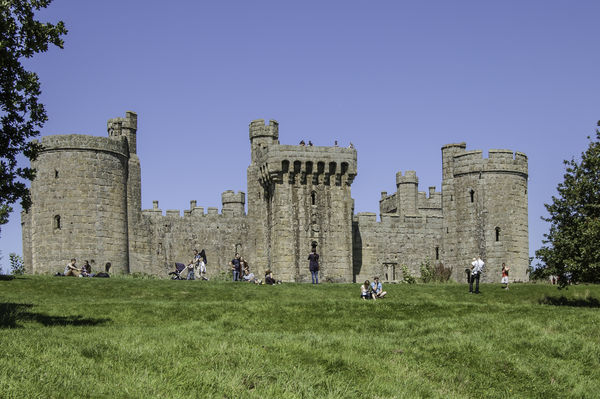
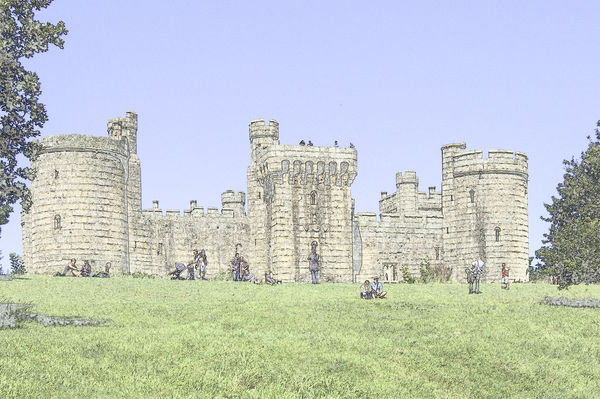
Original Photo
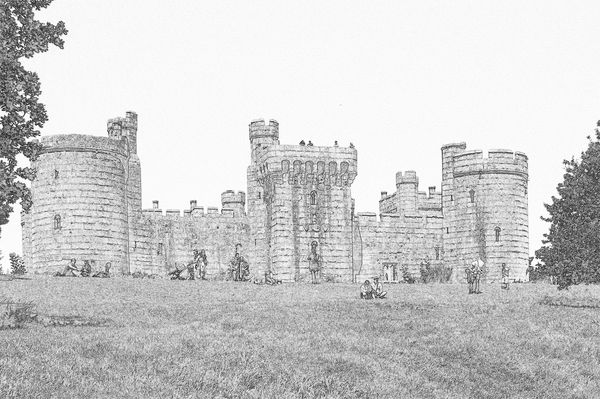
Black and White sketch
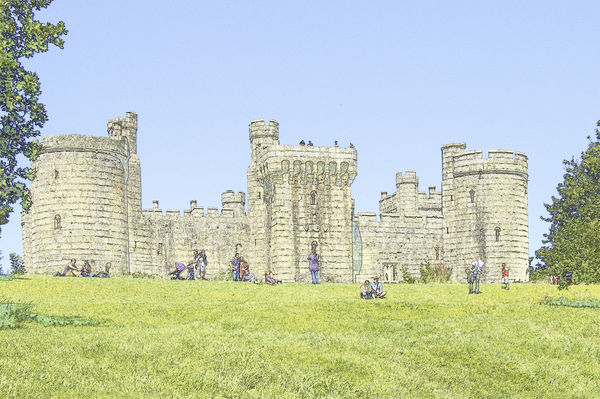
First version of Colourised sketch
Second version of colourised sketch
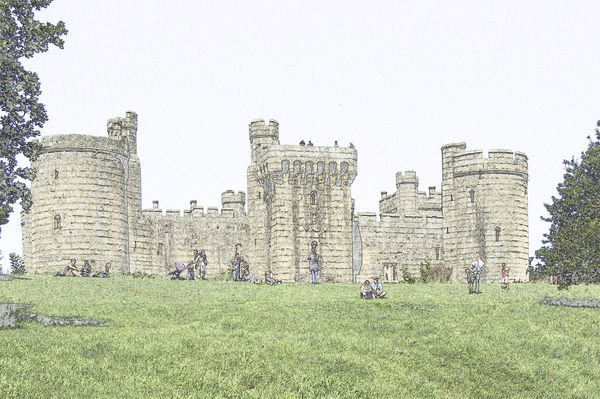
Third version of colourised sketch
Jan 26, 2017 15:07:54 #
Thanks, I will give it a try..
Linary wrote:
In response to a post in the Main Discussion here ... (show quote)
Jan 26, 2017 15:08:48 #
BTW: Is there a way that I can make it a line drawing without the shading?
buddah17 wrote:
Thanks, I will give it a try..
Jan 27, 2017 13:26:55 #
Linary
Loc: UK
buddah17 wrote:
BTW: Is there a way that I can make it a line drawing without the shading?
Sometimes, if you remove the shading, most of the image will disappear. However, here is a second method which has far less detail and retains most of the keylines.
MAKING A LINE DRAWING (nearly)
Load image in Photoshop
Copy layer
Add a Hue/Saturation layer
Reduce saturation to -100 (ie all the way left)
Click on Layer 1 to activate
Change Blend mode to Colour Dodge
Invert the layer (Ctrl I) (image should be pure white)
Filter > Blur > Gaussian Blur
Increase the radius as required
Click OK
Choose Adjustment layer > Levels
Slide input (left slider) to right until things look good
If parts of the image are too dense, choose the Brush tool, Large brush, Opacity 40%, Foreground colour = black
Brush over areas which are too dense
Make a composite (Shift +Ctrl+Alt+E) and move this layer to the top of the stack
Brush = small, Opacity 100%, Foreground colour white.
Brush over areas to clean up.
If there is still too much gray detail, zoom the image until you can see the detail.choose Select > Colour Range
Choose Shadows, Fuzziness 0%, and Selection Preview = Quick mask
Increase the range slider slowly until just the important keylines have changed to the red masking colour.
Click OK
Press Ctrl+J which will send the selection to a new layer. This layer will have much less gray information.
There are other methods to create line drawings, one of the better filters to try is the Photocopy filter.
If you want to reply, then register here. Registration is free and your account is created instantly, so you can post right away.